An unhealthy obsession
with fake Sennheiser MKH416 microphones
UPDATE: 7/18/2017: REFUND RECEIVED!!! In recent weeks, at least 2 more sellers of fake 416’s have popped up on ebay, all from China. That makes at least 4 ebay sellers to date.

Fake MKH416 refund received! Thanks, Lam Tin Hung!
UPDATE: 7/10/2017 An Ebay return claim was filed based on counterfeit goods, and the fake 416 is on its way back to China. They fronted the return cost of shipping (US$54), and say they will refund the purchase price upon receipt of the mic. They have been very cordial in the transaction.
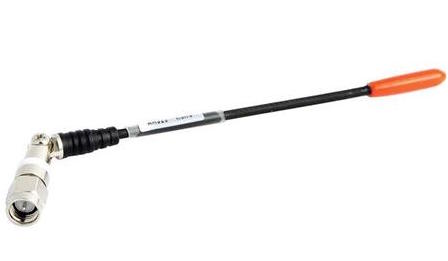
Last month I knowingly purchased a fake MKH416 so I could compare it with a real MKH416. It just arrived today, with case, in a padded envelope.
OK, we’ll get right to the good stuff first. If you are here looking for an competently made, uncompressed audio comparison between a real 416 and a fake 416, its just below.
Listen/Download the Real vs Fake MKH416 Comparison Audio File Here
After listening to the file, and maybe reading the below saga, bookmark this page, as I will be documenting my efforts in refunding the $490 spent on this mic from ebay. In the process, I’m developing somewhat of a relationship with the seller, and hope to get an interview.
The file is a 24bit, 48k stereo wav file, with the fake mic on one channel, and the real on the other. See if you can determine which is which. The file is 45MB, about 2:00 minutes. Recorded interior and exterior at different distances, on and off-axis. Use your favorite playback utility that allows you to solo A/B either channel into both ears. Or split the stereo track into two mono files and solo them. Can you identify the real 416? Left or Right?
The two mics were recorded using a Sound Devices Mix-Pre D into Audacity running on a Macbook Air. The mics were plugged straight into the side of the Mix-Pre D, setting them about an inch apart.
Which mic is which? Is the fake Mic 1 on the Left, or Mic 2 on the right? Any mixers out there confident enough to take a chance on being wrong? Leave a comment.
Background
Fake MKH416’s have been in the marketplace for at least 3 years. They were/are sold primarily through ebay. Prices were initially very low, about US$300. When users discovered that the market was tainted by fake 416s, the sellers responded by raising the price of the mics on ebay, to make them seem more like their genuine counterparts. Sennheiser eventually took action and managed to respond with various cloak and dagger stuff on which they don’t wish to expound. They expanded their website to respond to counterfeit inquires, and added holographic labels to the boxes, stuff like that. At least with the 416, their efforts seem to cut down much of the distribution of fakes.
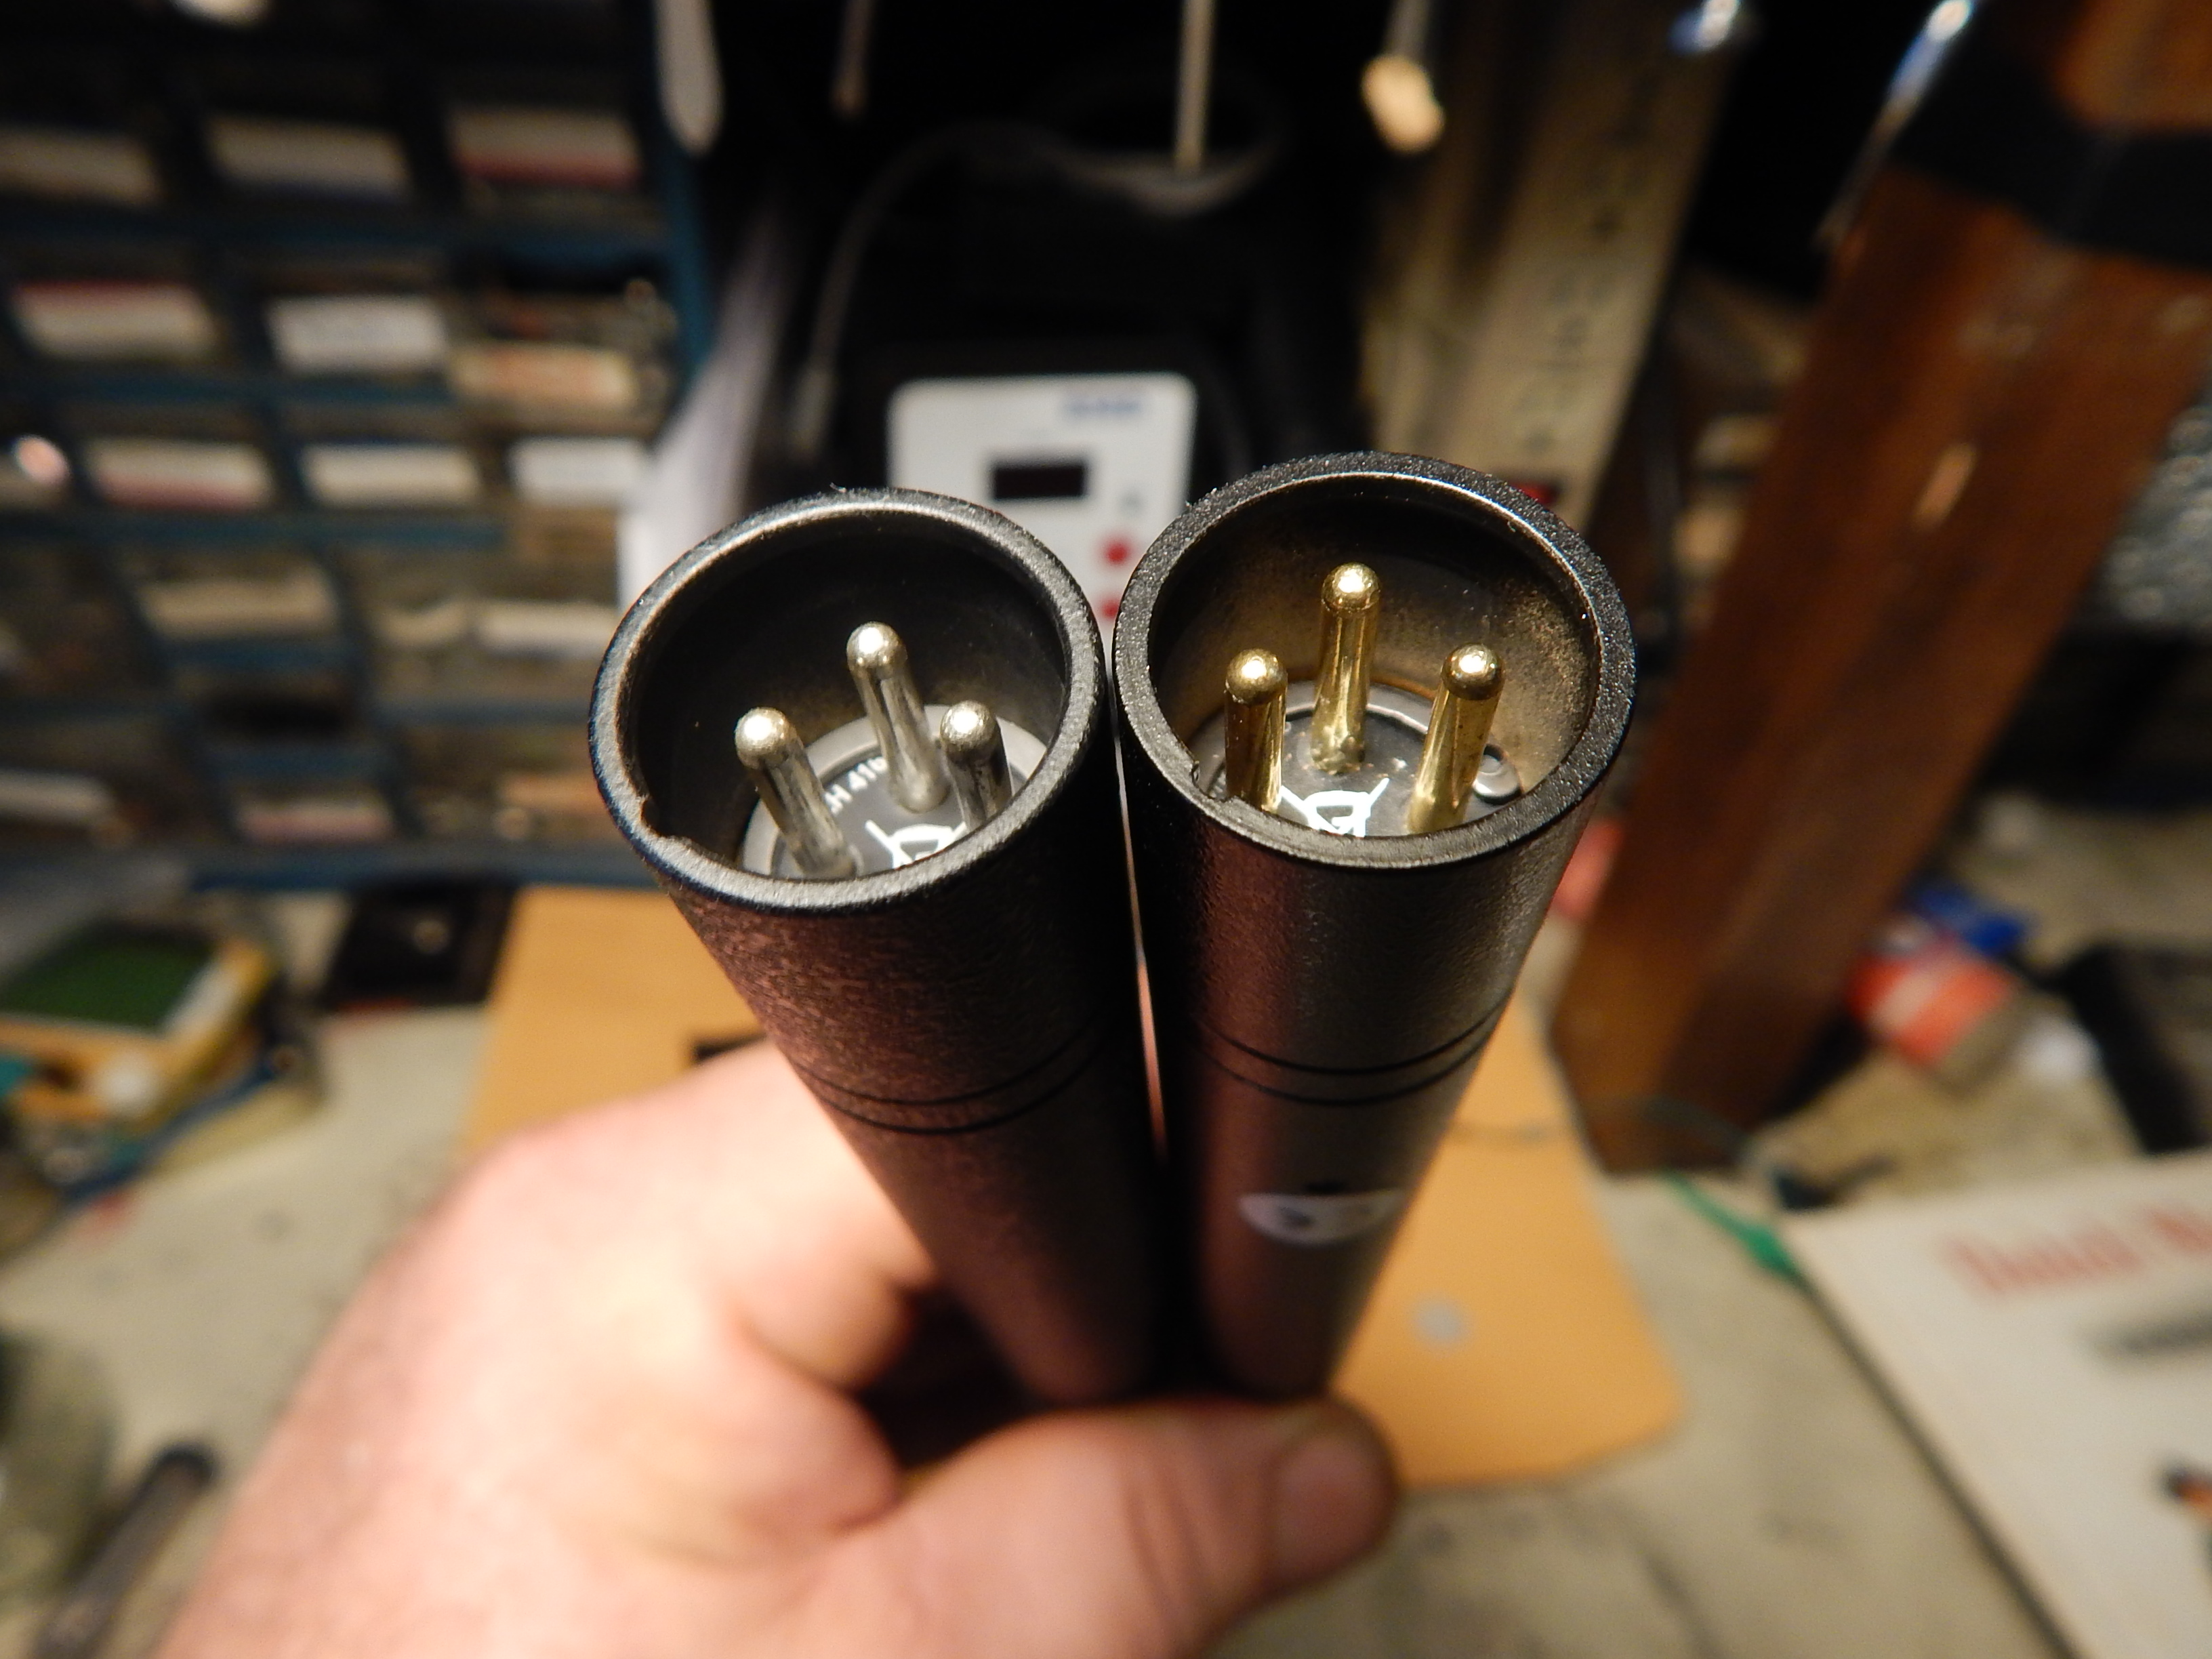
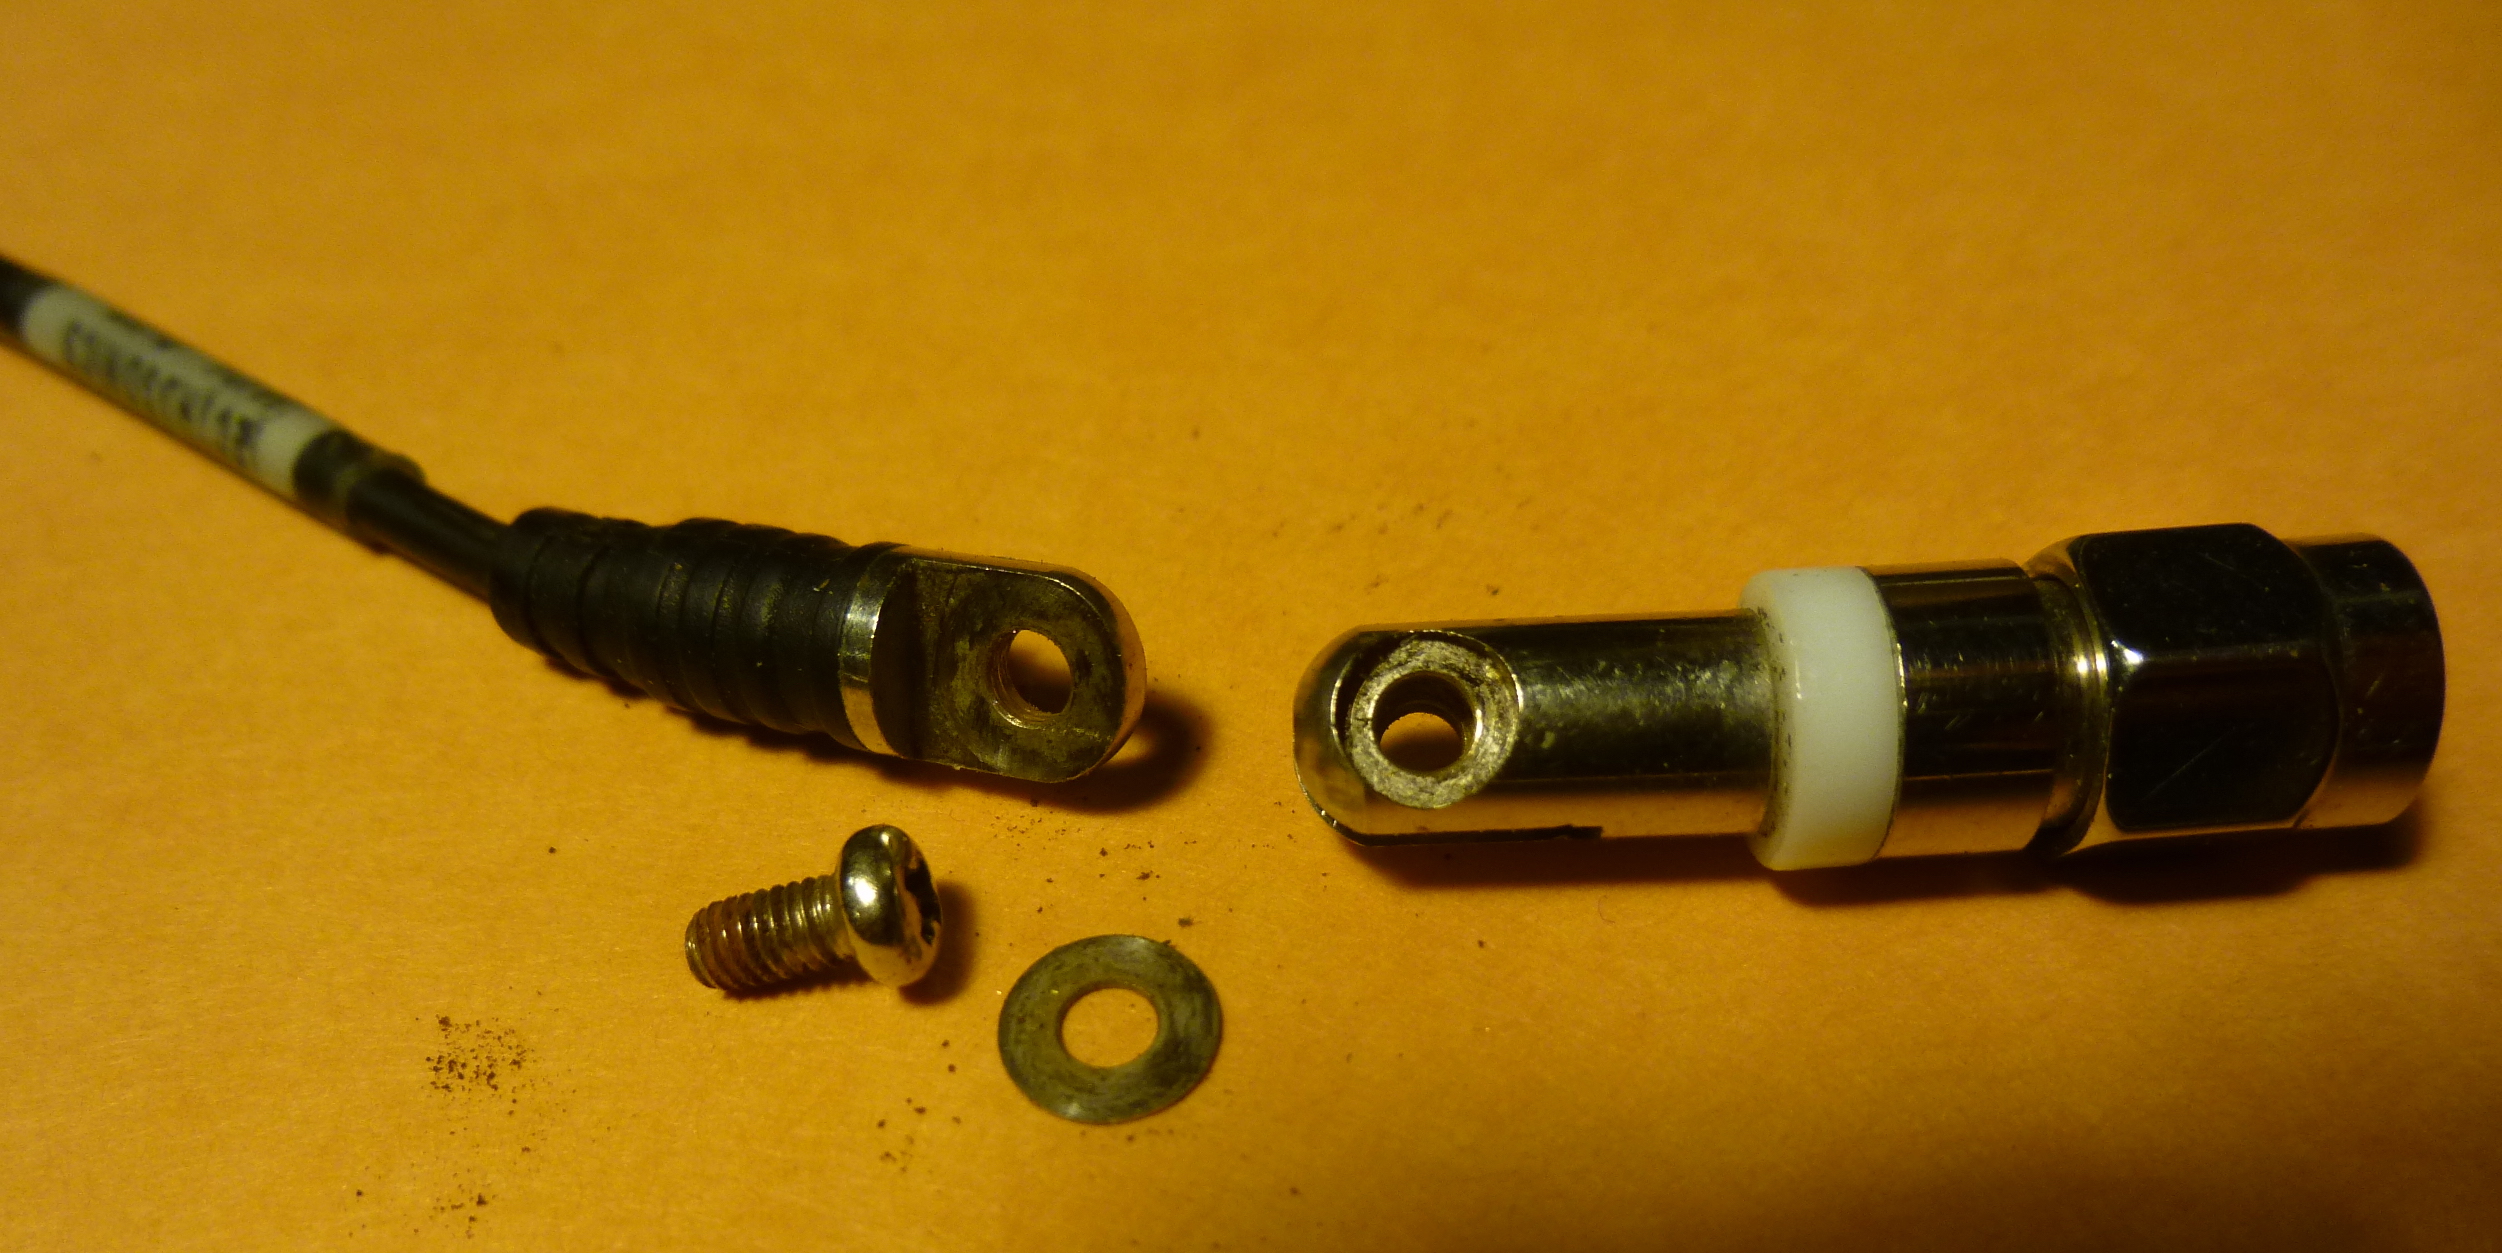
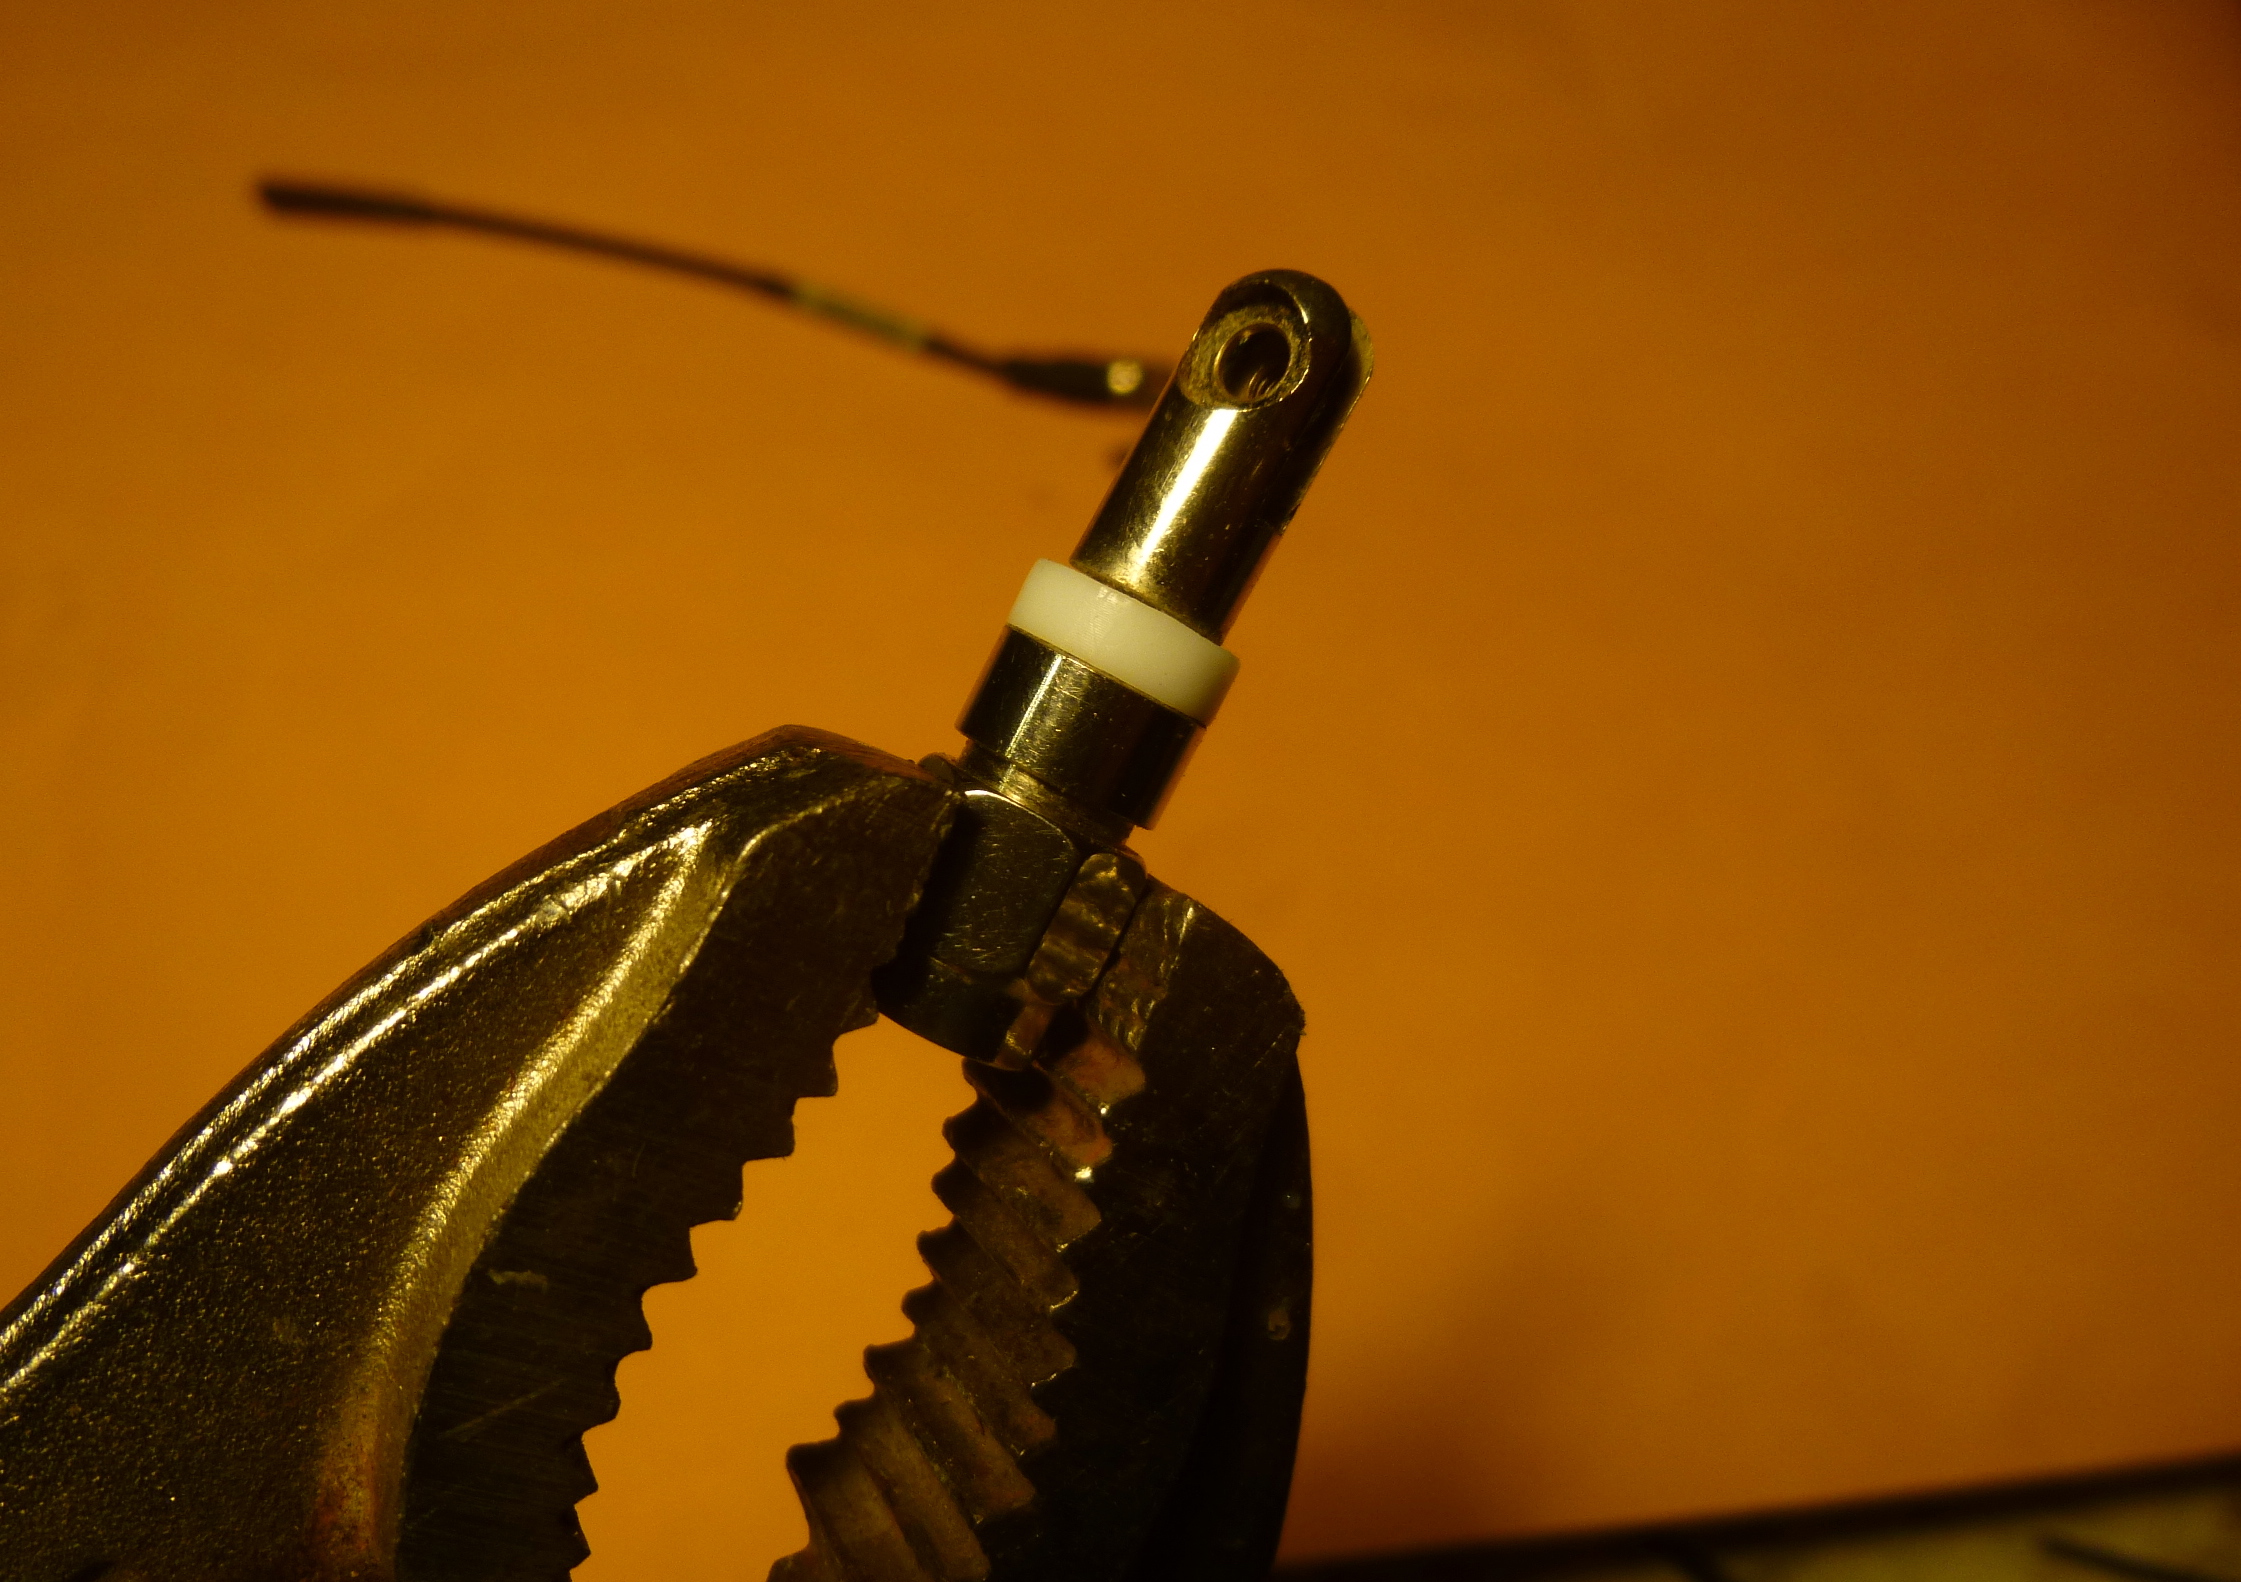
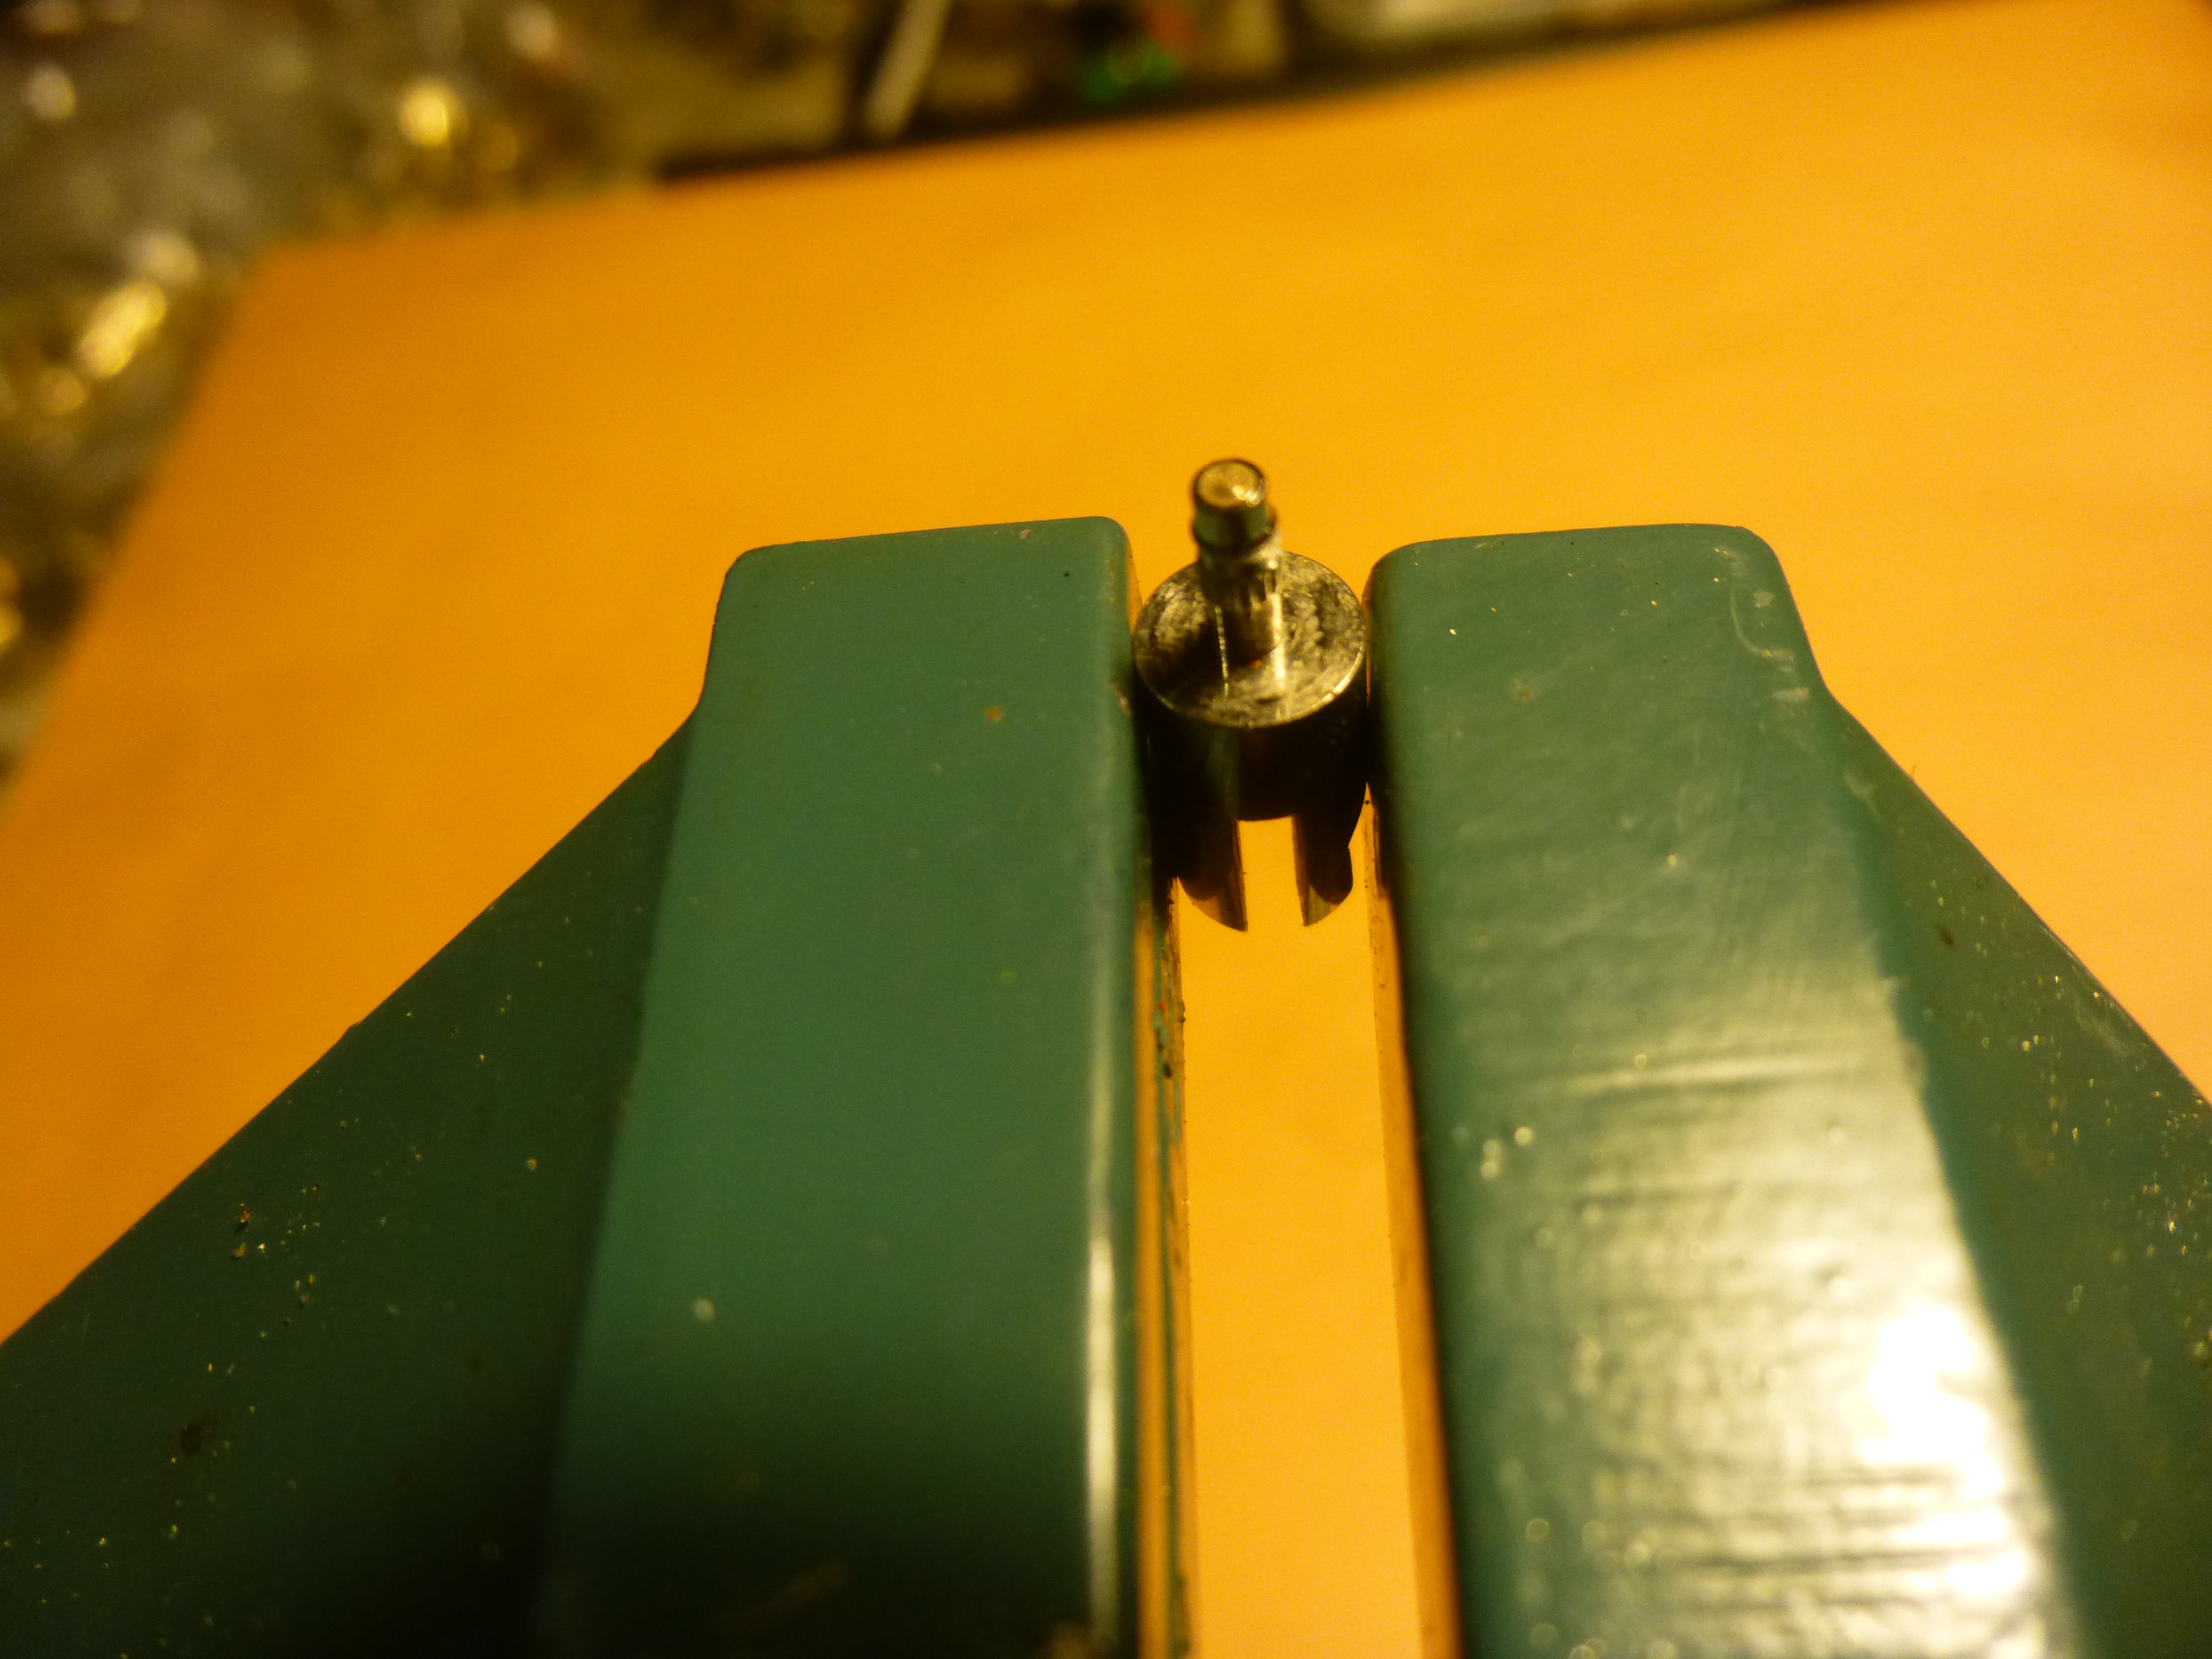
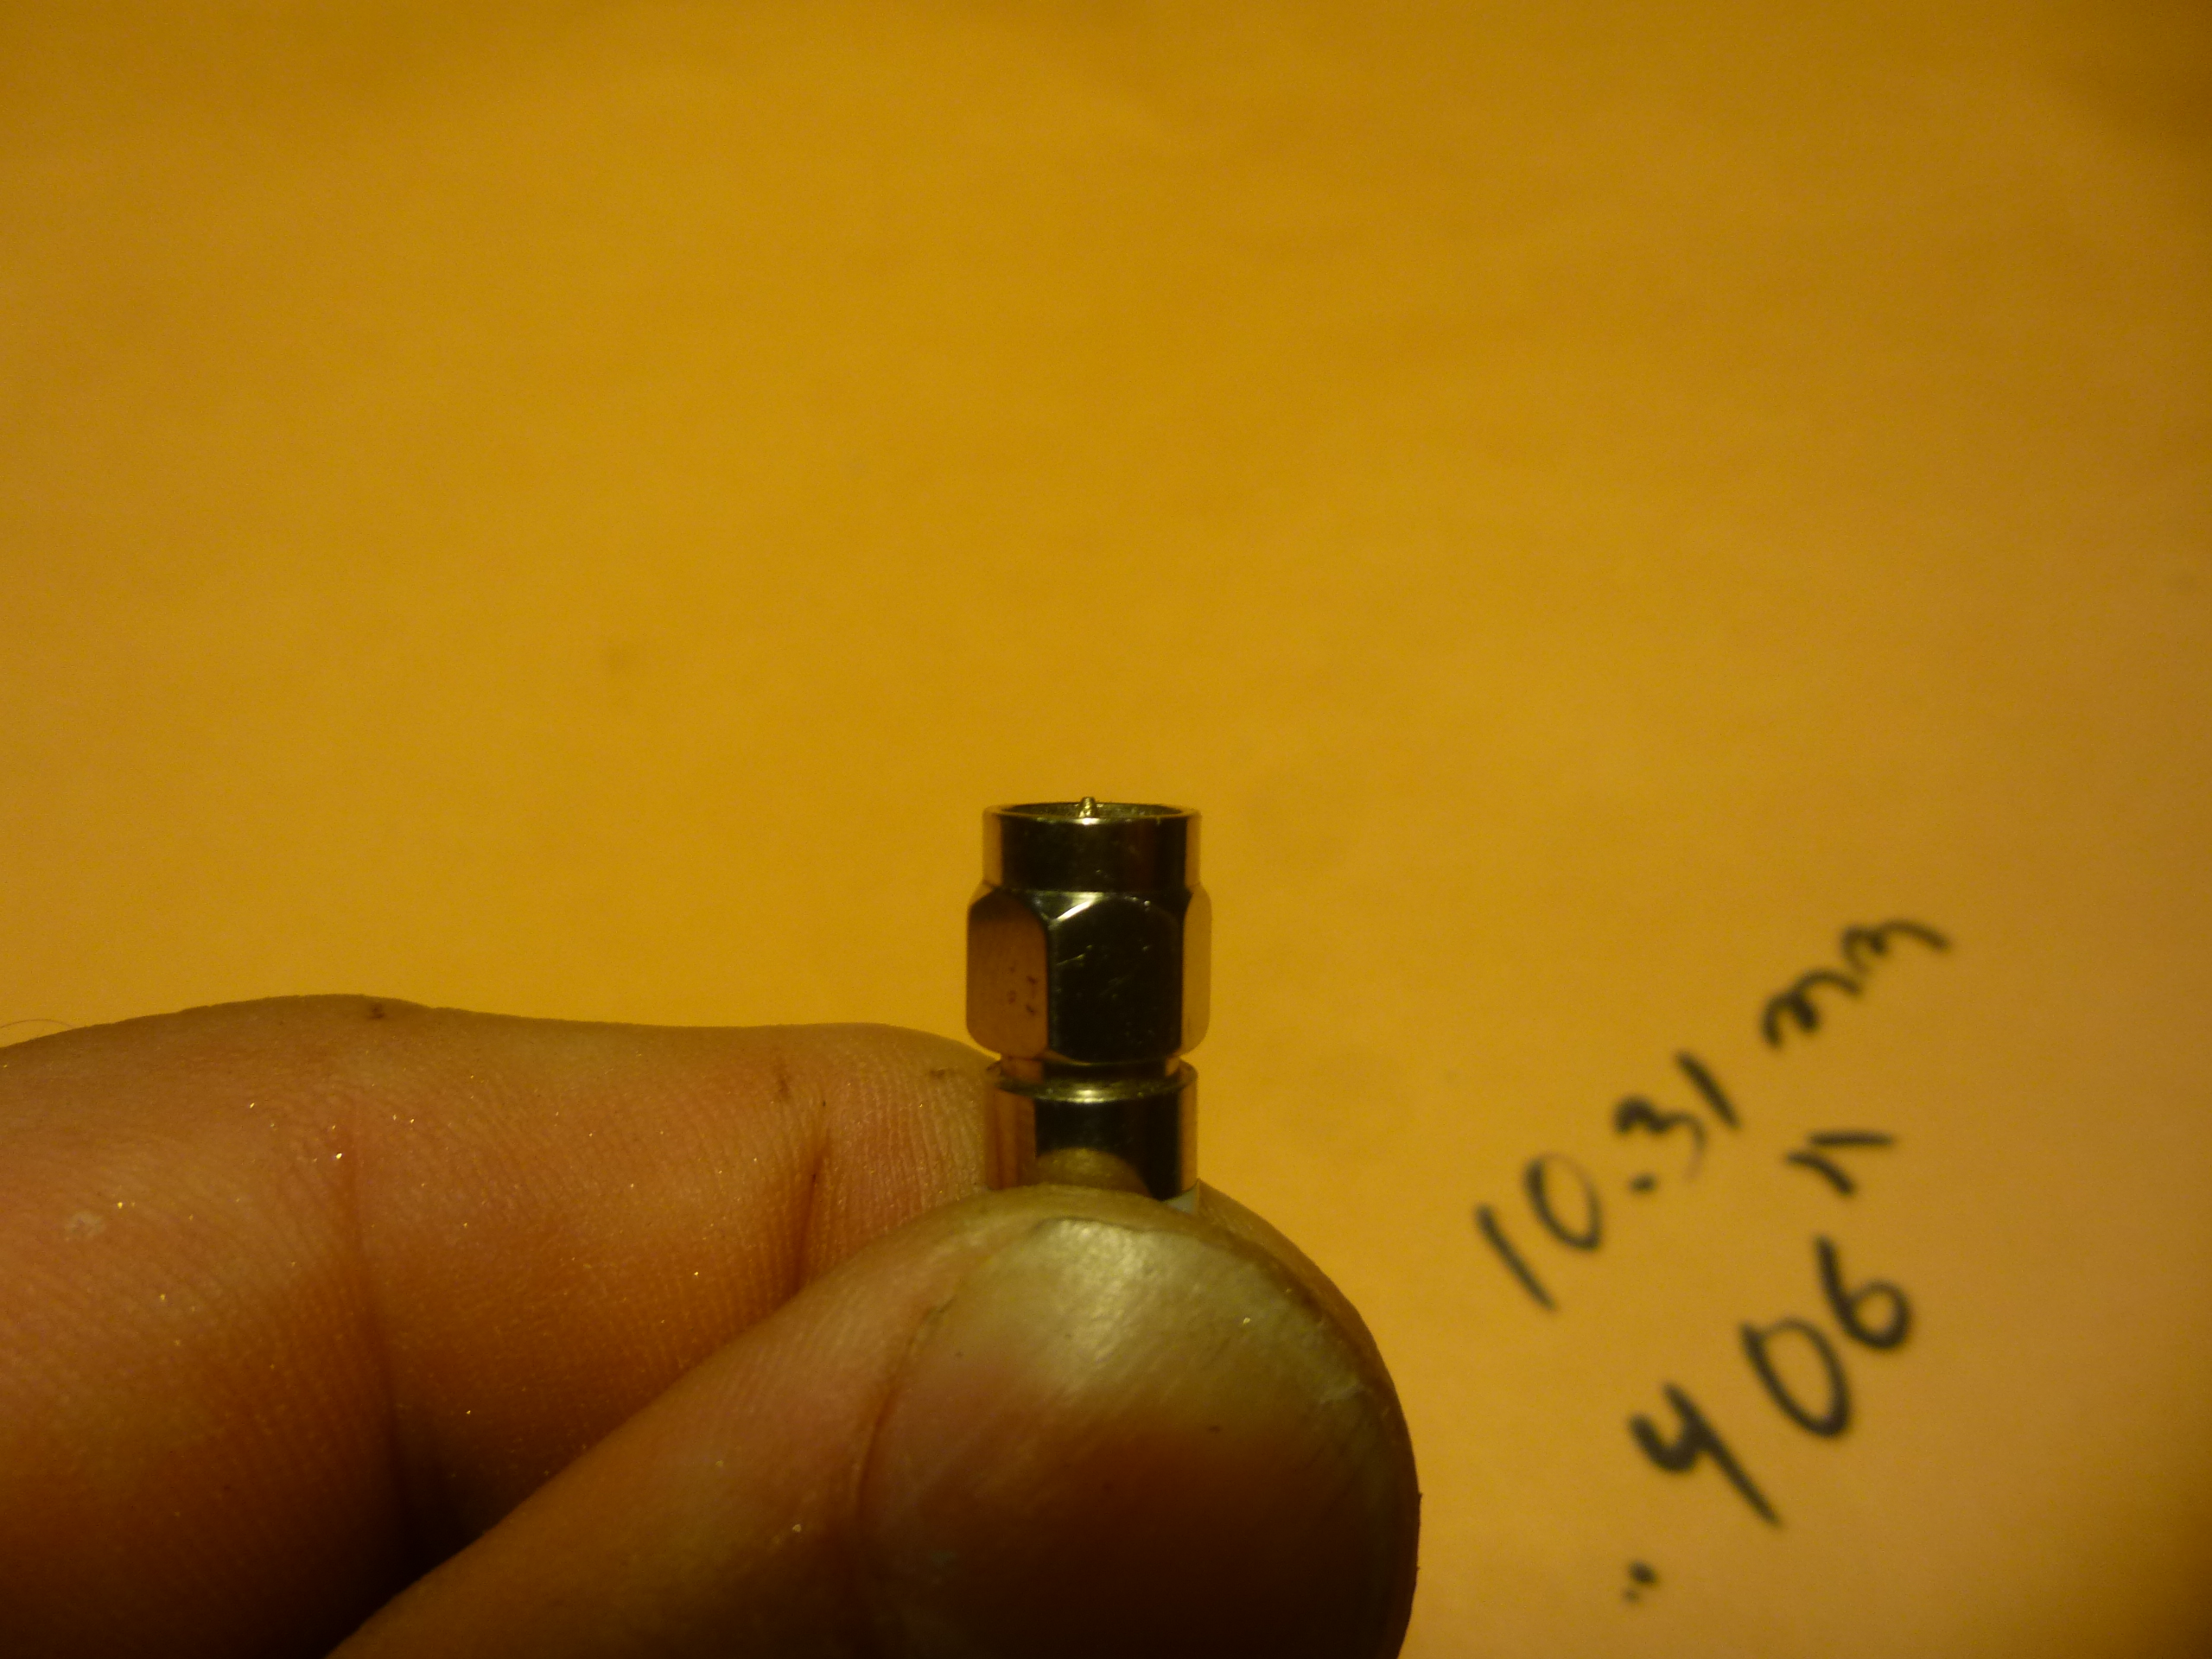
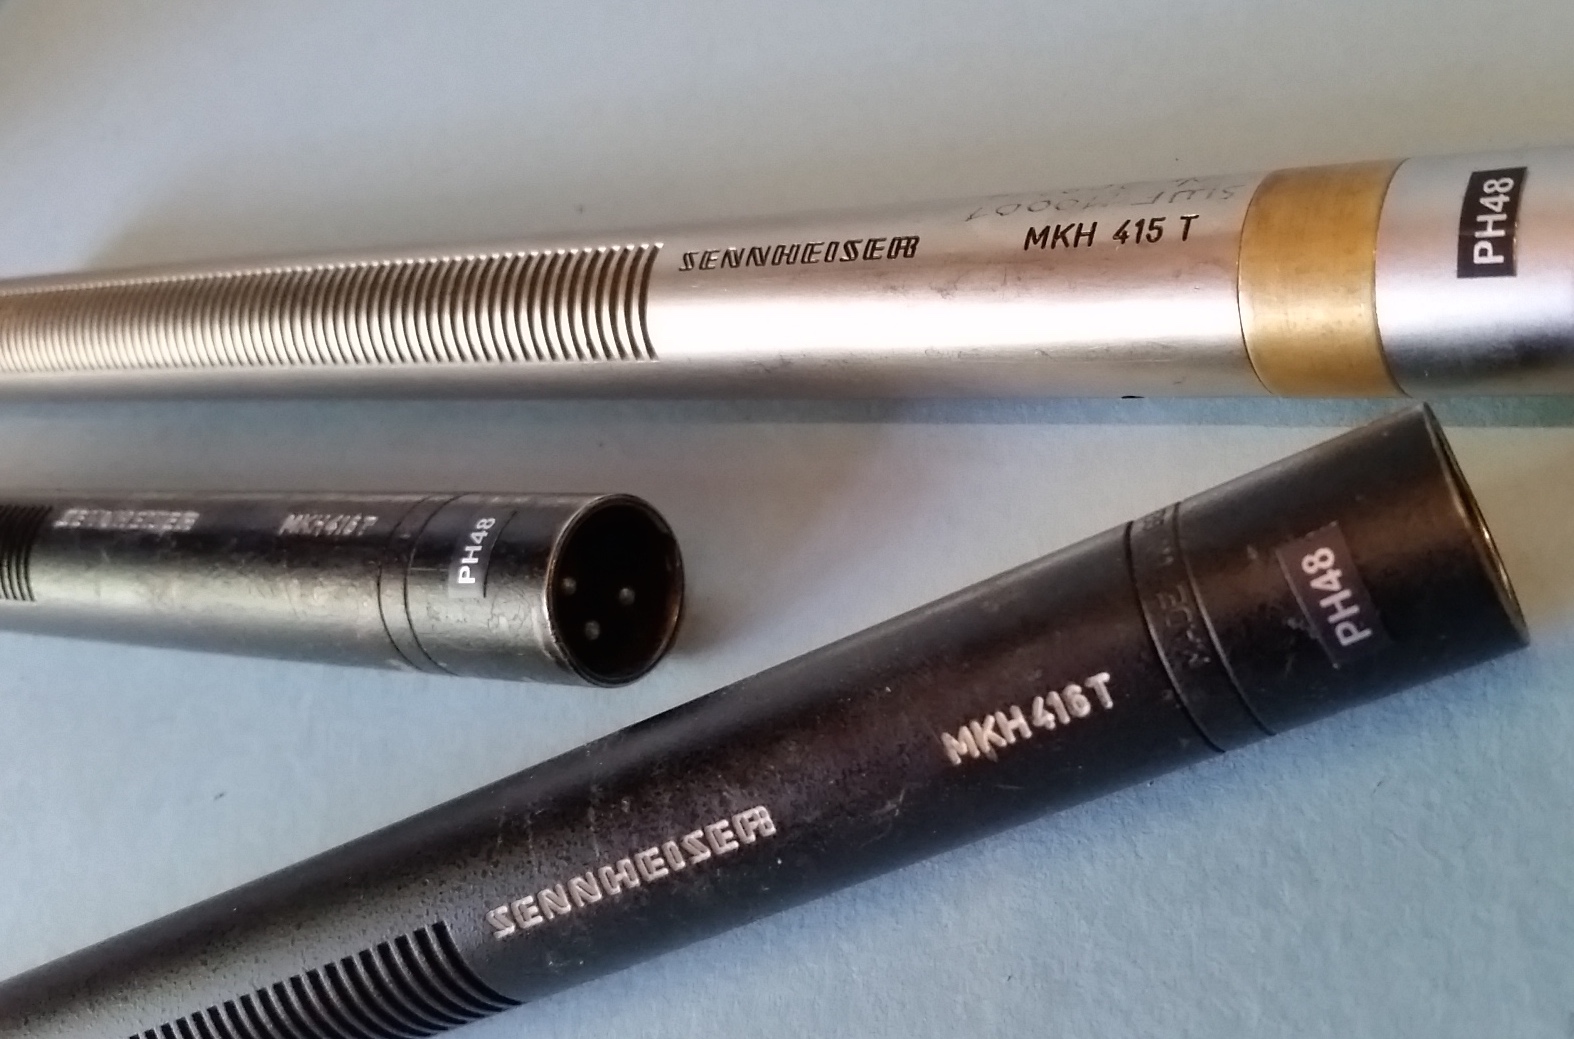
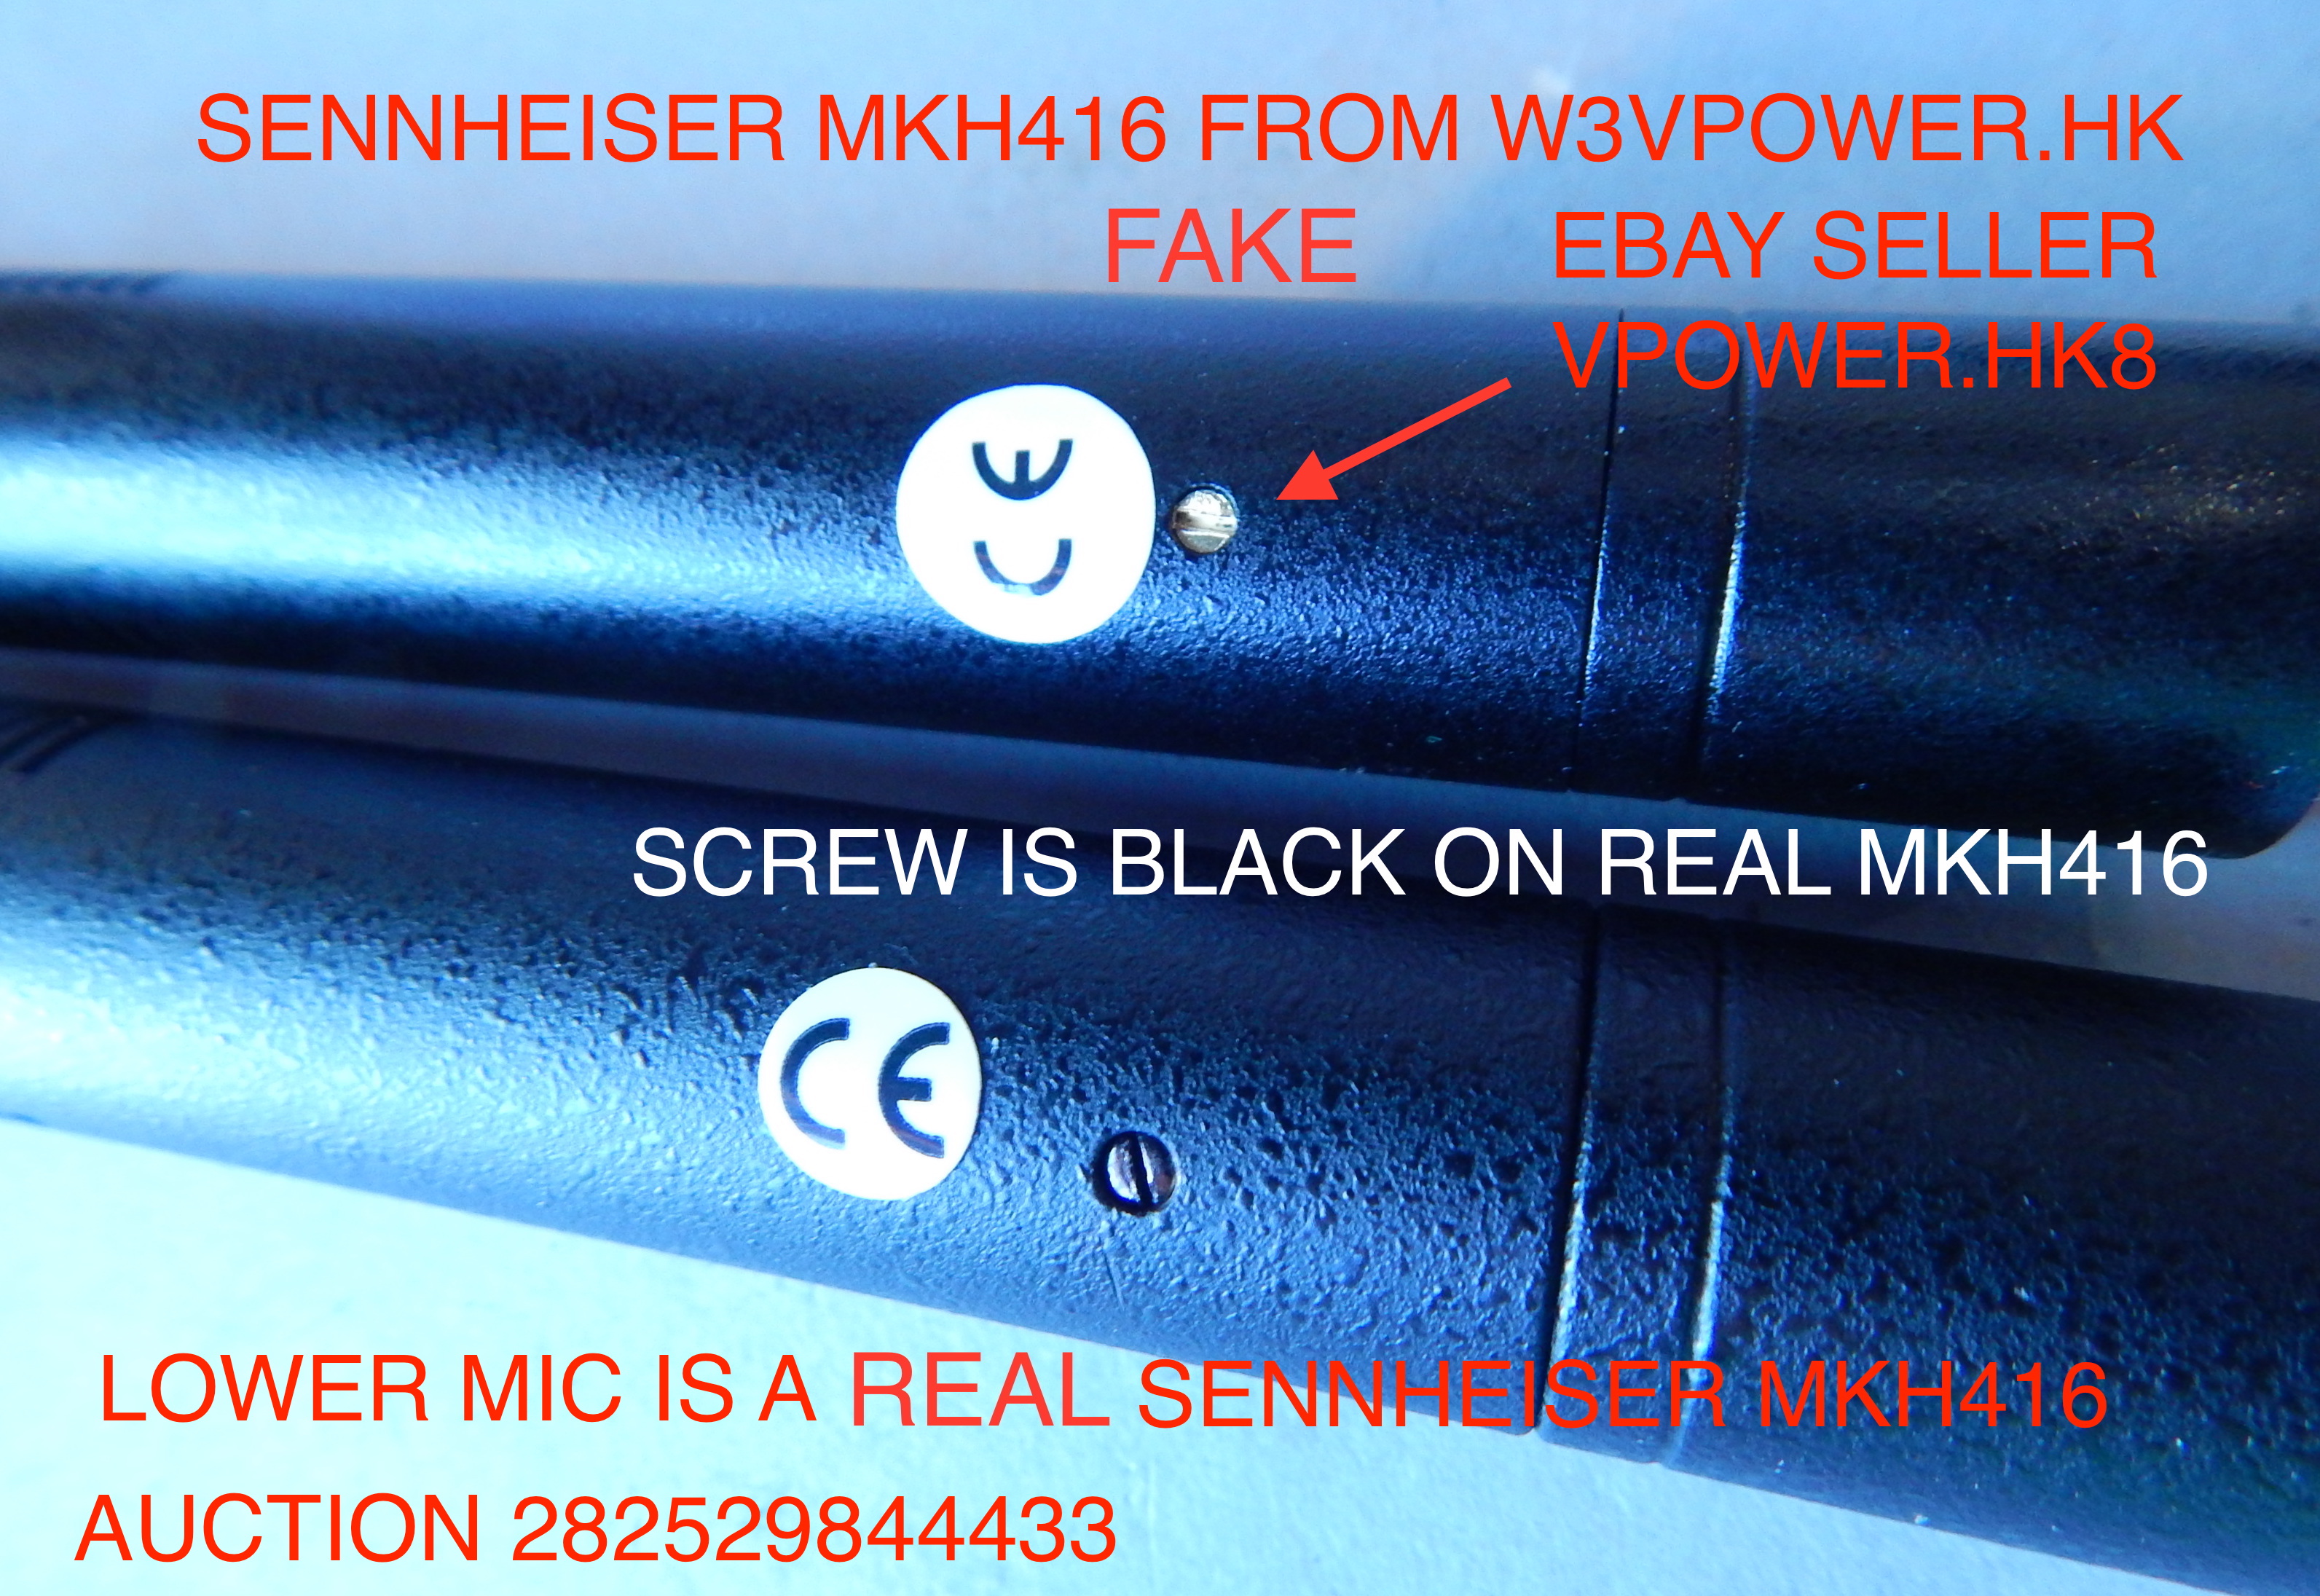
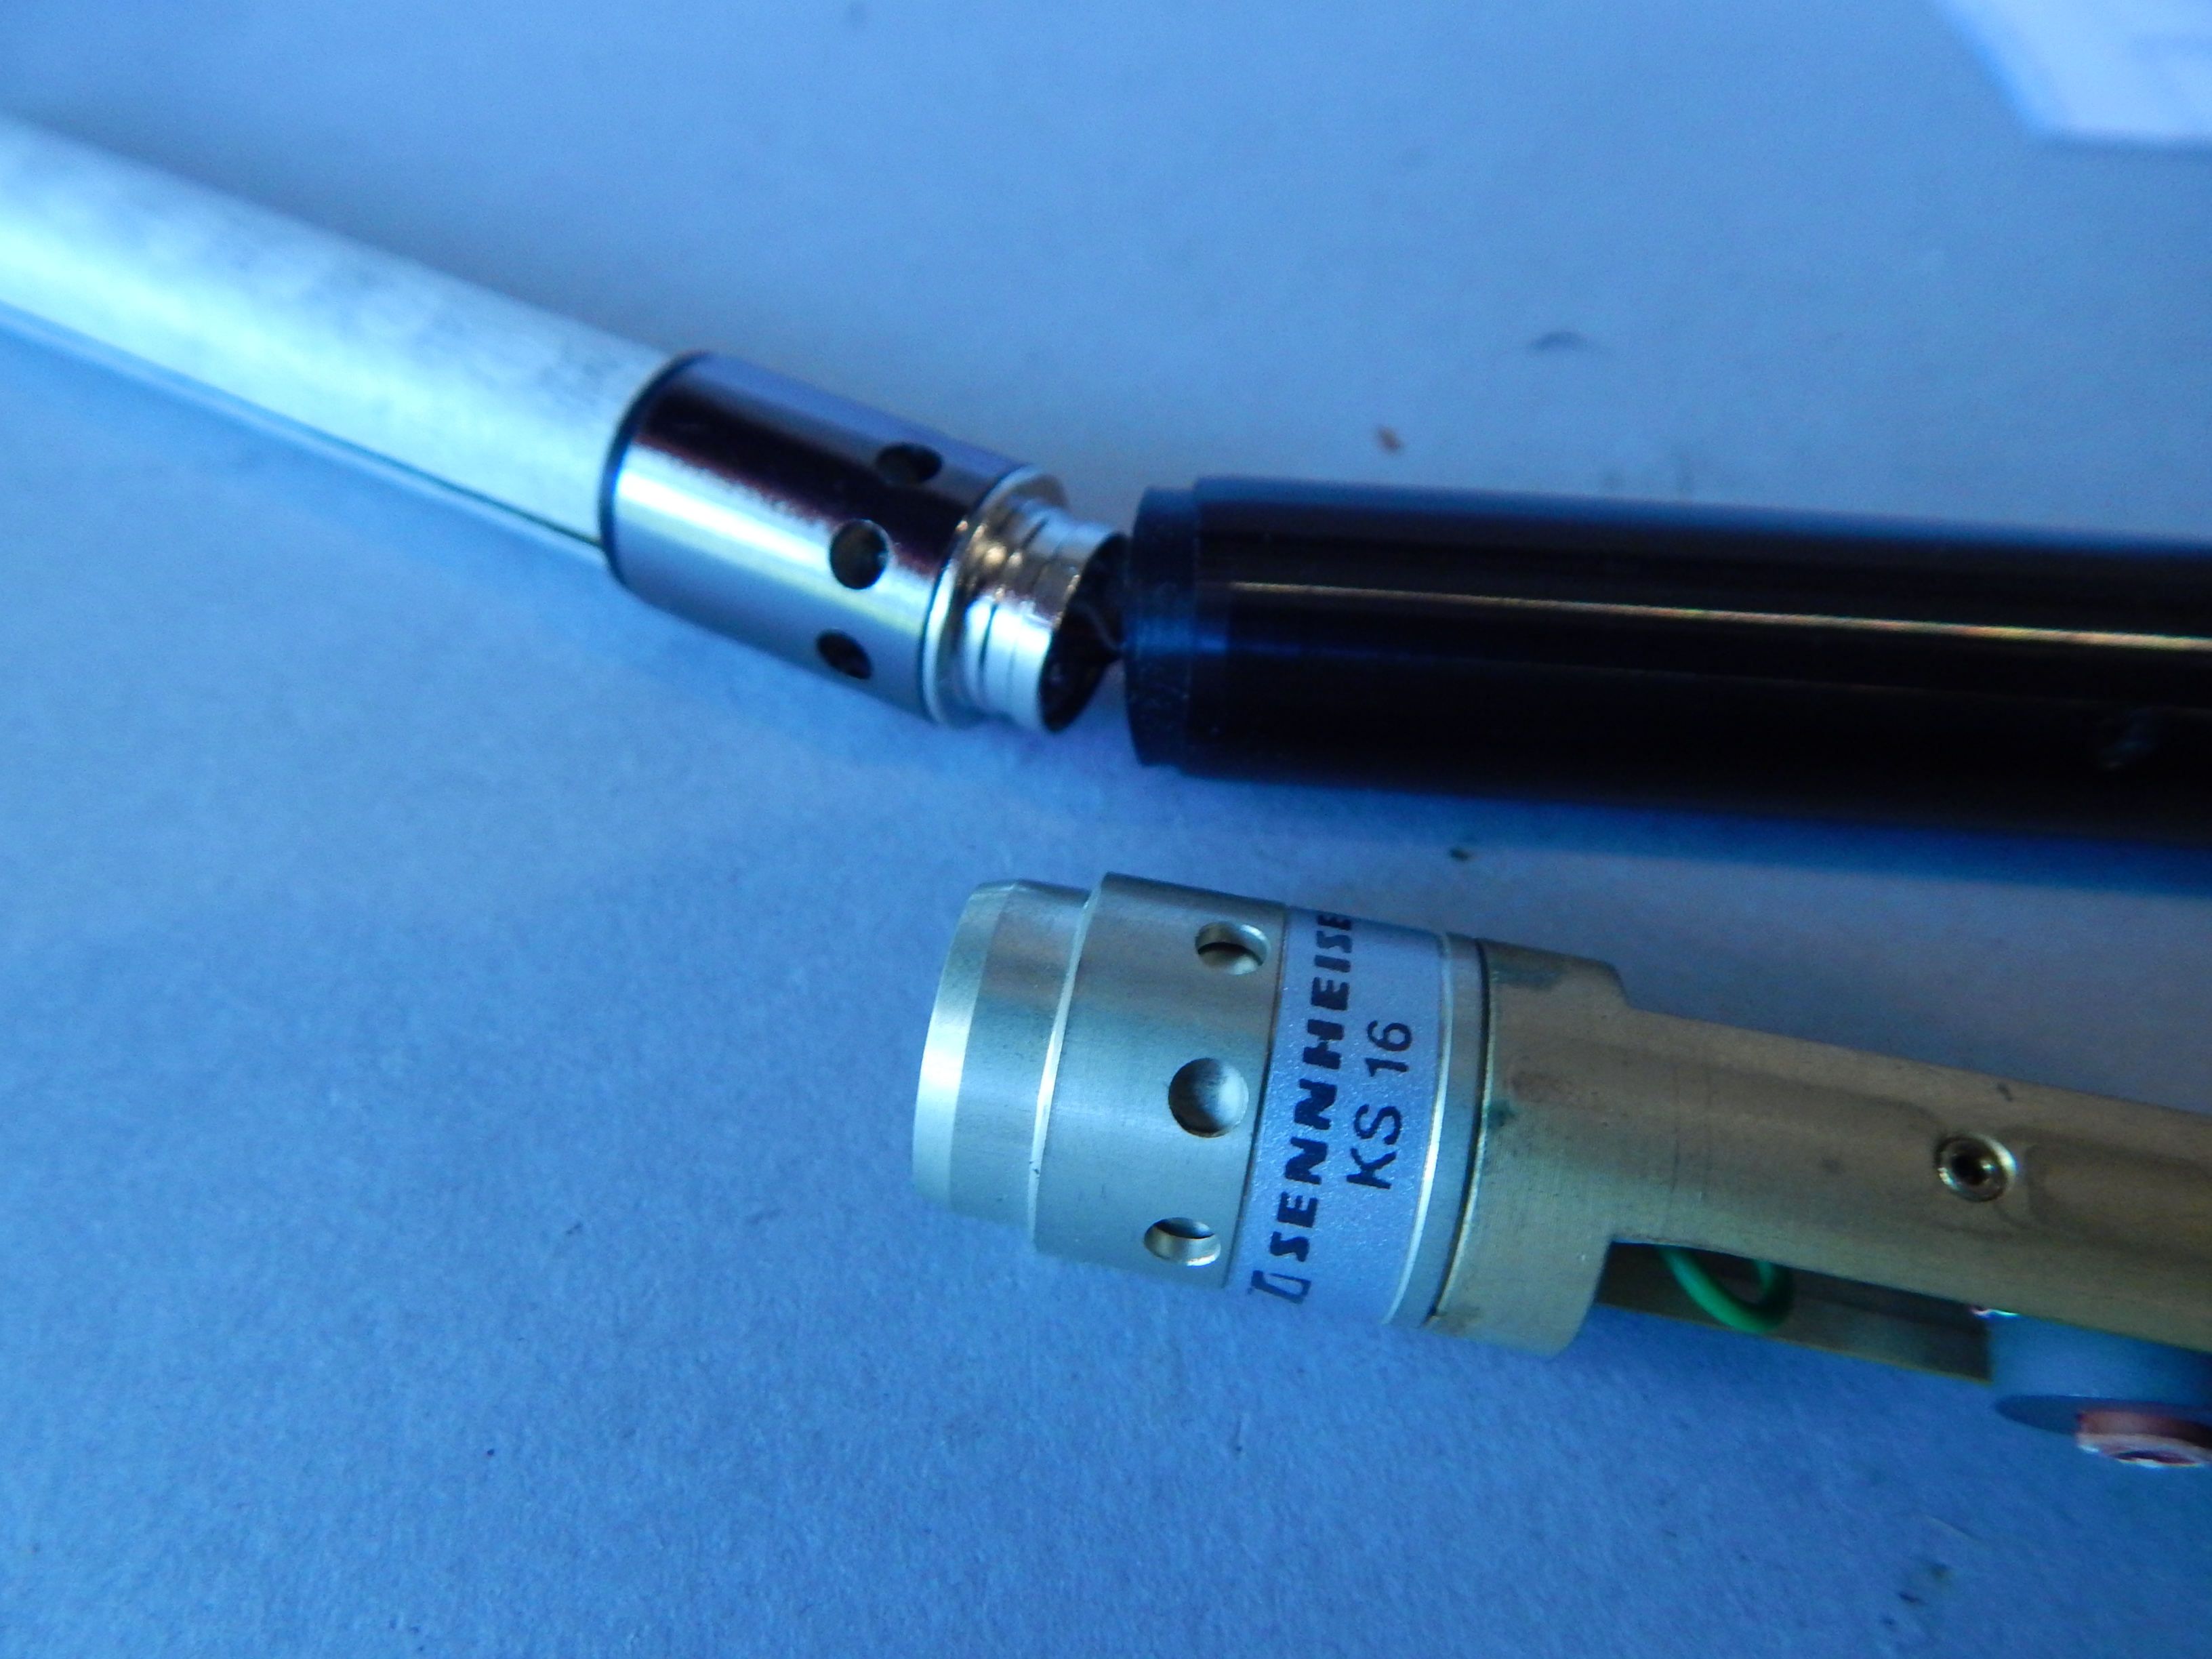
Real 416 (L) and fake (R). Notice paint underspray inside XLR, and silver vs gold pins.
However, there are sellers on ebay peddling fake 416’s. Who knows if there are hundreds stored in some Shenzhen warehouse?
I have a sideline business that upgrades the older 416 T-power mics to 48 volt phantom at www.416Tupgrade.com. Resultingly, I’ve been particularly interested in the daily street value of the 416 microphone, as I have ended up with a pile of them from R&D efforts. I’m interested in how the sale of counterfeits and other marketplace factors effects the mic’s value. So I’ve been following the sellers of fake 416s on ebay for a couple of years. And my fascination with the affair led to me buying my own counterfeit 416, just to get my hands on one, and test it, compare it, and follow the seller’s trail through an ebay purchase. Down the rabbit hole I go!
A quick review of everything we know about spotting a fake Sennheiser MKH416:
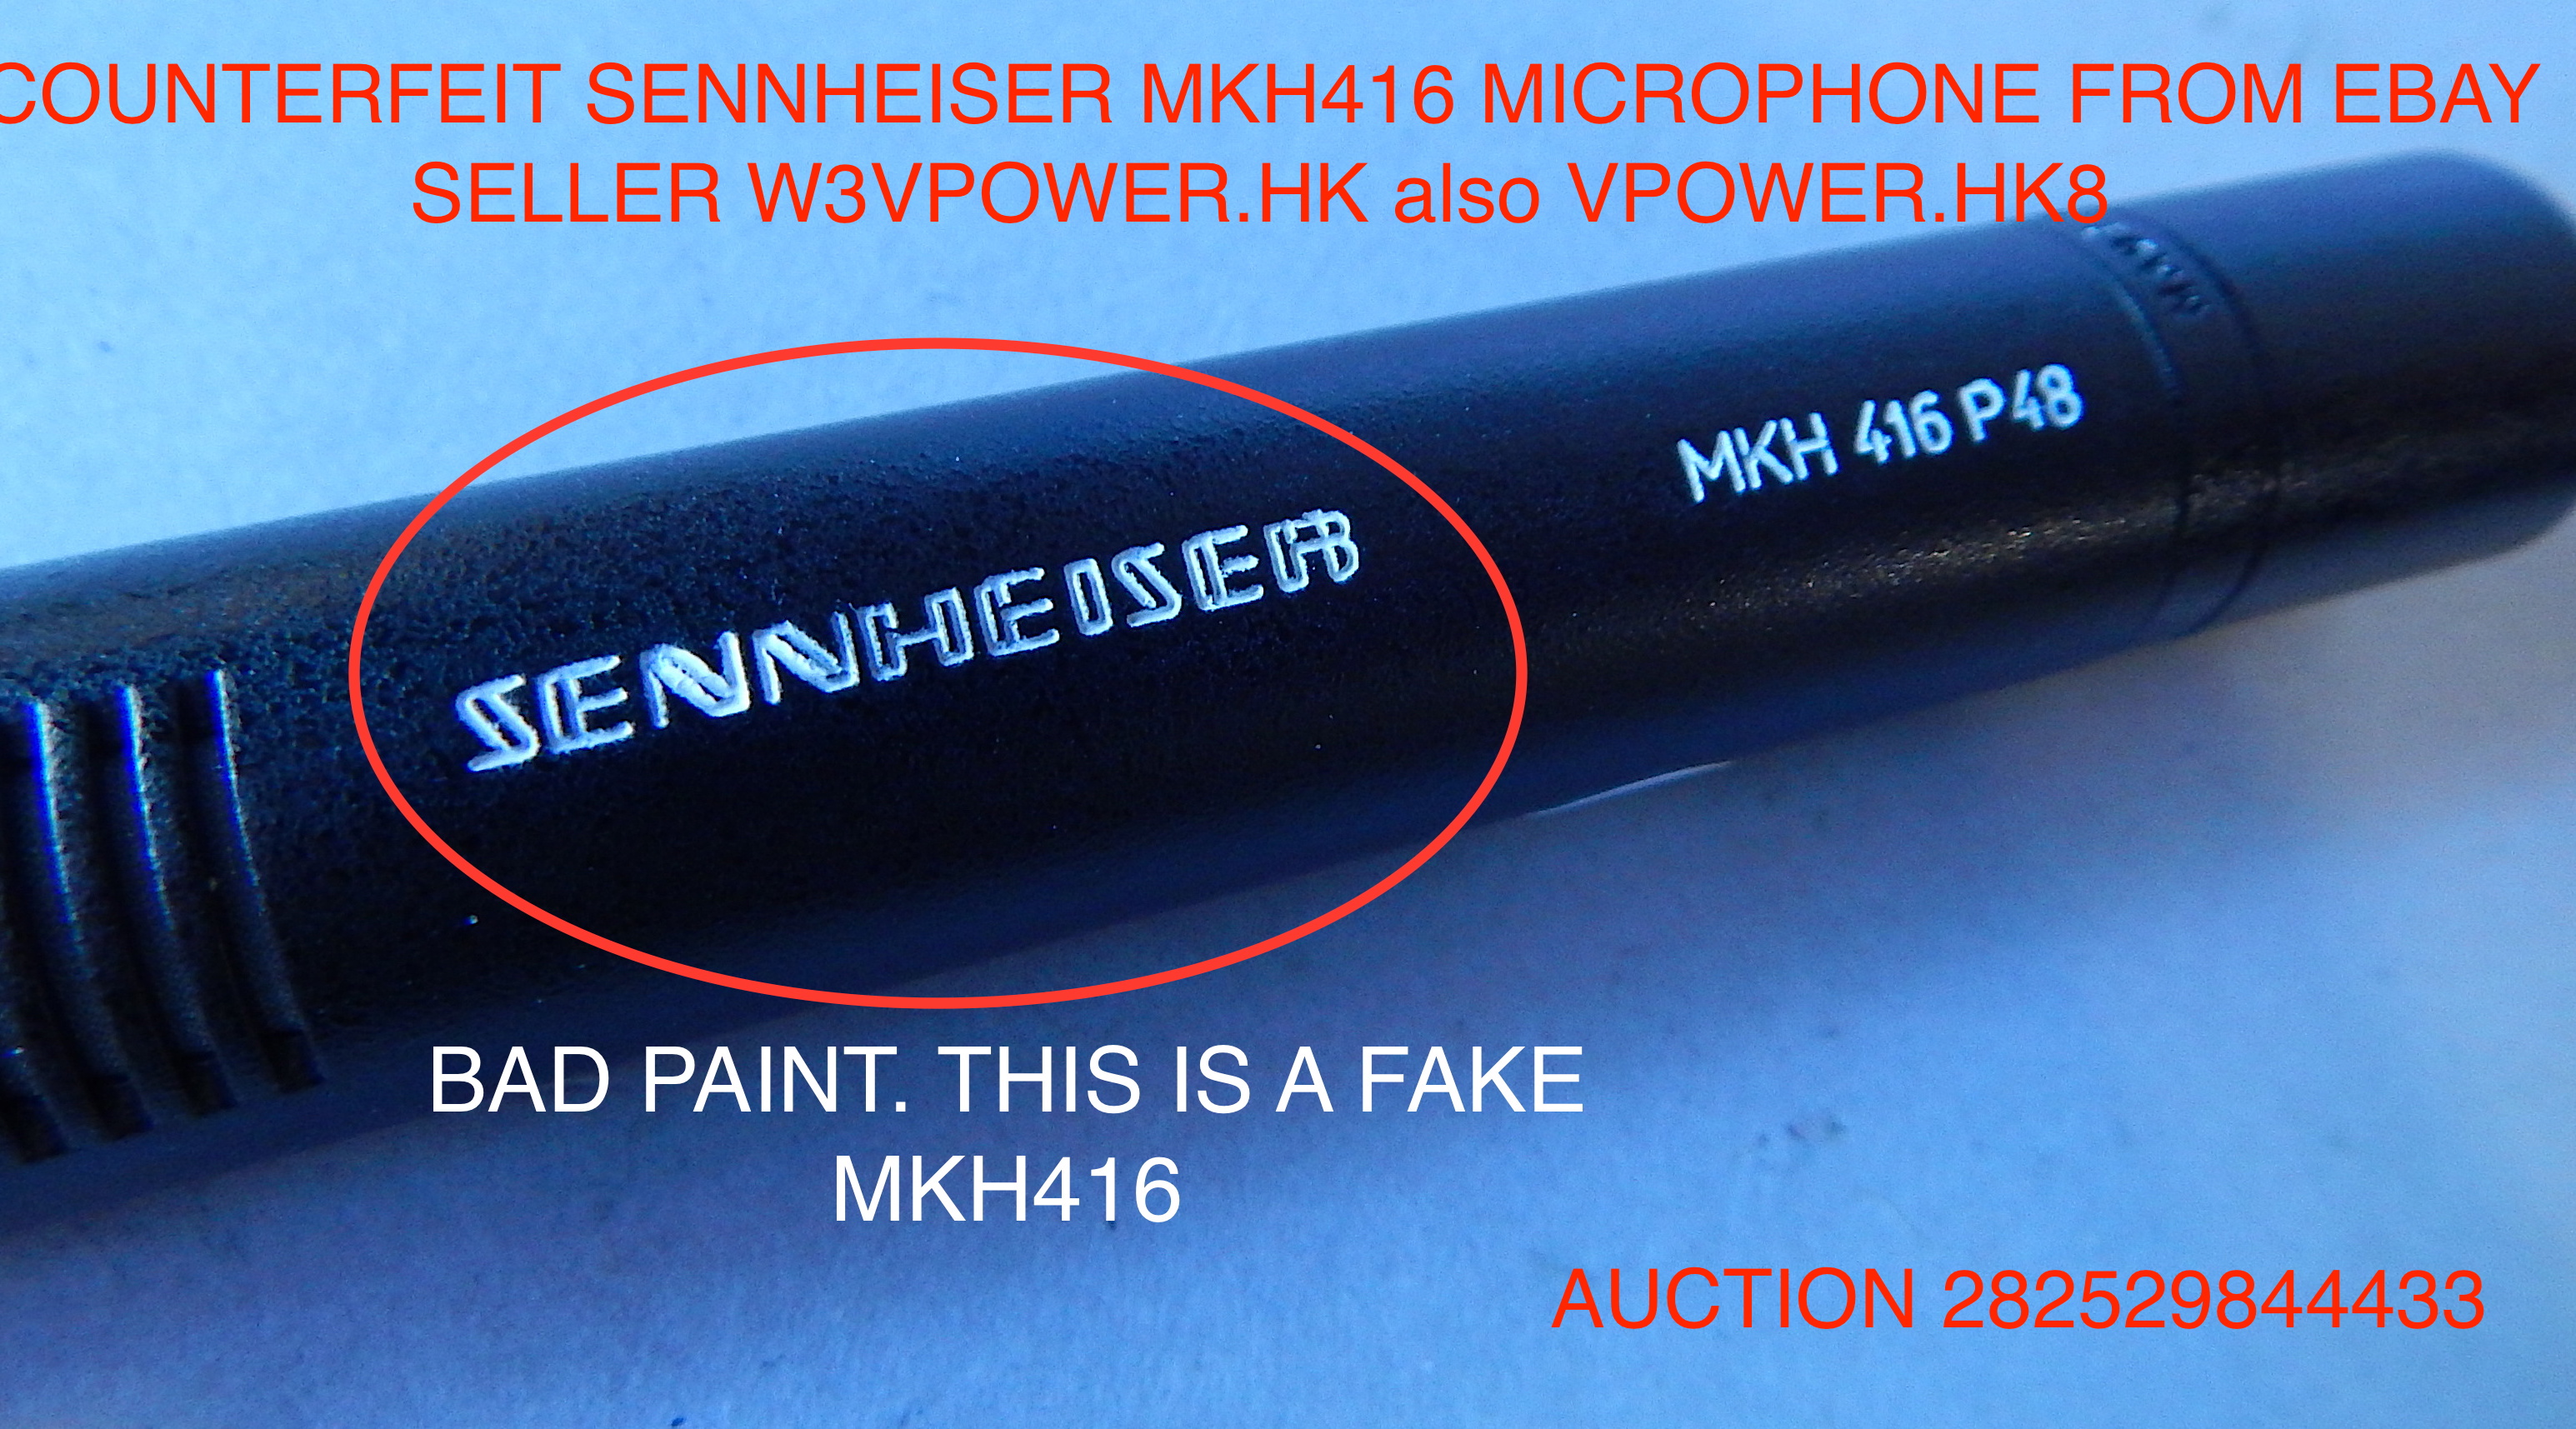
They are typically sold on ebay from sellers in China. The box is the old-style blue striped Sennheiser Box. The plastic case often has the blue “Sennheiser” painted poorly. The label on the box may have the “U3” inverted to “3U” The foam windscreen is squarely cut and looks cheap. See photos below.
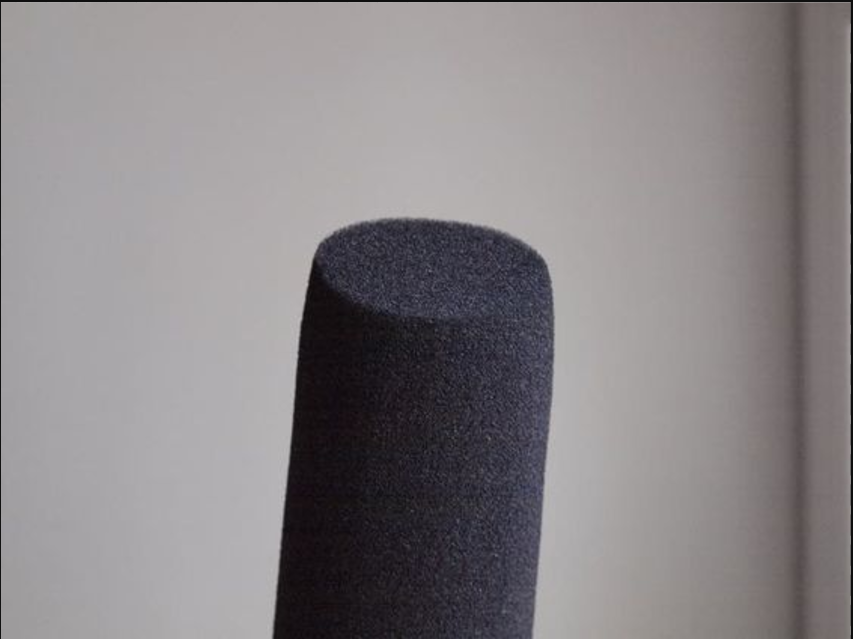
Fake 416 Windscreen with its chopped off head…
Many have said this case paint job is sloppy. This one looks pretty good.

Rusted staples on the manual, WTF?
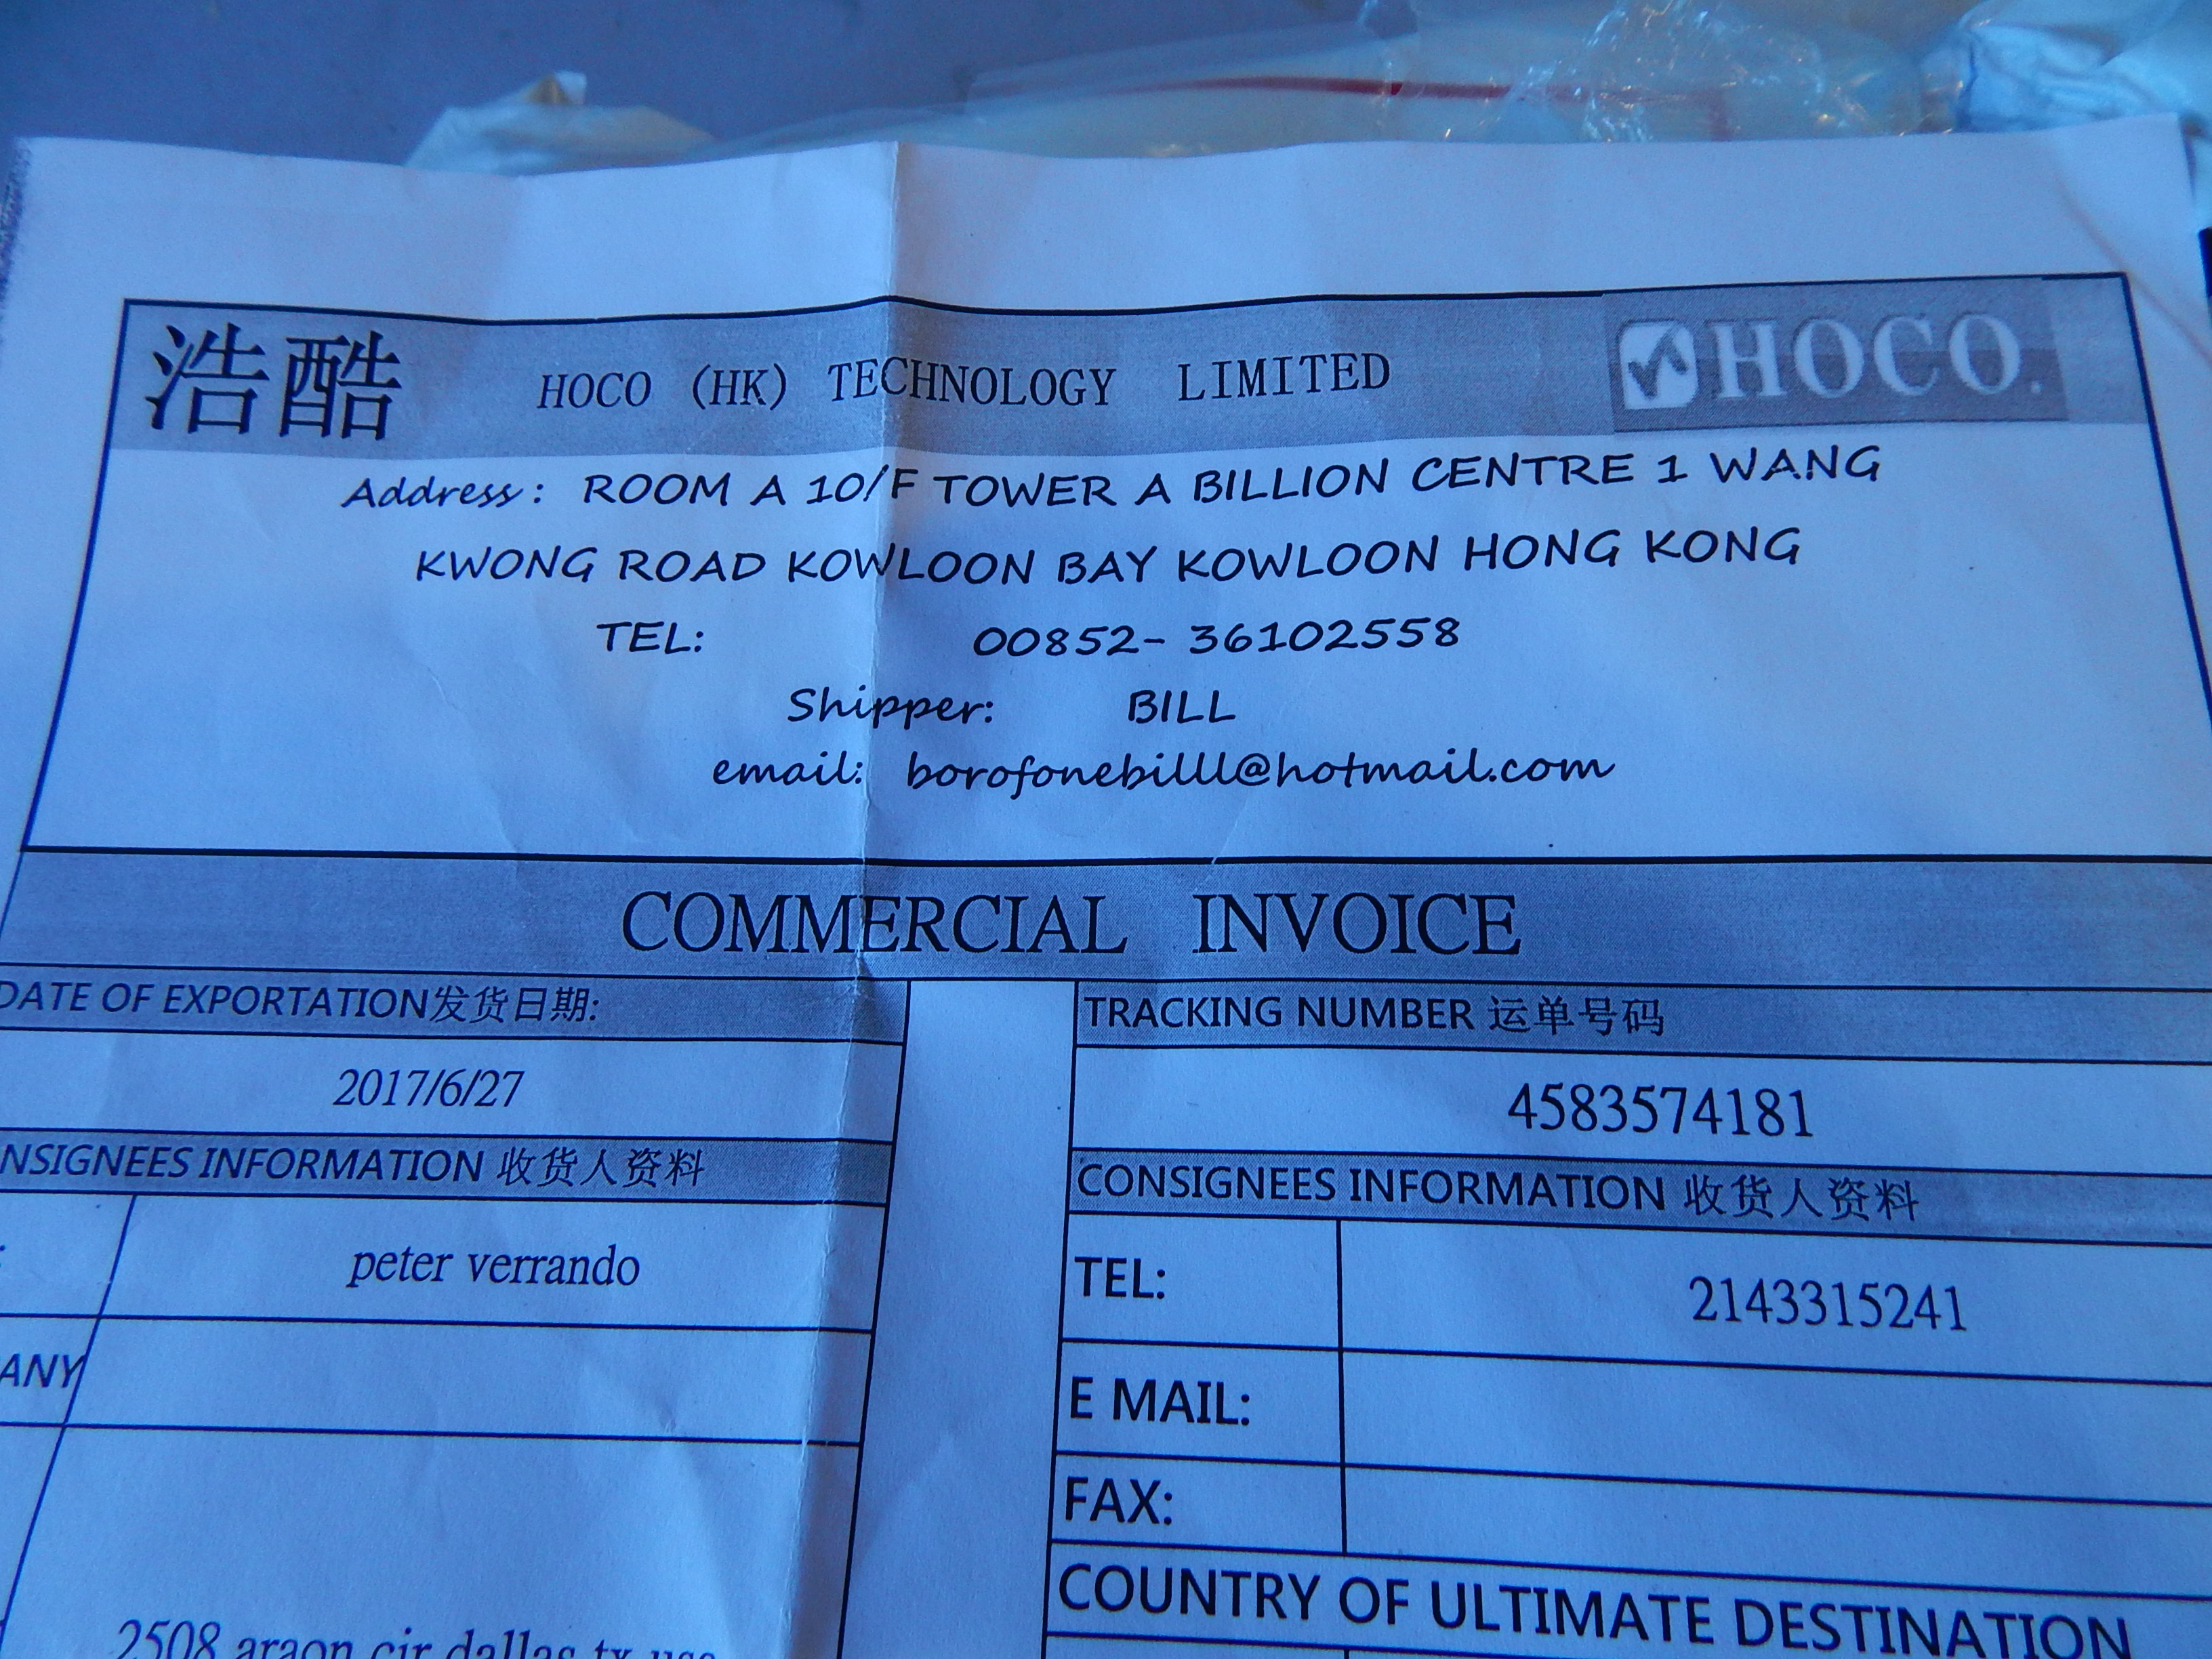
Shipping manifest from “Bill” over in Hong Kong
These titled photos are being sent to eBay along with the return authorization
As an observer, I’ve been alerting eBay about these auctions for months. This time, I’m the buyer!
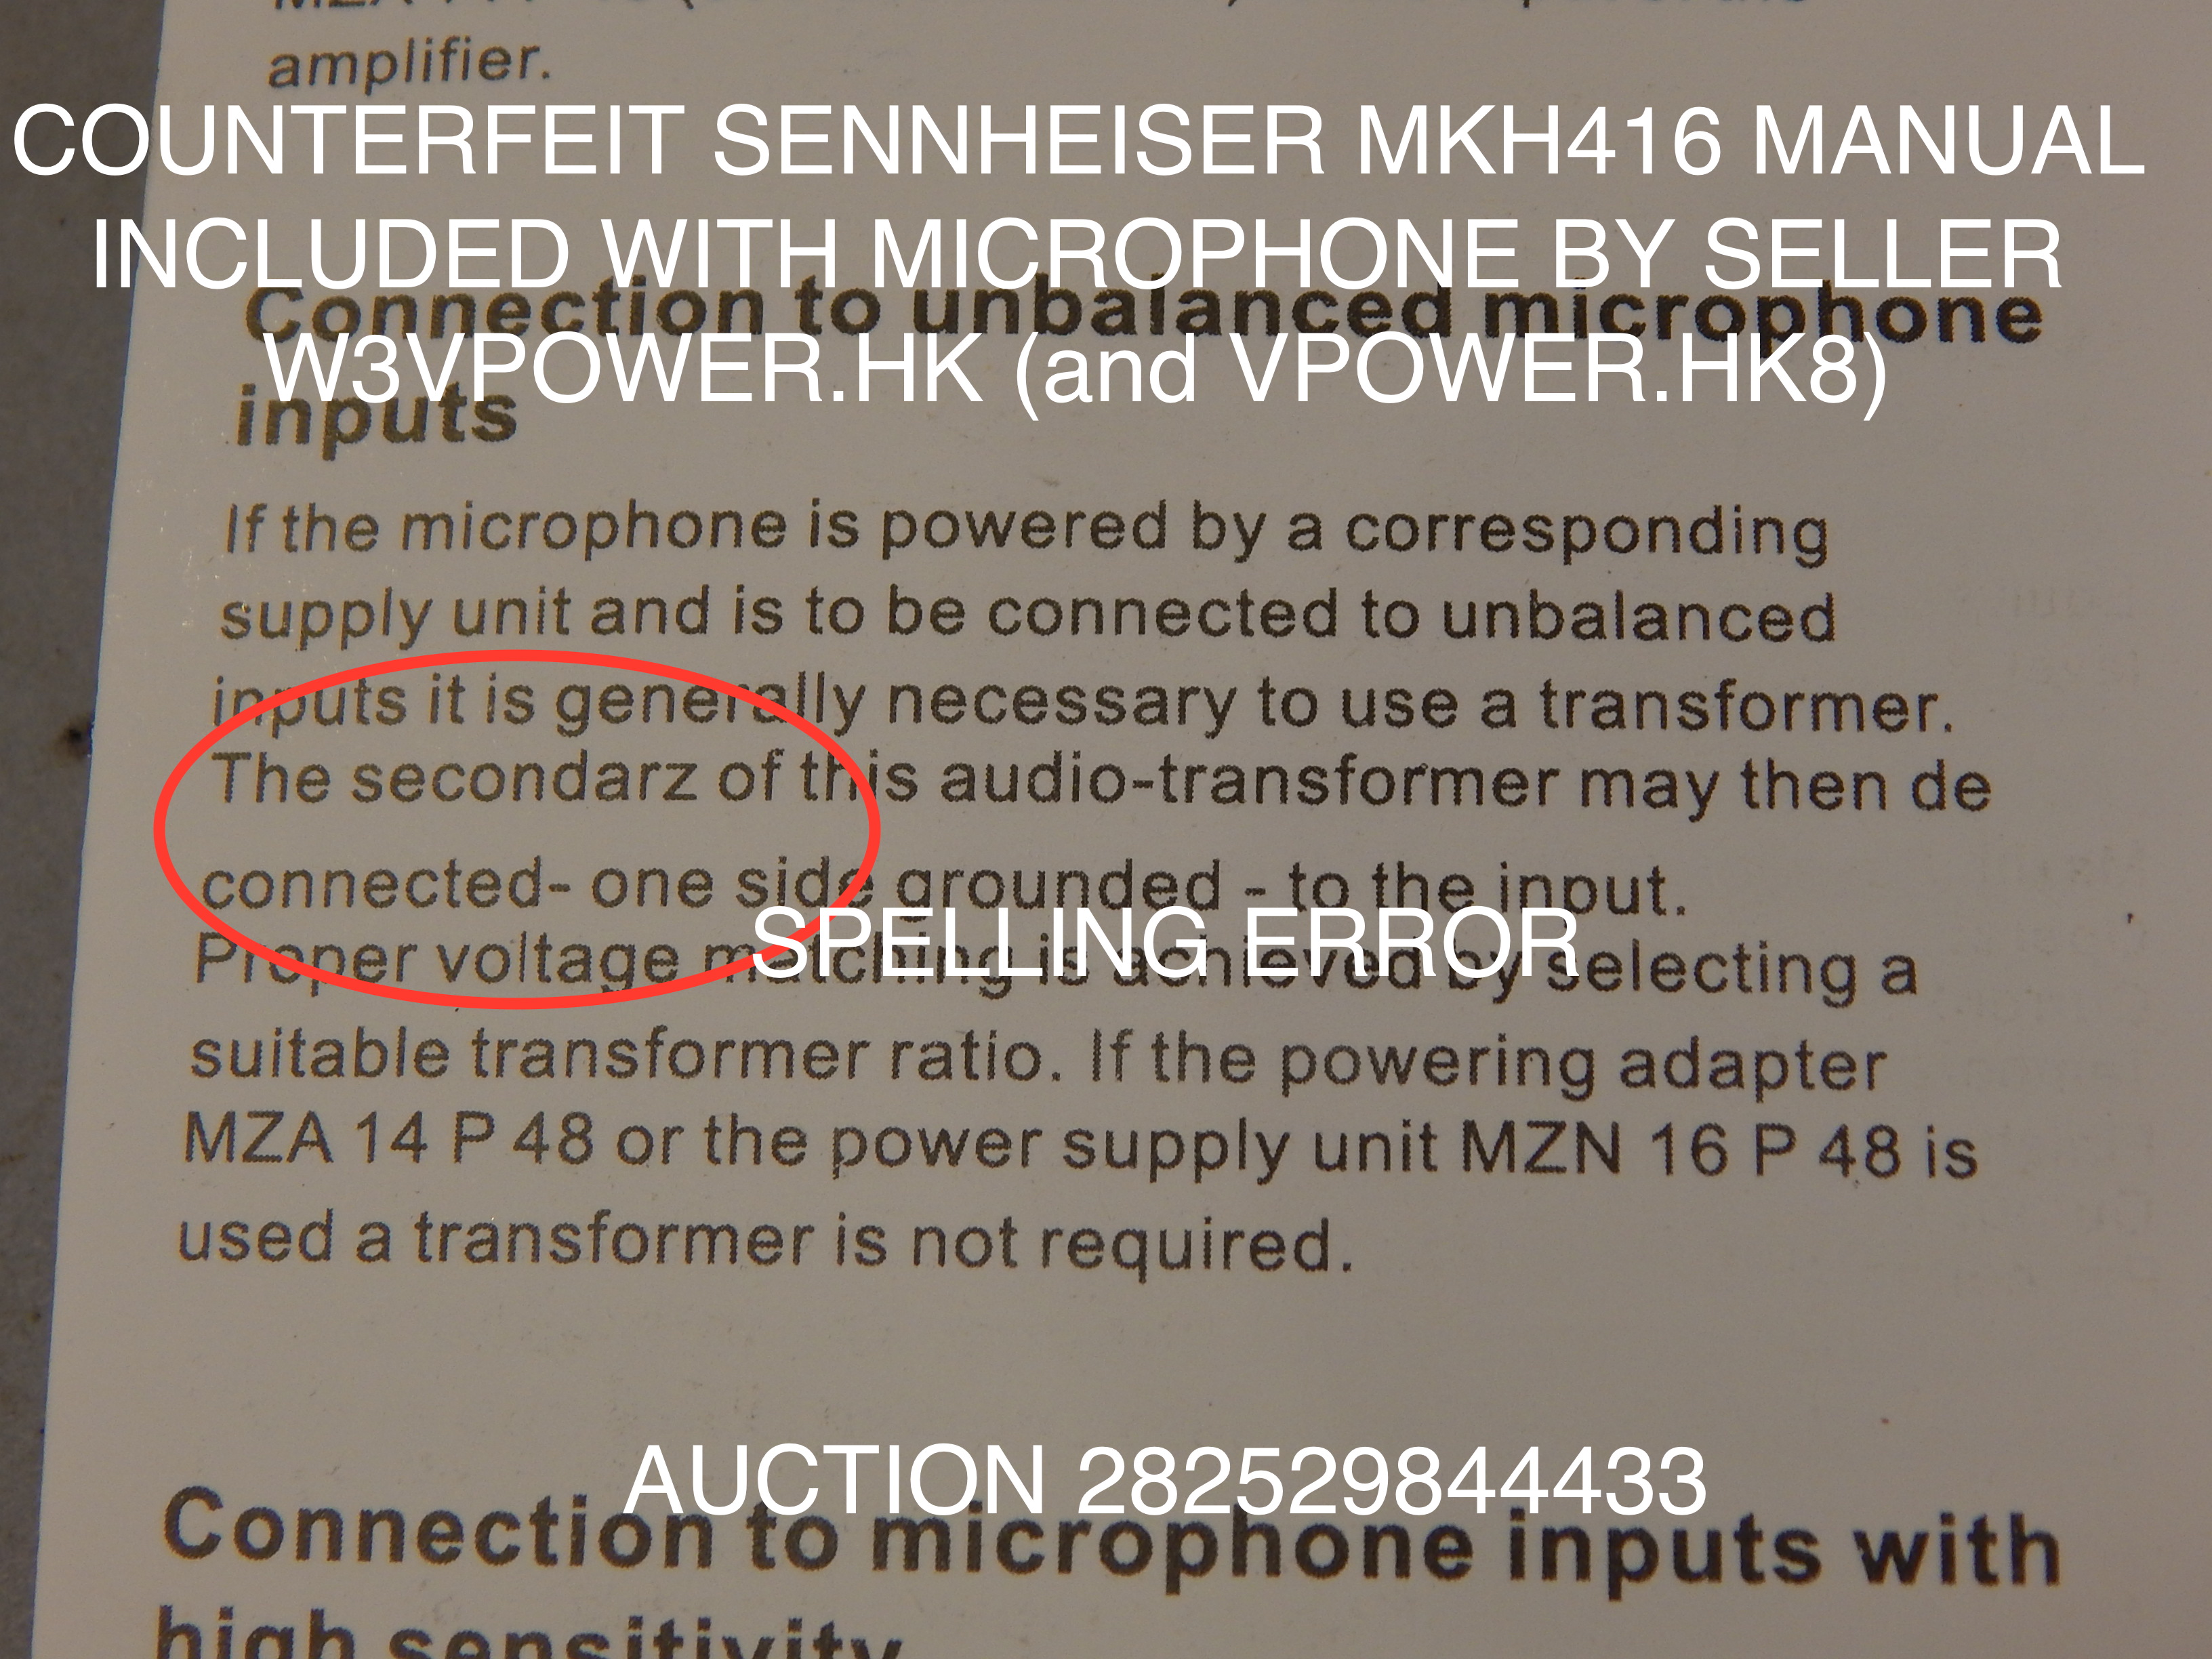
Spelling errors in the manual
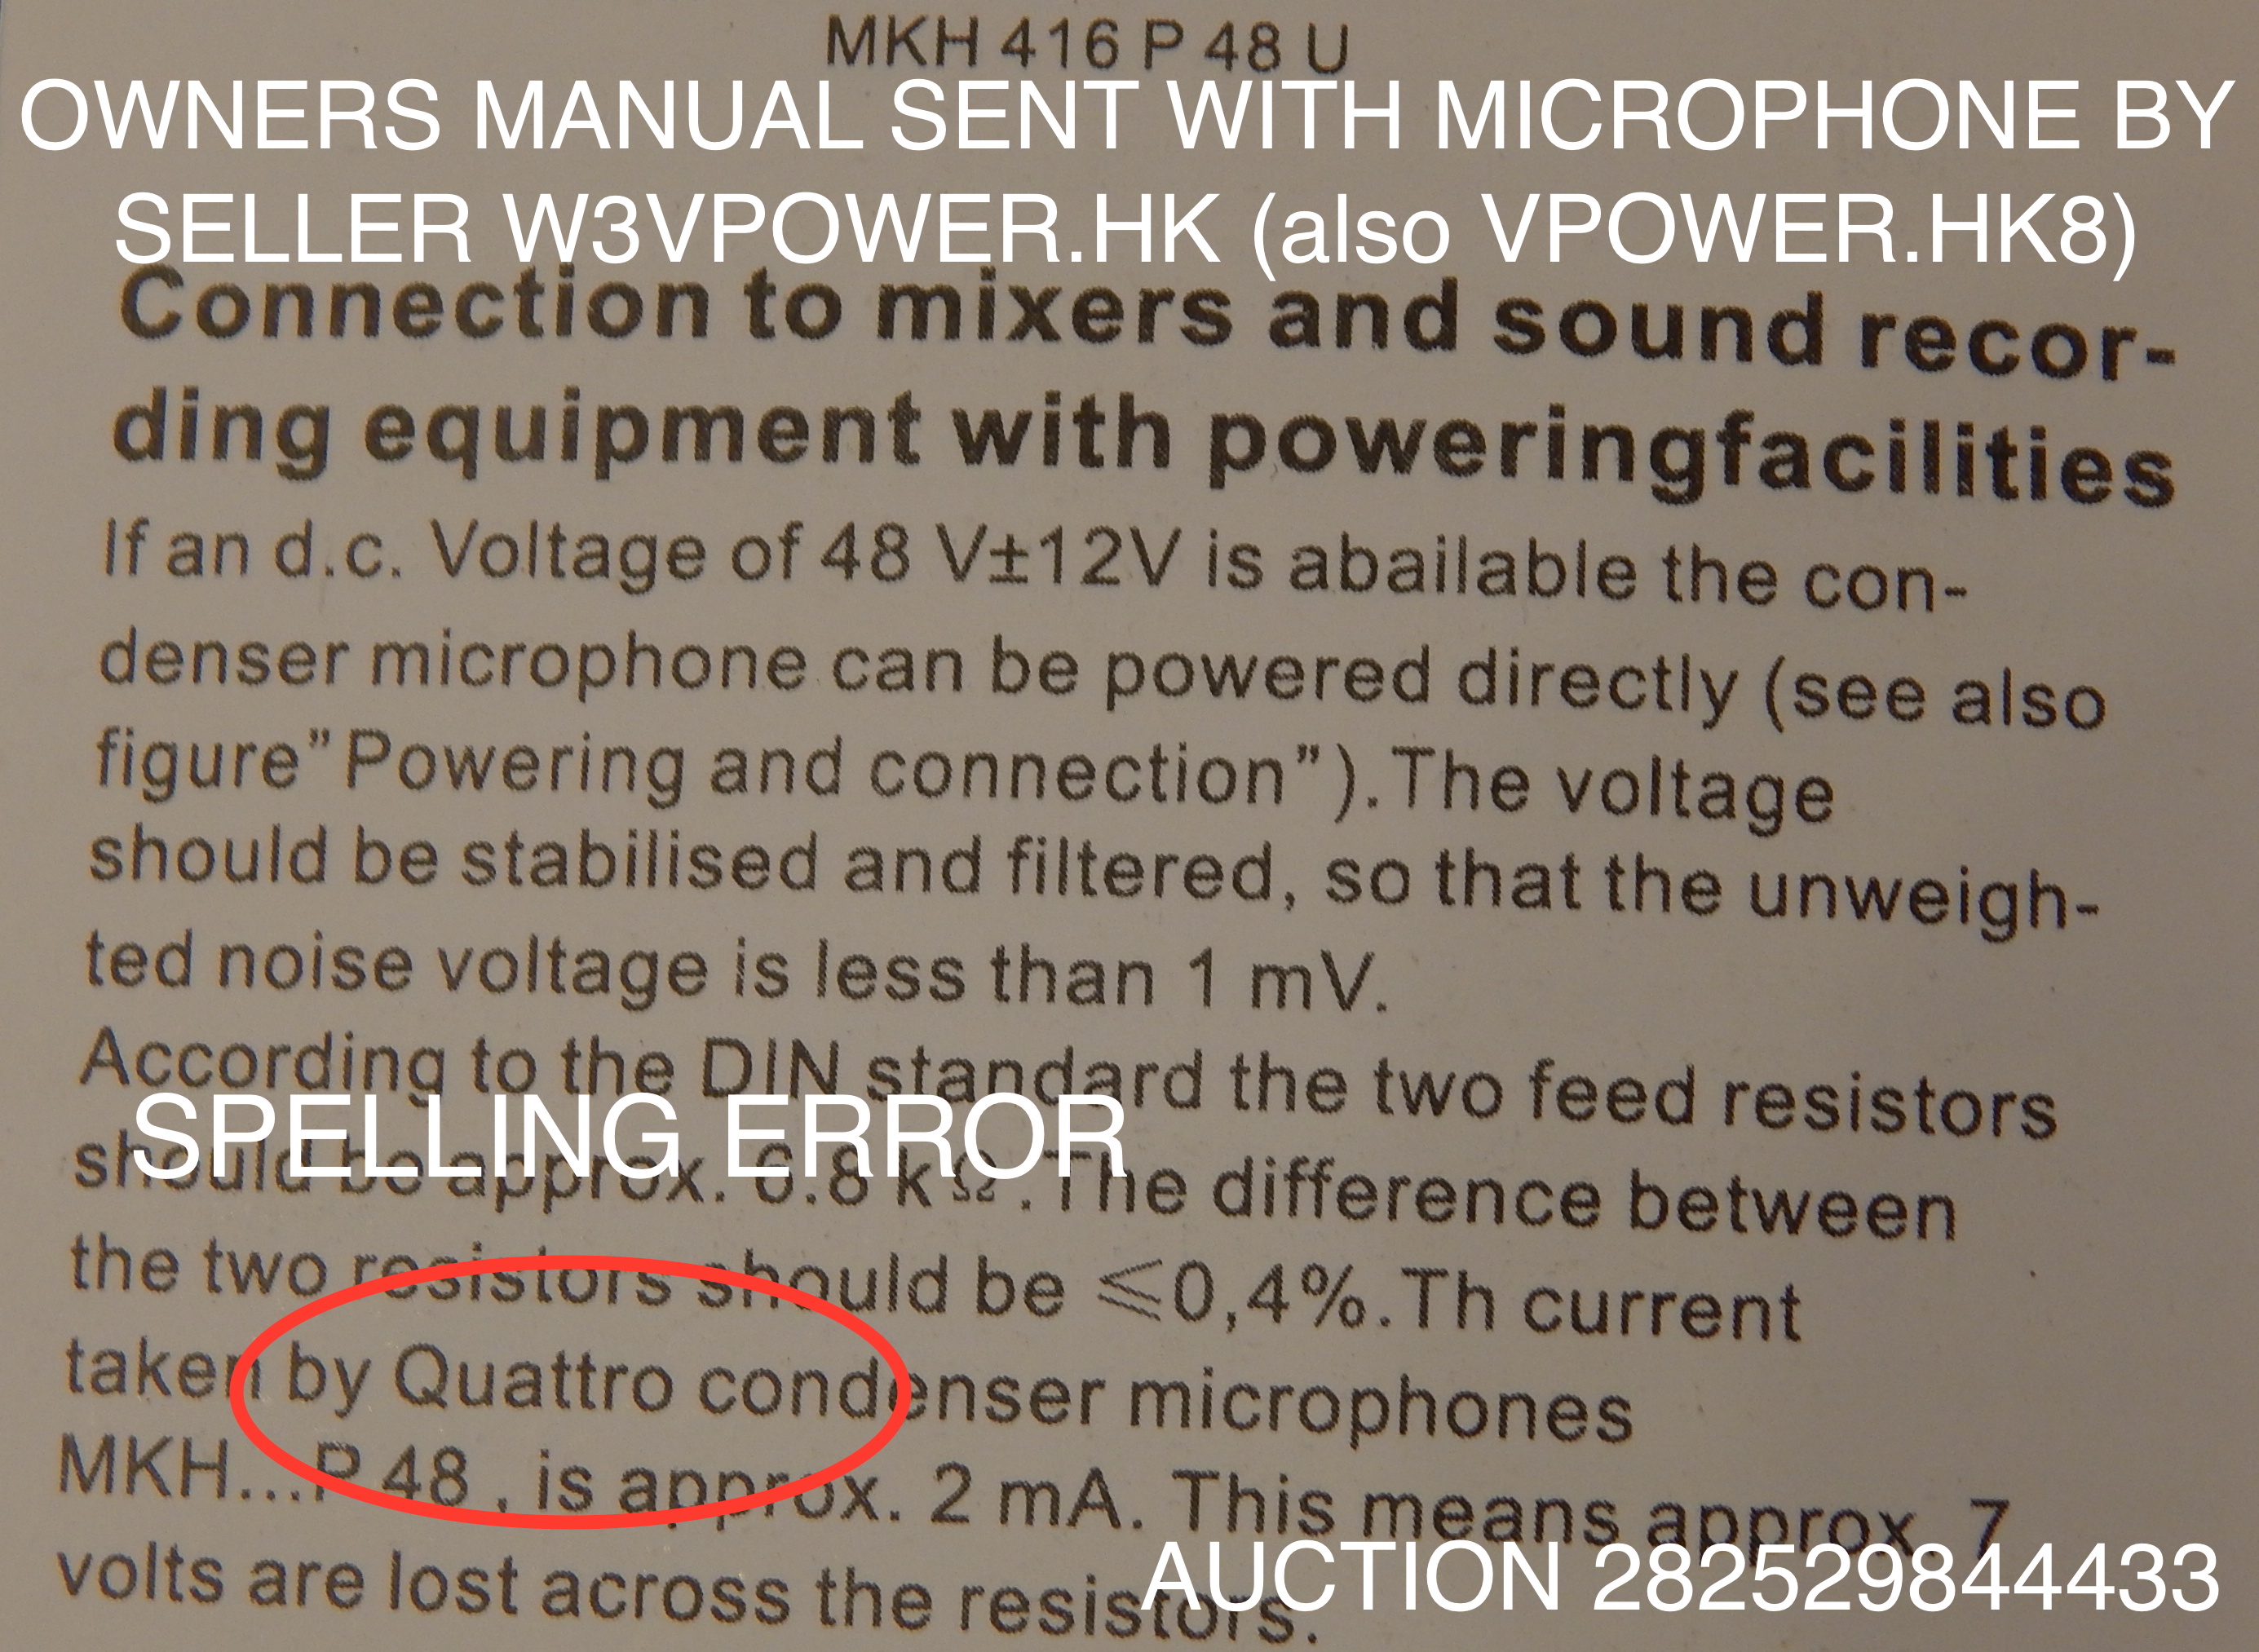
More spelling errors
Fake box label

Fake 416’s come in this colored box. -Pretty dog eared. The inventory’s probably been moved around quite a bit
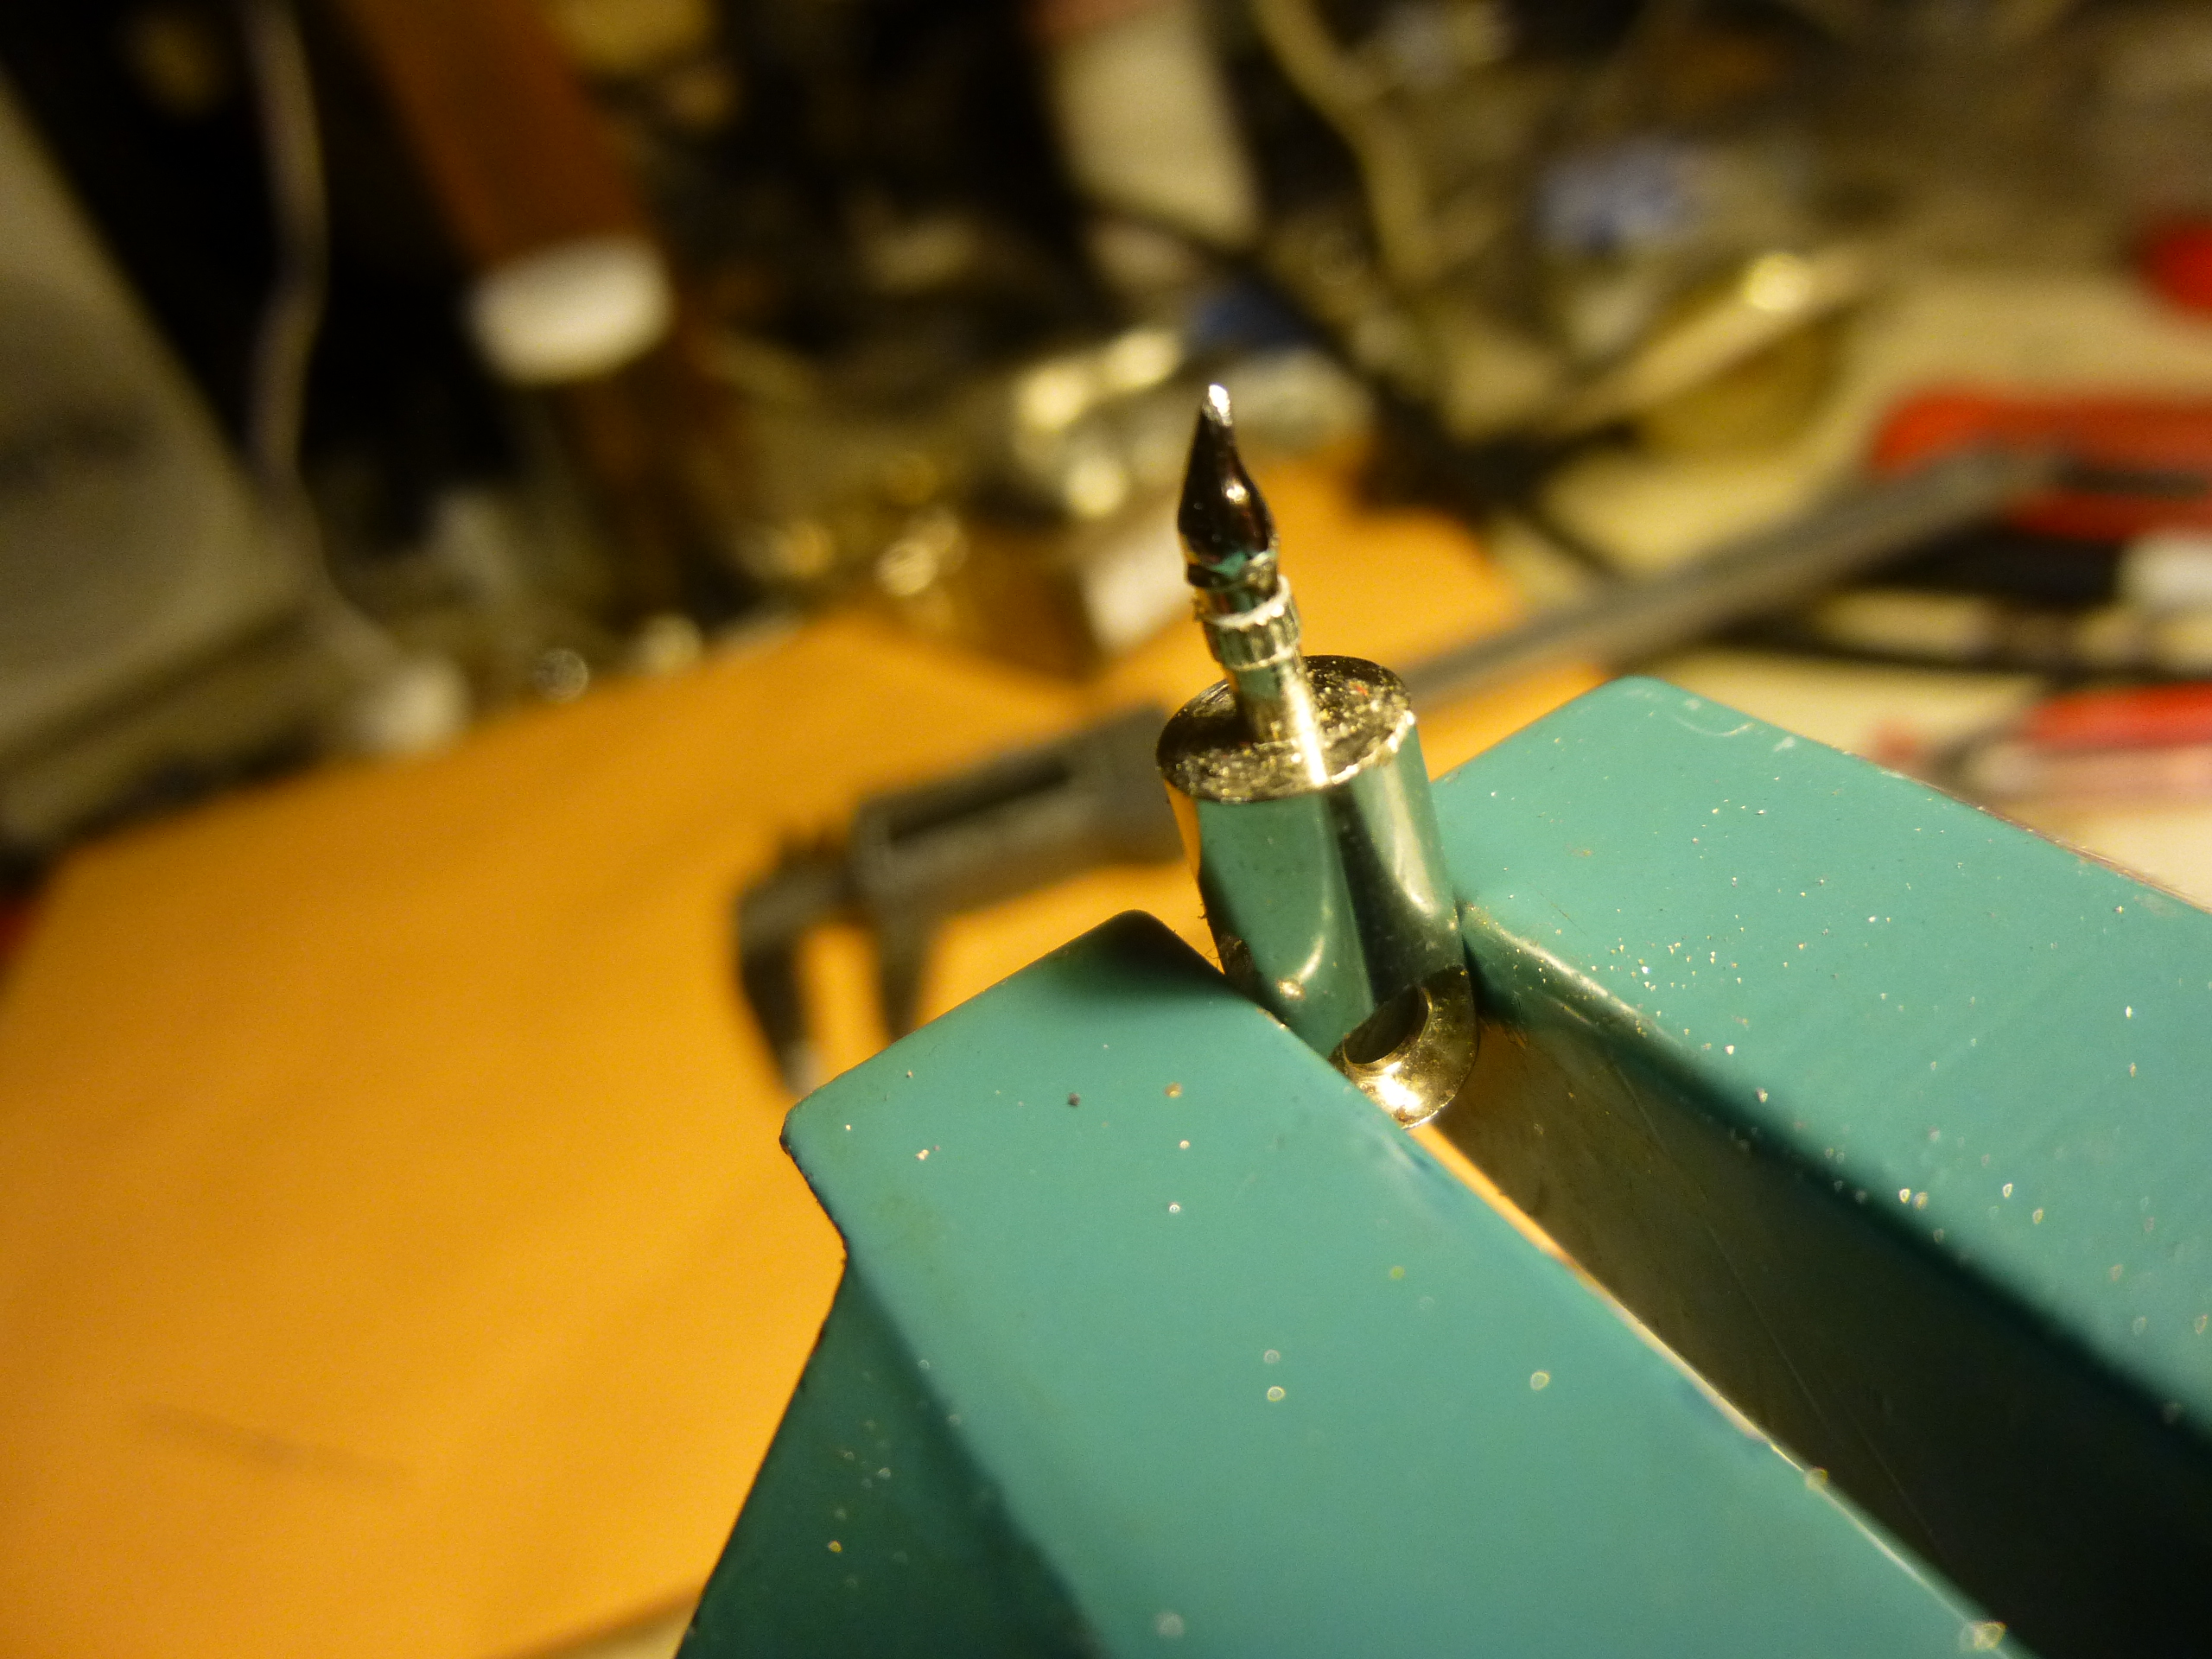
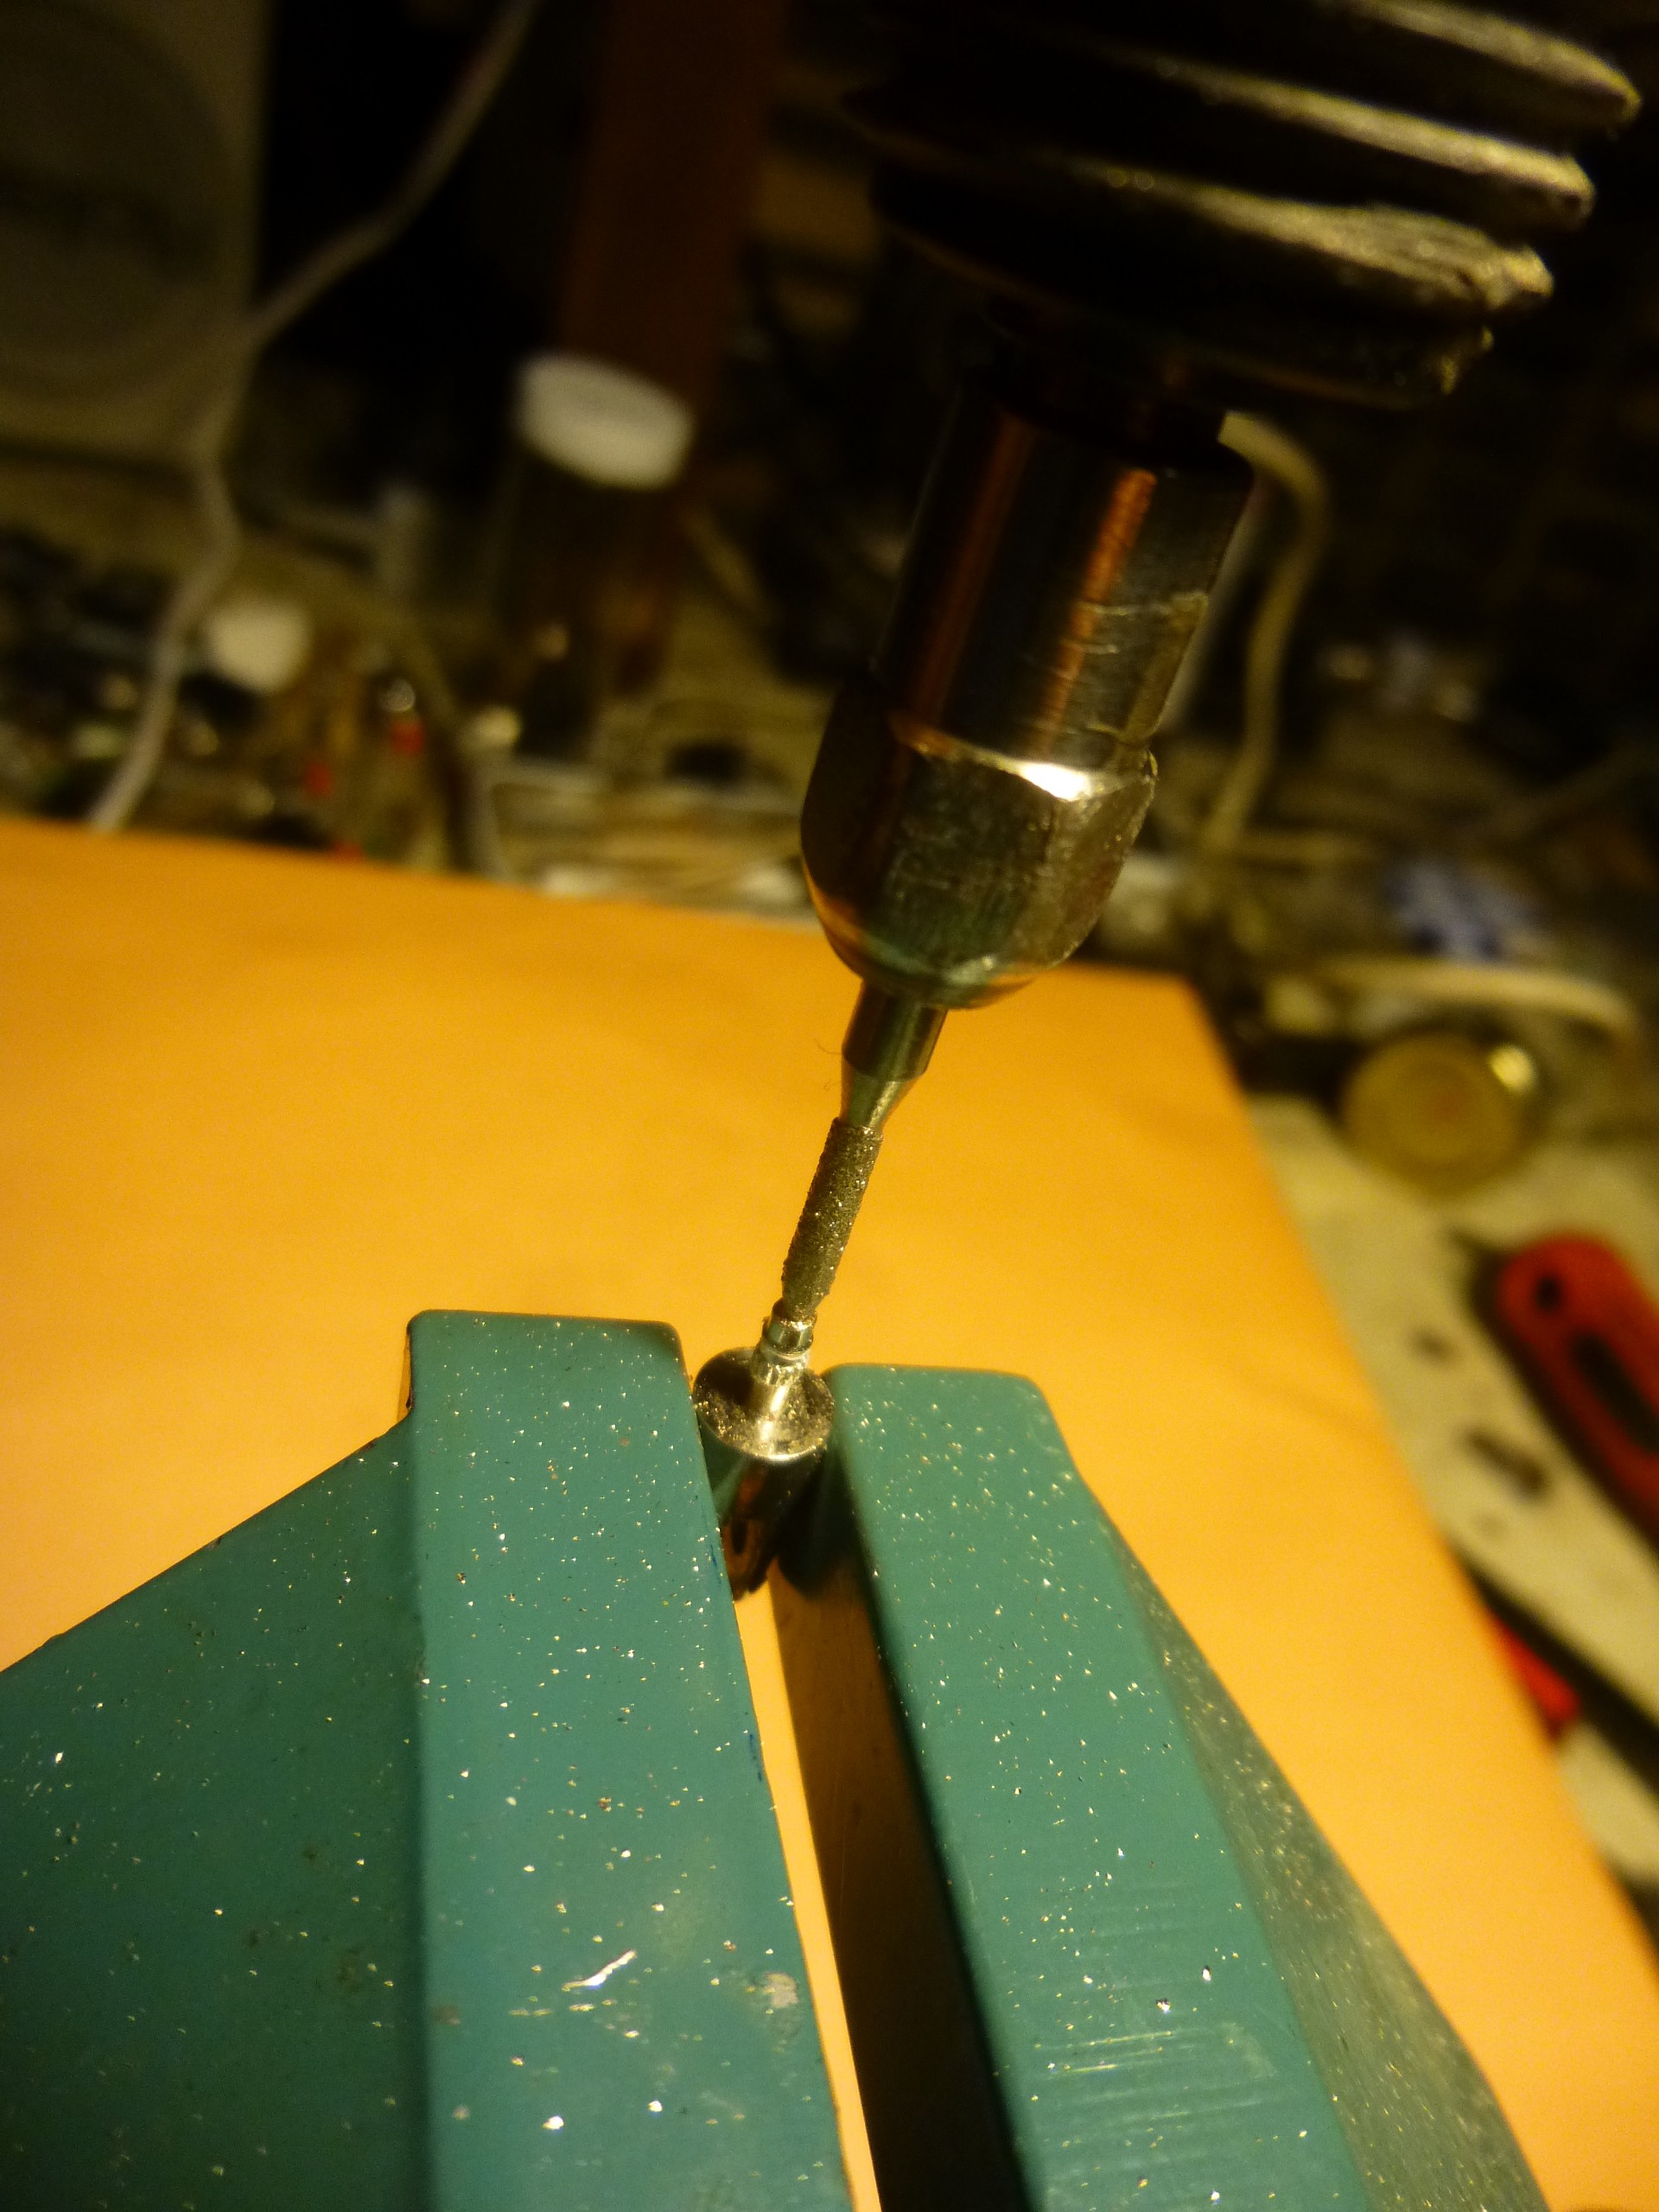
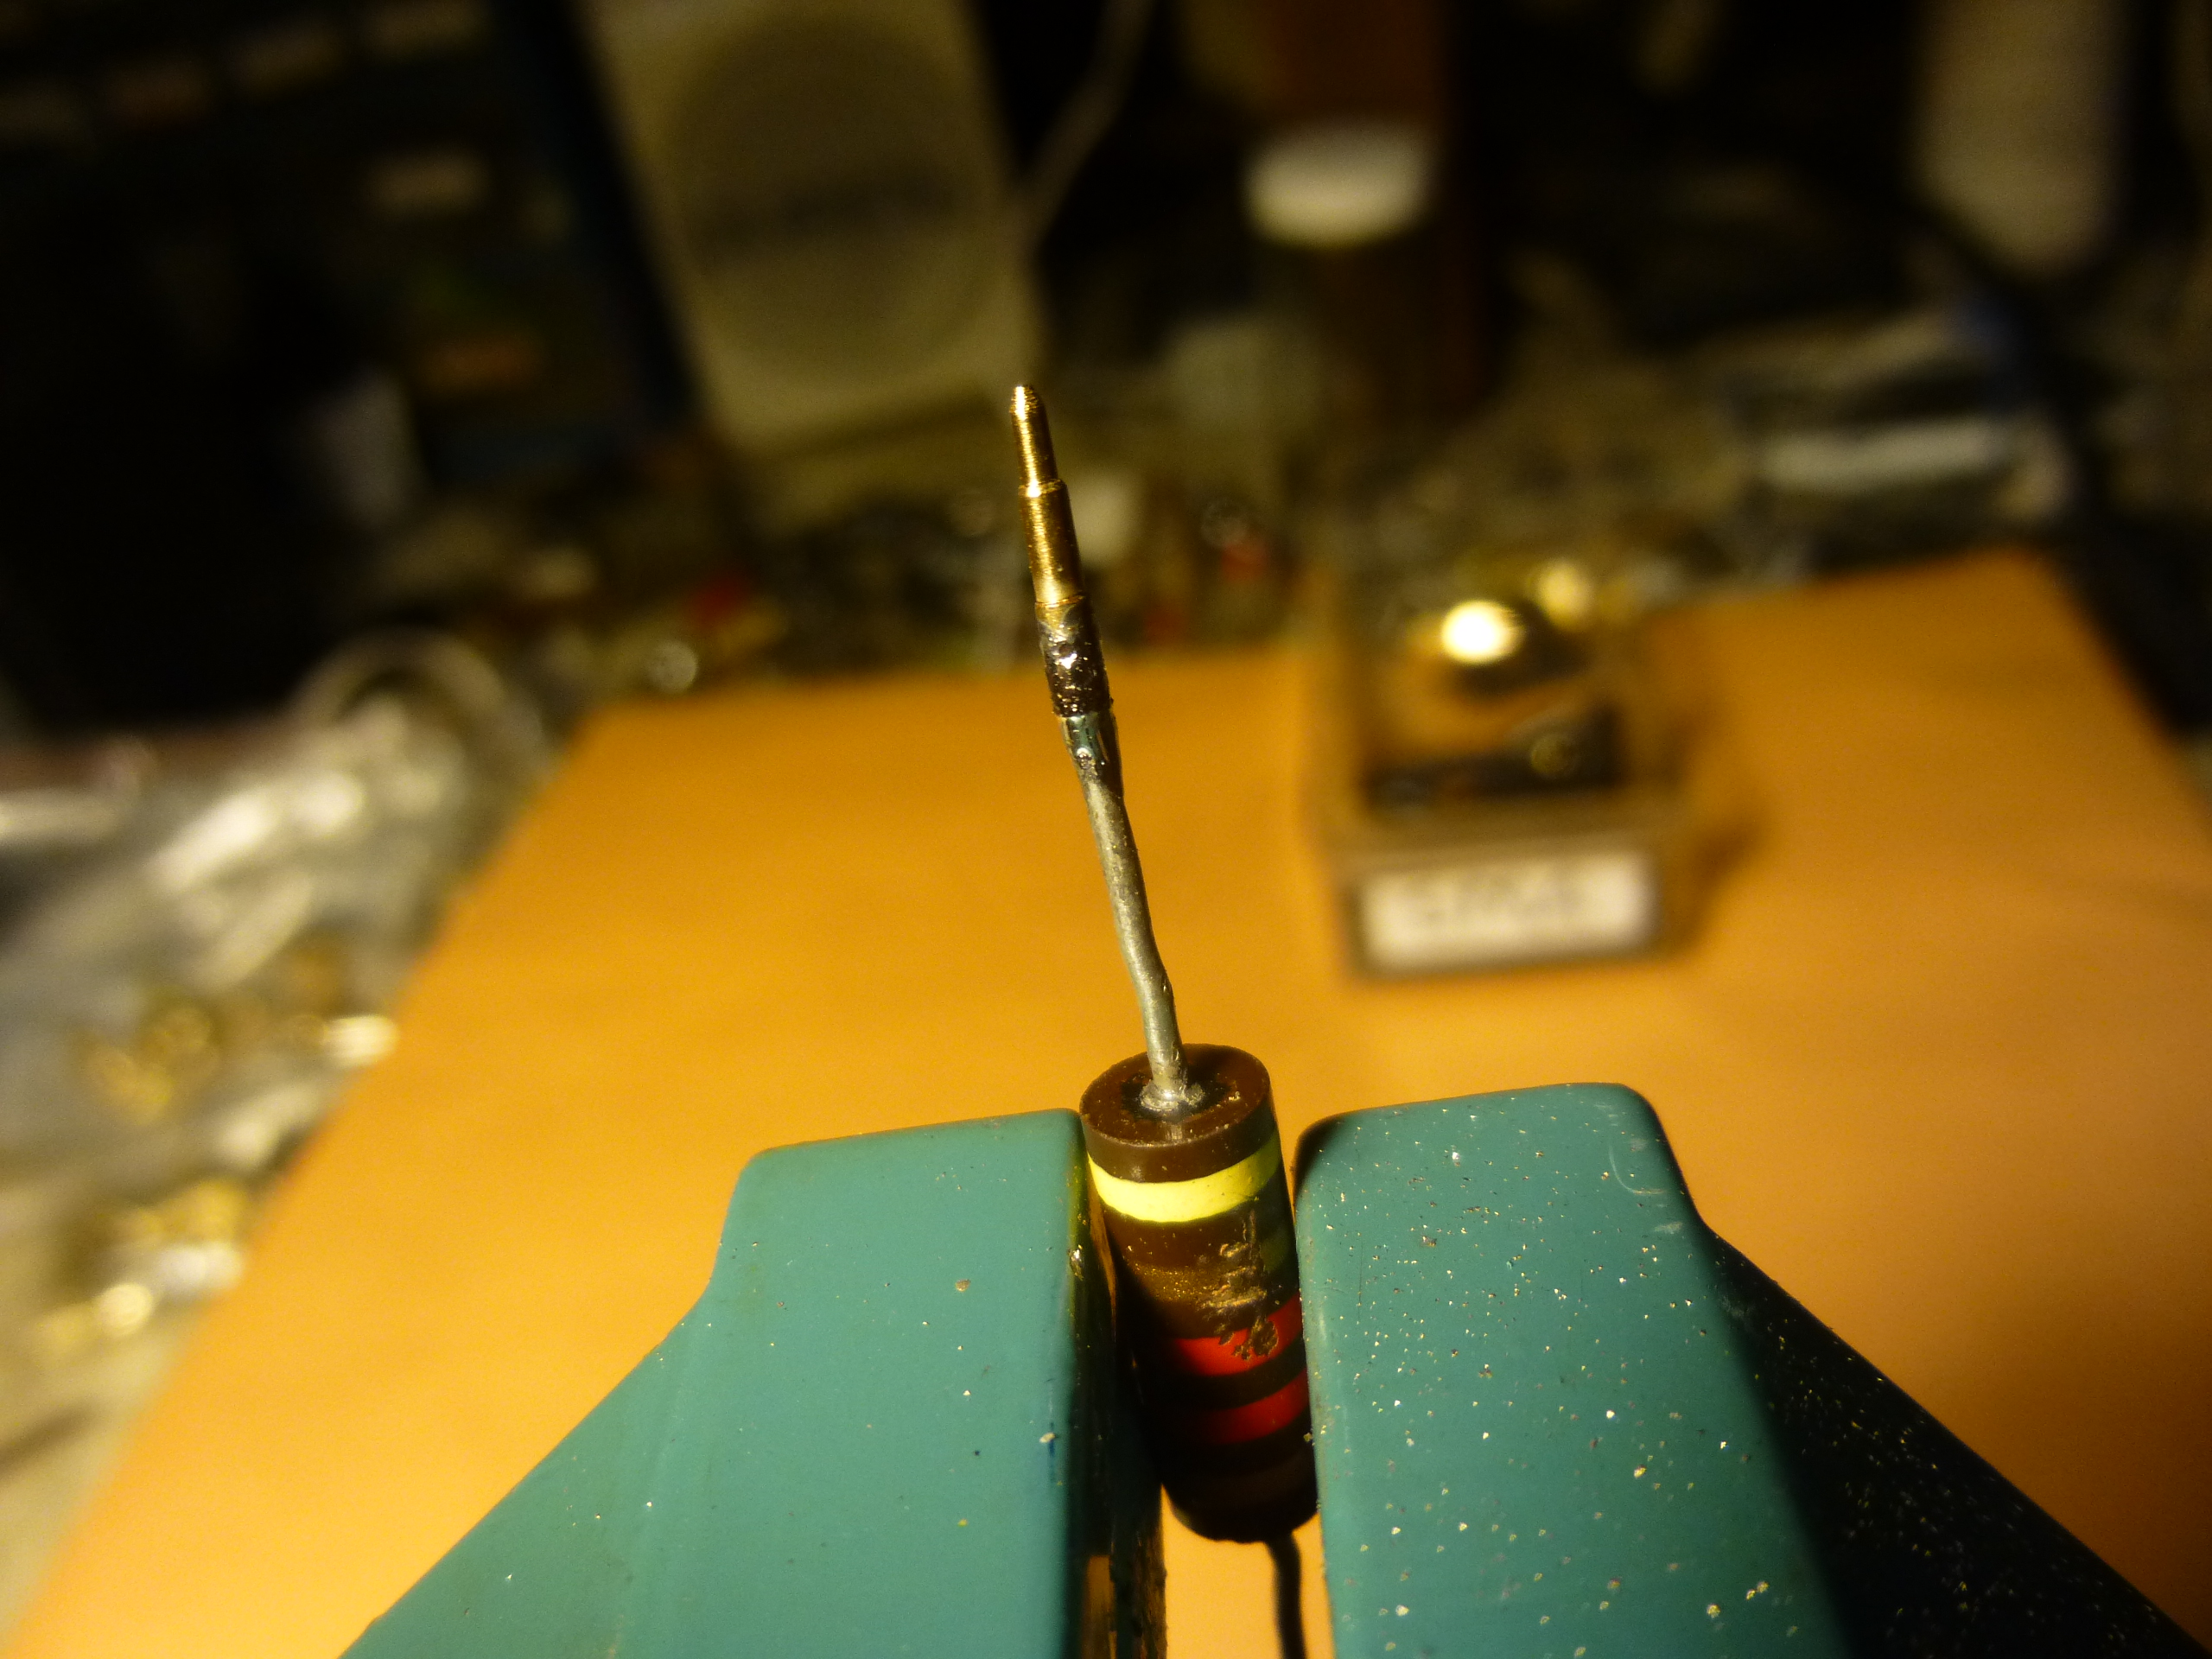
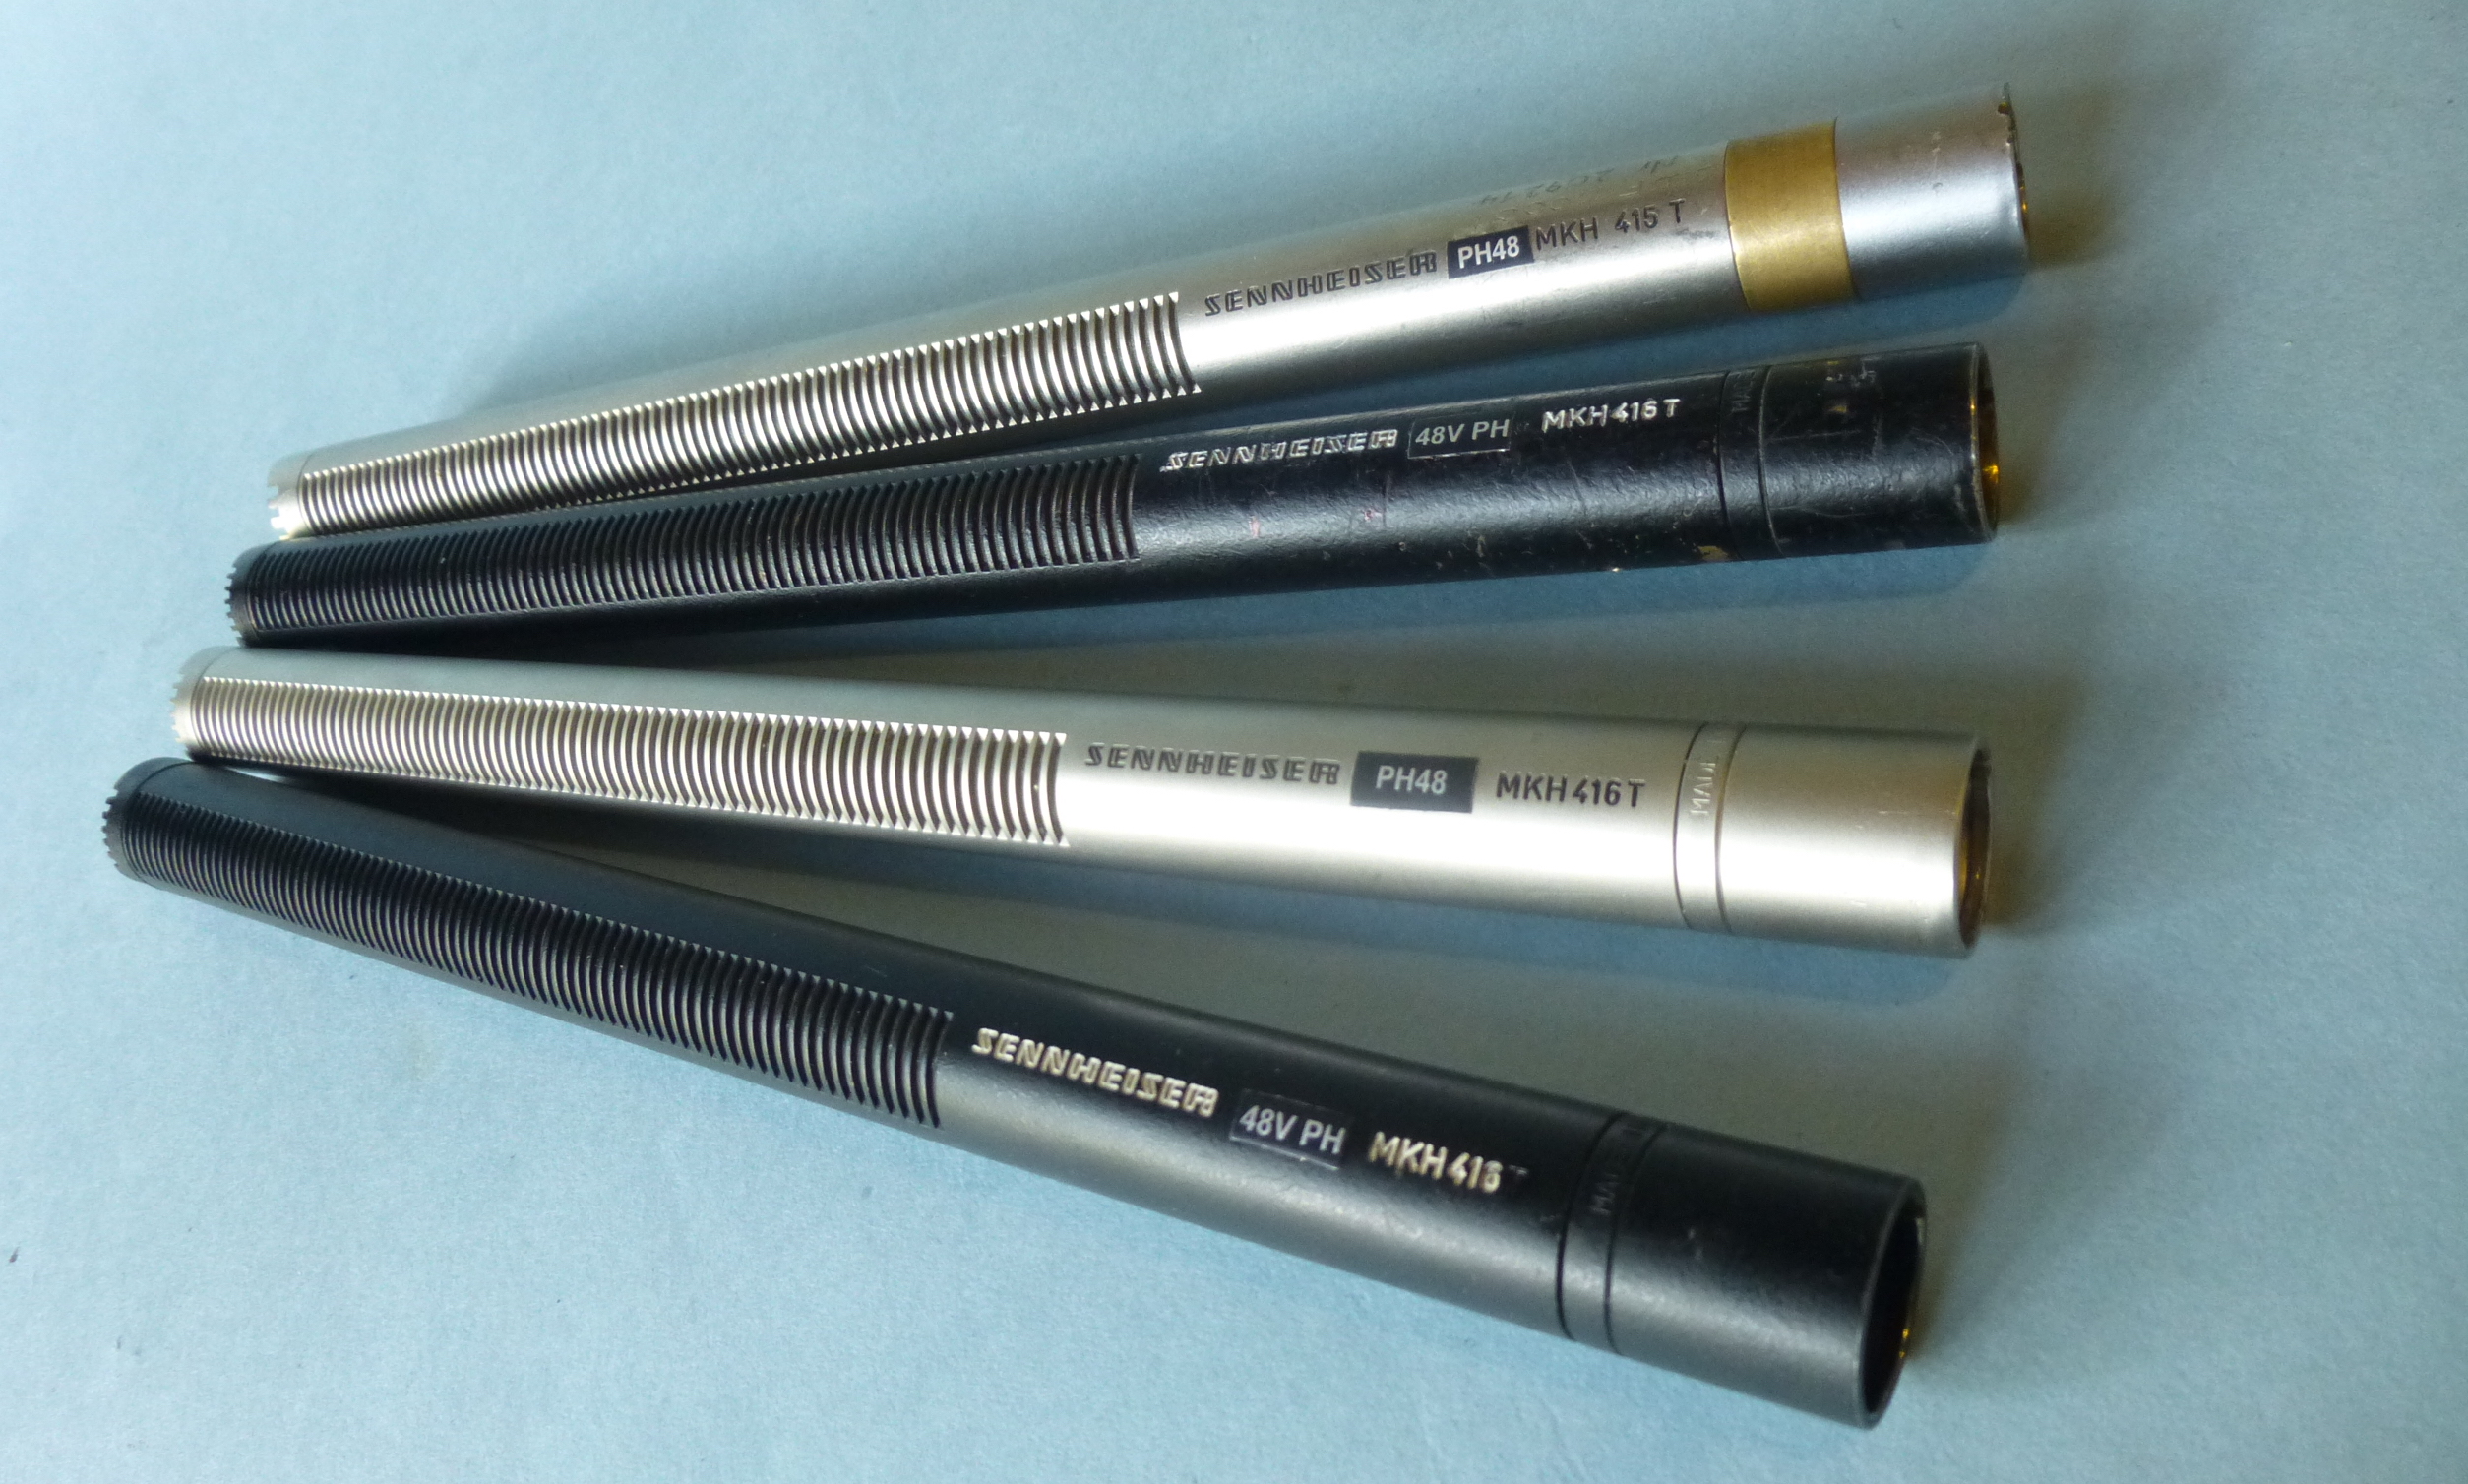
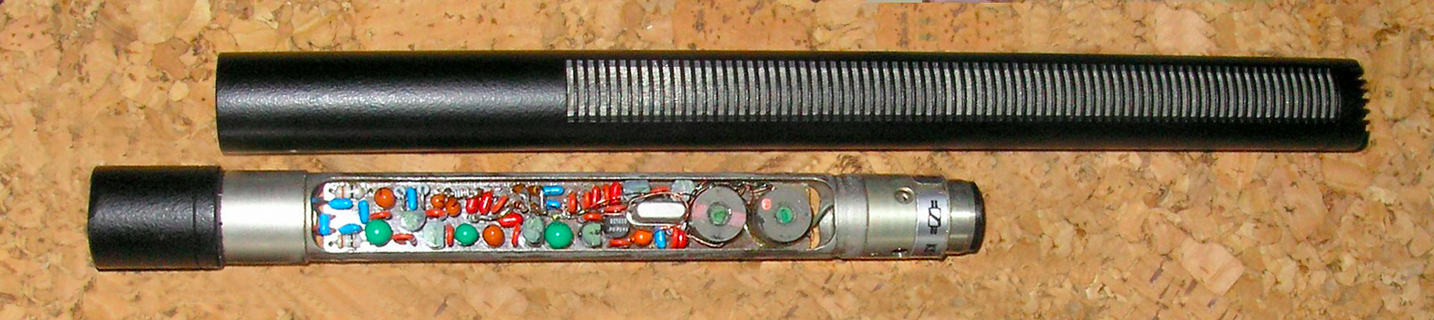
Here’s some internal construction photos of a fake 416 (top) and a real 416(below)
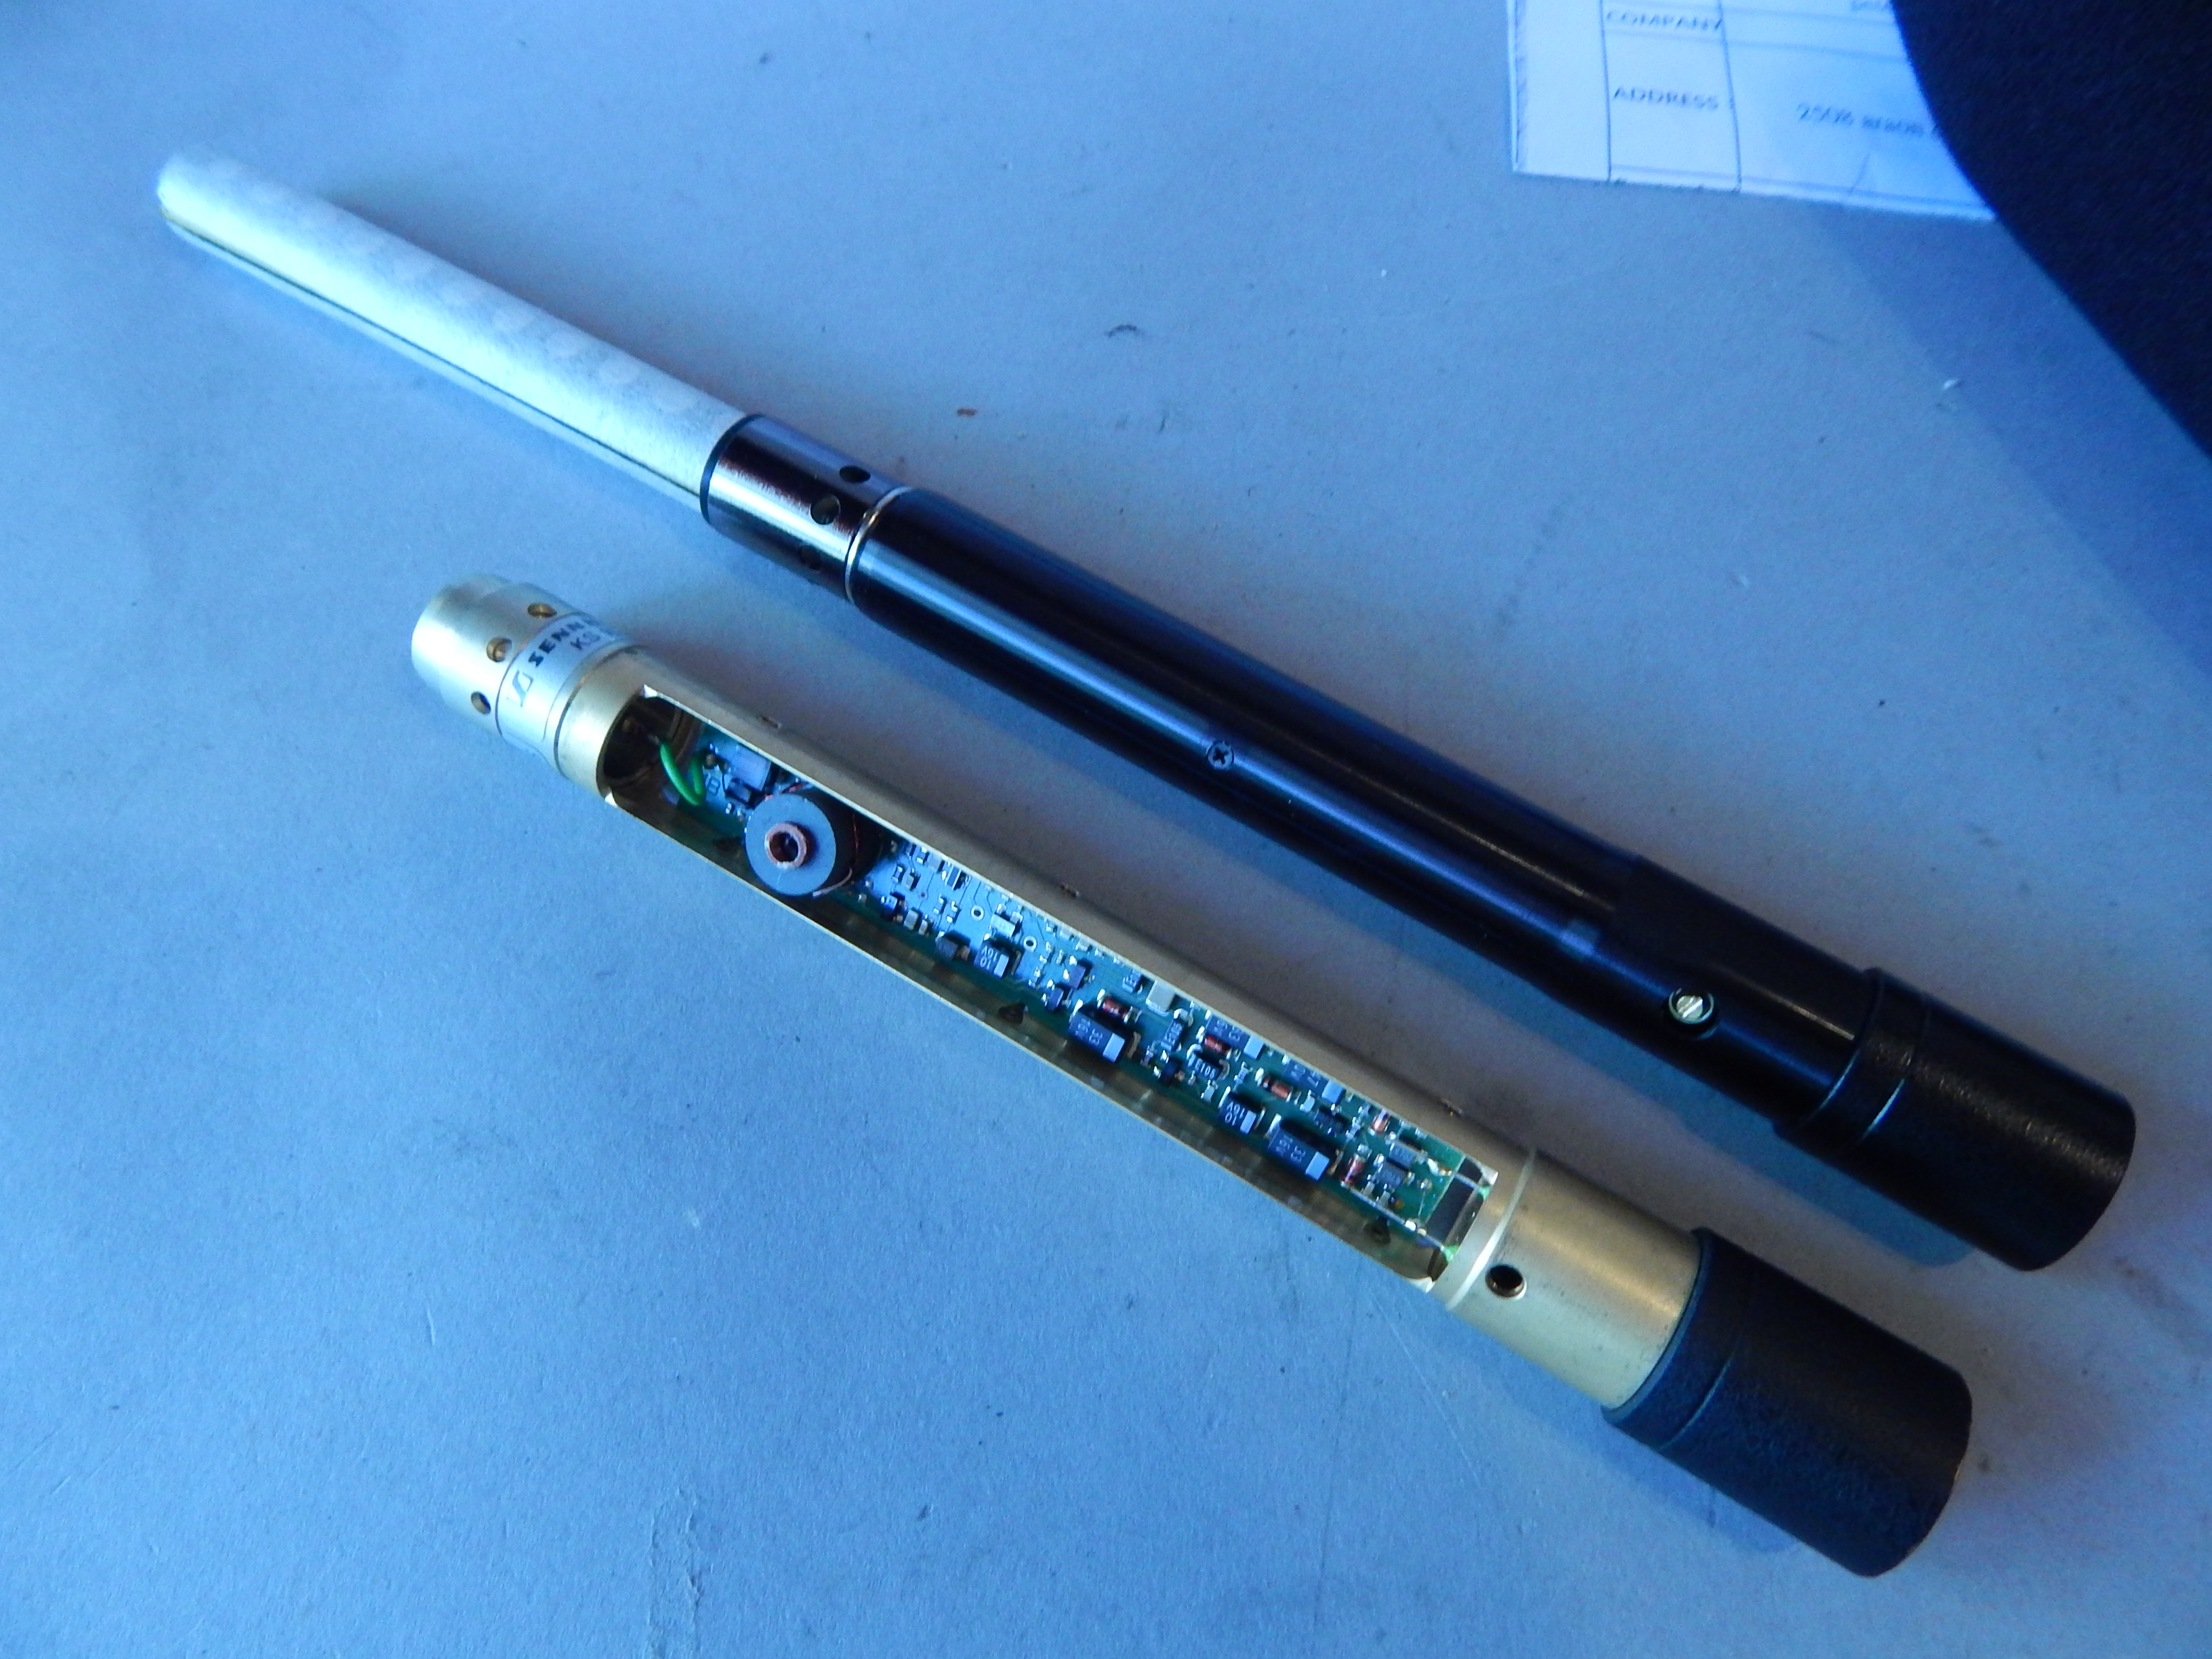
Fake top, real bottom. The inside assembly look straight from a mass production line for electric vape cigarettes.
Teardown, Fake top, real bottom. Fake is an electret condenser design.
The fakes have none of the RF suppression properties of the real thing. They will noise-up around plug-on transmitters and walkie-talkies. The output is about 3db lower than the genuine. (compensated for in the above sound file.) The painted lettering on the mic’s side is uneven and the letters are taller than the originals. The “Made in Germany” insignia is roughly stamped, unlike the authentic mic.
Oh, and they sound very similar, if not almost just like the real thing. Did I mention that its very difficult to to tell the two apart by ear? Well, it is. Anyone purchasing one of these fakes who didn’t know any better (like a student, amateur docmentartian or a wedding photographer) would be very happy with it.
The fake sounds miles better than the noisy 416 wannabe Aputure DIety. Those guys could learn a thing or two from our counterfeit friends. Much simpler design, too. See Rastop’s cool teardown video of a fake below. (He’s Gotham Sound’s repair technician). We immediately see that the build quality of the circuit board is pretty nasty. The FET and 1 gigohm resistor indicate a passive electret capsule is mounted above the circuit board.
I see no need to replicate Rastop’s efforts. I’ll soon be making my ebay refund request, and I want to keep the sellers from making a damage claim. And if ebay’s policies follow through, or the seller responds negatively, I may be able to keep the mic anyway, like a war trophy.
Some details on the counterfeiters:
The ebay auctions will always describe the 416 as “99% new”, or even “90% new”, as they feel this exempts them from having to respond to counterfeit claims.
The current (June 2017) ebay seller’s ID is vpower.hk8 or emma2012g.
They also have an alternate ID of w3vpower.hk
The seller seems to be a Chinese company that makes parts/batteries for electric bicycles.
Dongcheng Street,
Yongkang City
Zhe Jiang,China