|
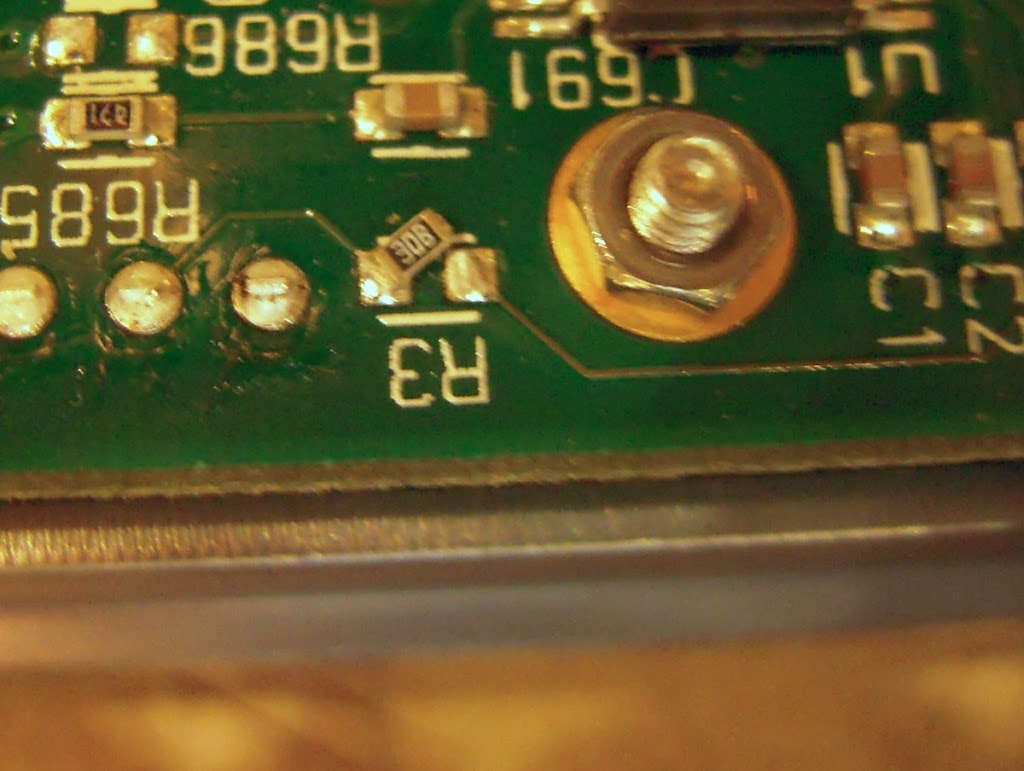
| Poor R3. Explanation below. |
The Zaxcom Fusion series of touch-screen multitrack recorders are designed for field use, but after a few months, dirt accumulation around the touch-screen can impede functionality. I’ve torn-down my Fusion to clean the dirt accumulation, and took some photos to document the process. This is more of a documentation, and less of a how-to. I disavow any responsibility to those who attempt to use this as a guide.
There’s also some rules broken here that I normally don’t break. I should have had an nice ice-tray to keep all the nuts and bolts organized. I should have also cleaned up my bench before starting ! Also, one should be very careful around Surface-Mount circuit boards as the miniscule components can break off with an errant bump of a screwdriver, and you’ll never be the wiser, until you’ve re-assembled the machine and something doesn’t work.
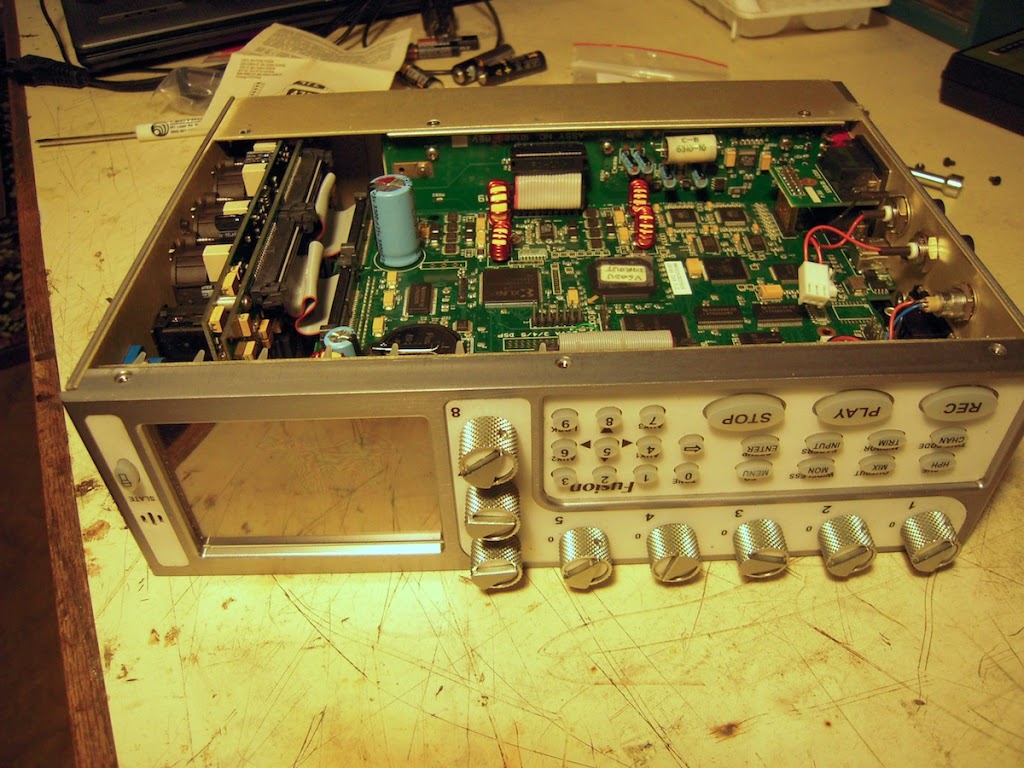
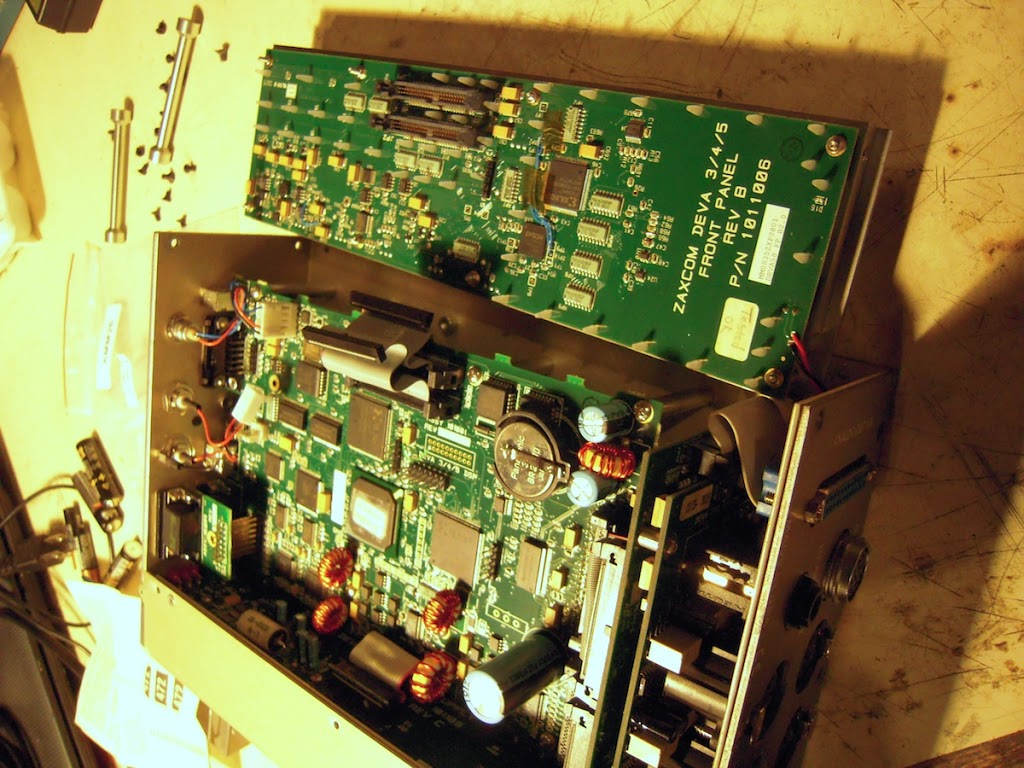
After the main cover is removed, the Fusion presents thusly:
All the knobs get removed as well. Then there’s the business of removing the faceplate from the body, attached with side screws. The multi-pin connectors on the back of the faceplate need to be carefully loosened and disconnected.
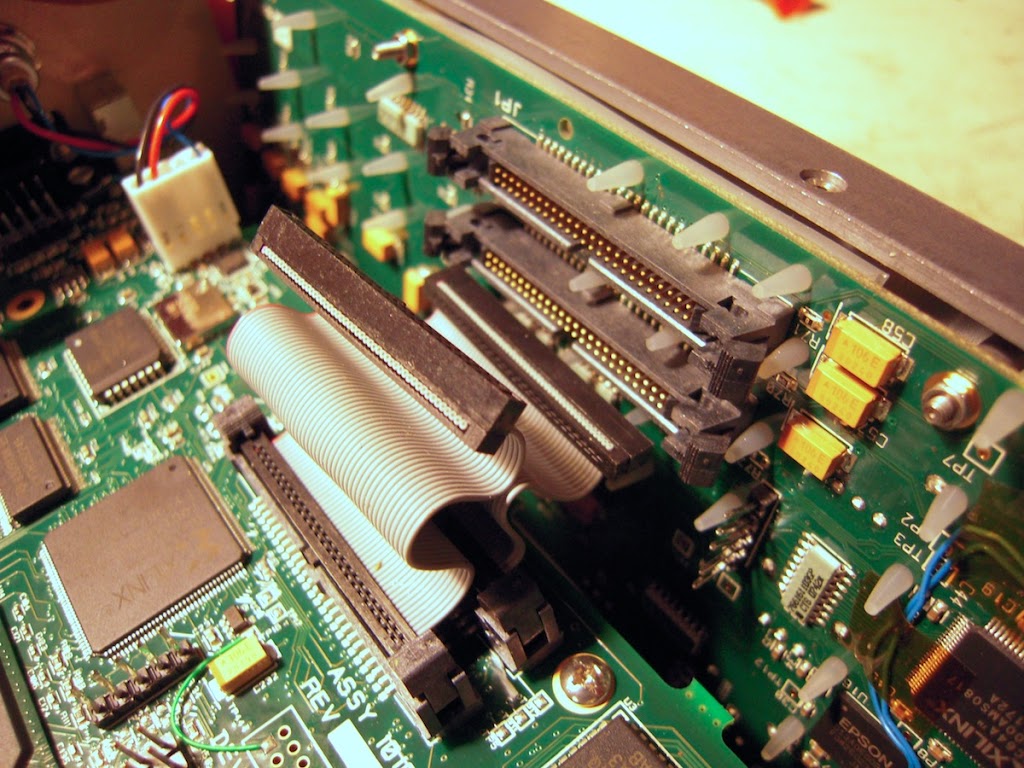
There’s also a pair of wires that must be disconnected from the mic-input board- these are for the slate mic. The connector can be carefully loosened off the input board with a small screwdriver.
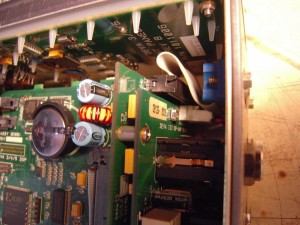 |
| The slate mic connector is the small white one right under the 25pin d-sub. |
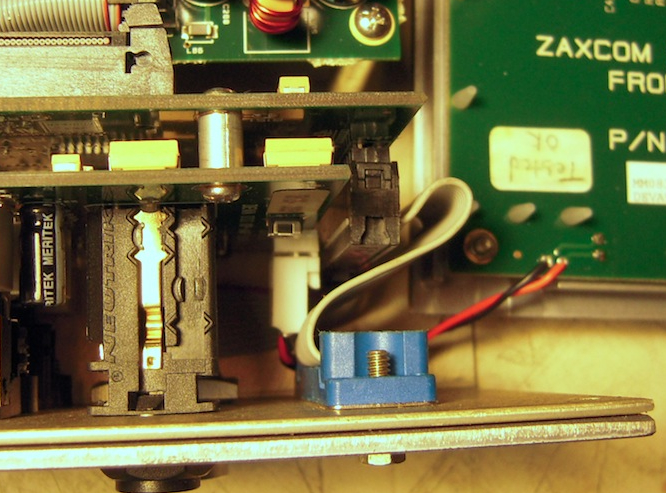
The red-black wires at the bottom are the slate mic wires. The connector is right above the headphone jack.
 |
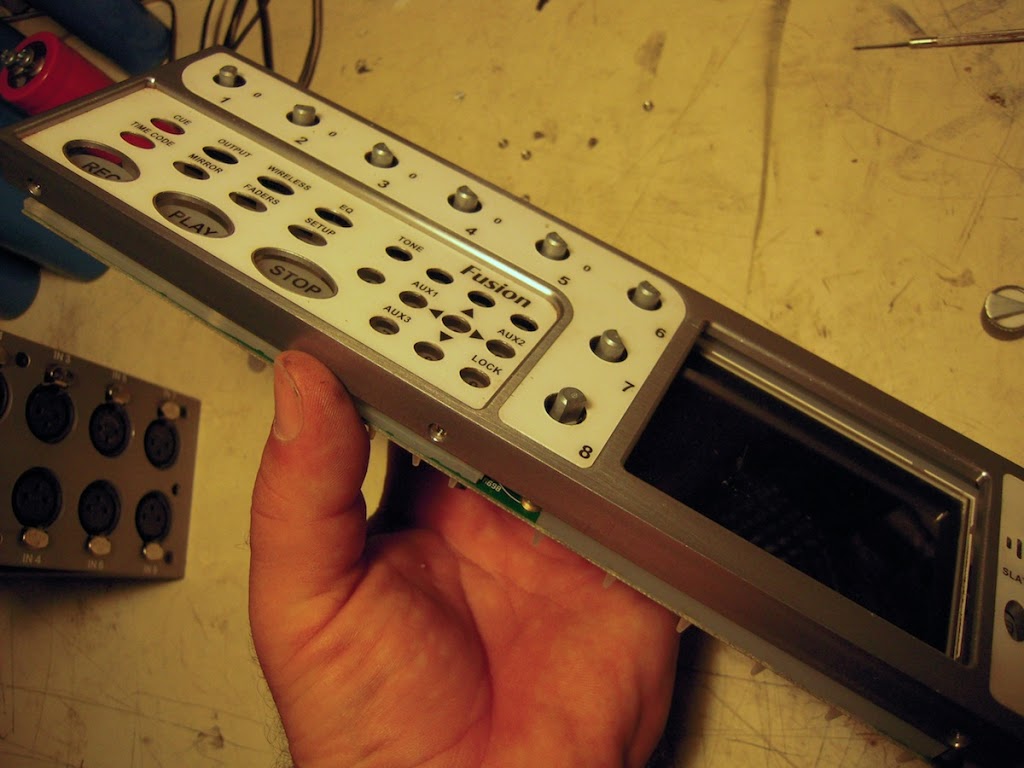
| The front panel, still hanging on by the slate mic wires. |
Once the frontplate is disconnected from the box, the gentle operation of removing the nuts surrounding the circuit board can proceed. A nut driver is preferred. If you use a pair of needle-nose pliers, you risk slipping off the nuts, and crashing into one of the surface-mount components, breaking it. Like I did.
Lucky I know how to solder surface-mount components. I wacked into R3, very close to a nut.
 |
| For God’s sake, use a nut-driver, not a pair of needle-nose, like I did. |
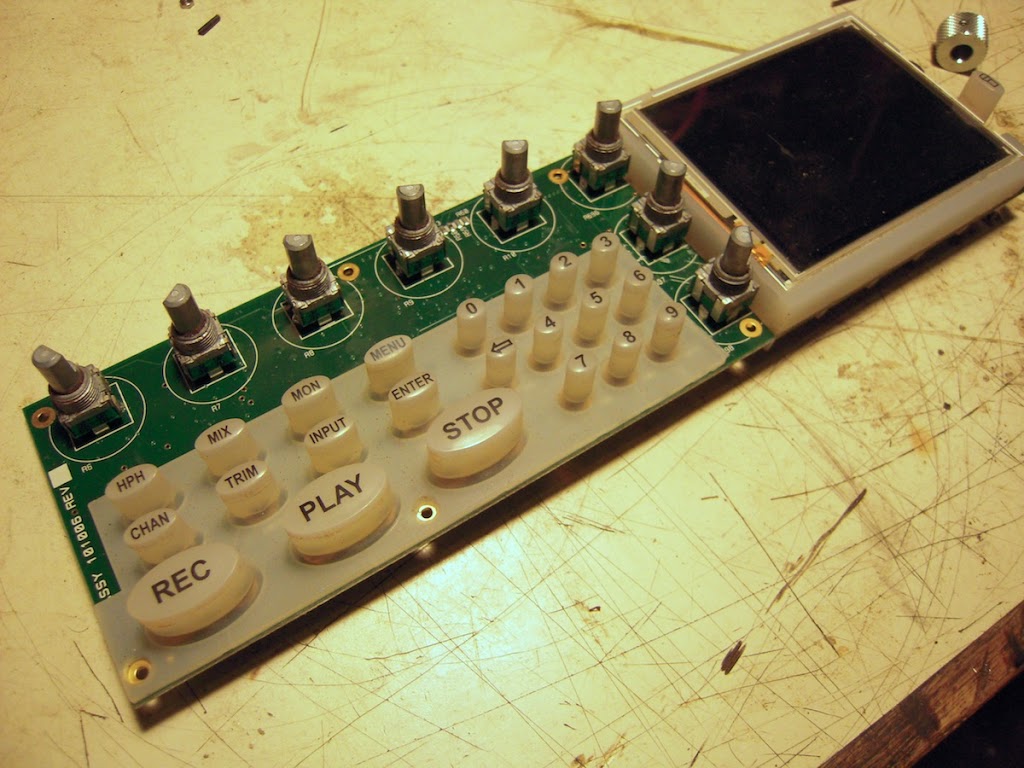
Once all the nuts are removed, hold the assembly faceplate-up for separating the circuit board from the aluminum front plate. If you have it circuit-board up, the LCD screen will fall out of its holder, and hang by its ribbon cable, which is unsettling. So hold it faceplate up and separate the pieces carefully:
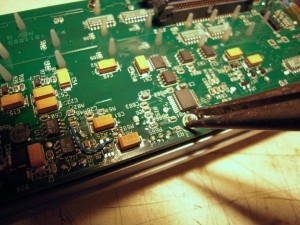
Here is the circuit board with the faceplate off. Be very careful, the surface-mount components on the underside are fragile!
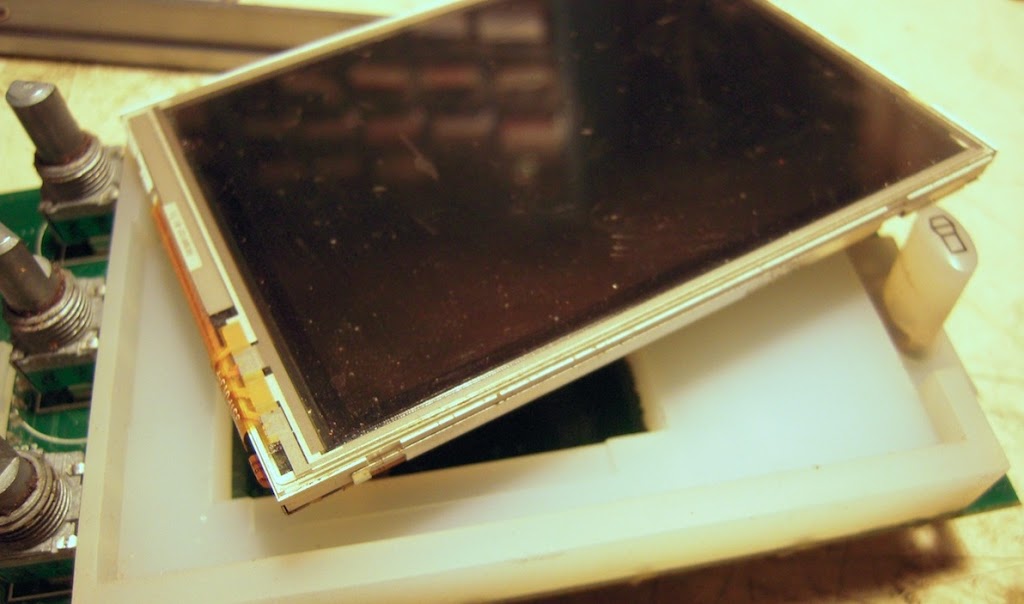
The LCD screen will fall right out of its holder, so handle it carefully. At this point I removed all the dirt that accumulated on the screen edges, between the buttons, and around the potentiometers.
 |
| Dirt accumulates/sticks to the edges of the screen. |
 |
| Dirt surrounding the pot shafts |
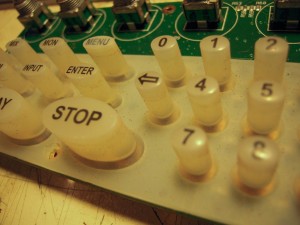 |
| Dirt around the edges/at bottom of button assembly |
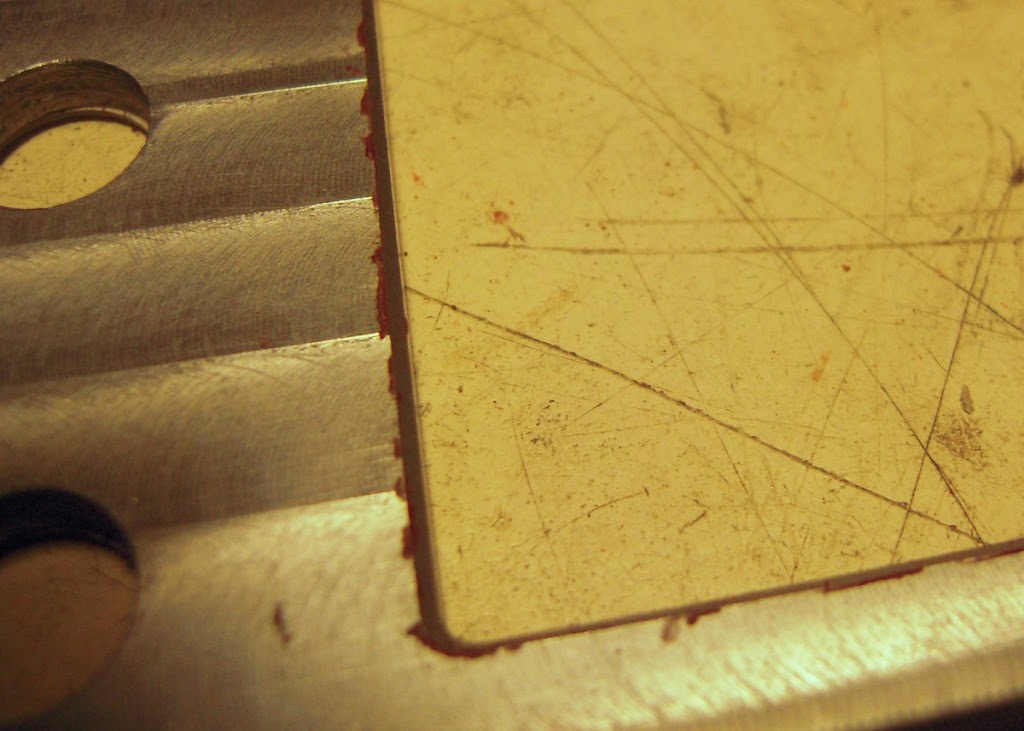
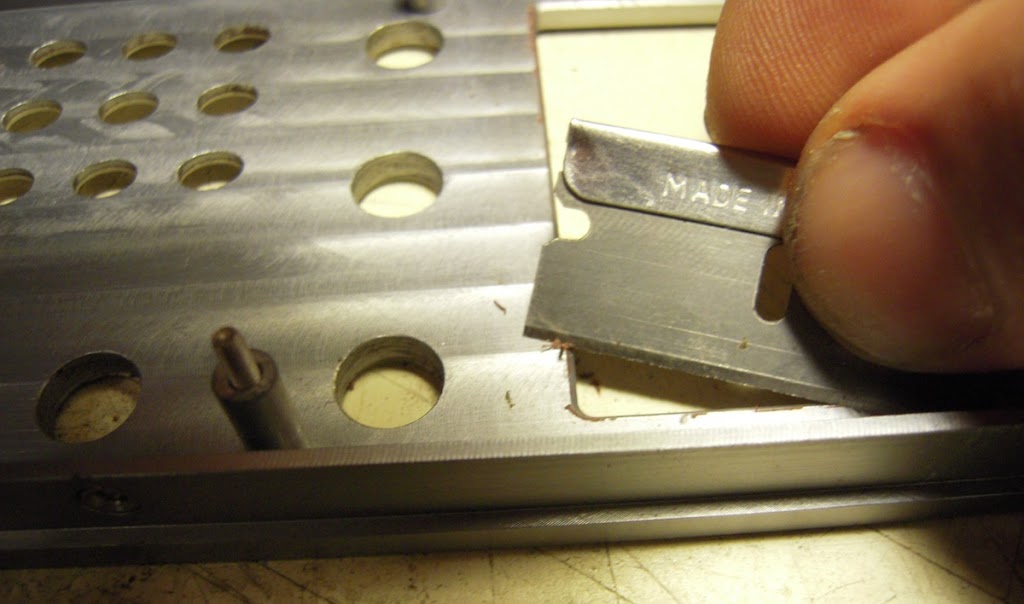
And most importantly, I scraped off the sludge that adheres to the underside of the faceplate:
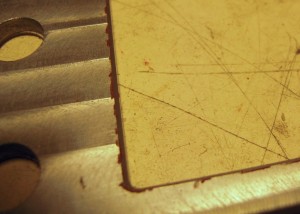 |
| yucky |
After cleaning, re-assembly is easiest by holding the parts vertically, so the LCD screen doesn’t fall out of its holder, and the screws can be lined up through the holes of the circuit board. Then, flipping it over like a sandwich, All the nuts can then be carefully tightened on the component size of the circuit board. Careful around those SMT components!!!
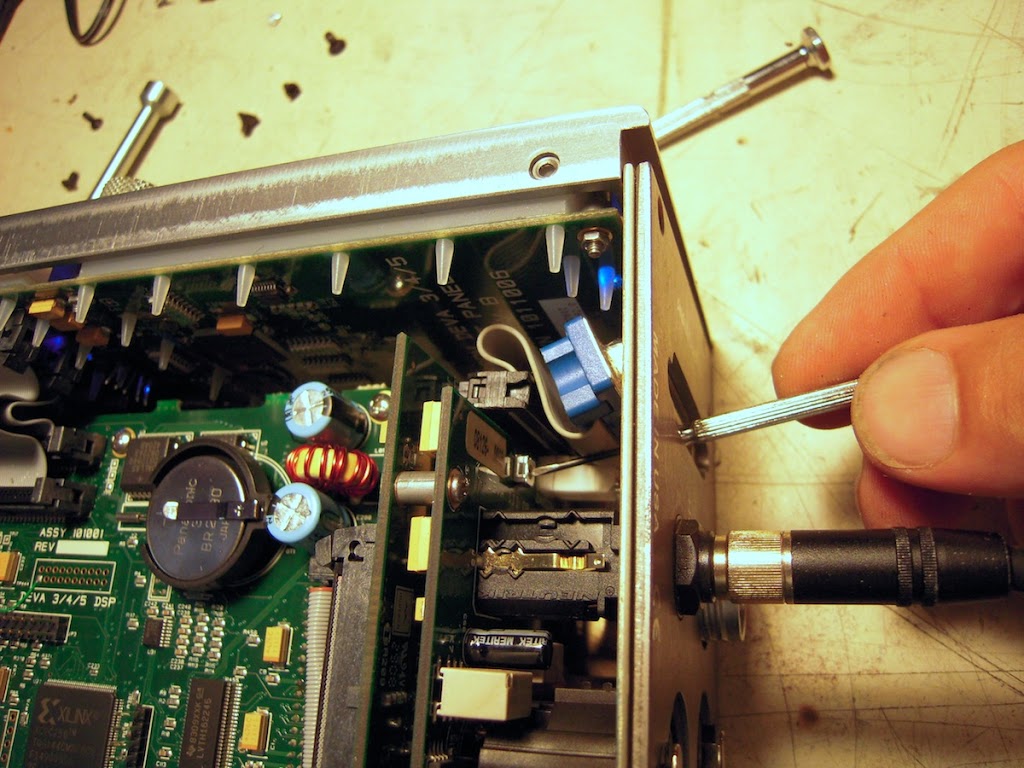
Re-assembly is the reverse of disassembly, but it is difficult to get the slate mic connector back on its pins. The easiest way to do this is by loosening the DB25 d-sub output connector, and pushing it in the box. This creates an access hole to push on the slate mic connector. You can also see me adjusting the potentiometer for the audio level of the slate mic. My level arrived from the factory very hot.
I fully test the machine before final re-assembly, I want no surprises on the job. Remember- in my first attempt, I bumped a pair of pliers into R3, a tiny surface-mount resistor. I didn’t realize my error until testing, when fader #3 refused to post fade. Magnifiers and a steady solder-hand were required to find this problem and repair it. If I had used the right tools, I’d have saved a bunch of time.
 |
| Maybe I should build a one-room apartment in there… |
Even after cleaning up the dirt accumulation under the faceplate, a single dusty/dirty shoot can restart the ingress of dirt inside the recorder. Using fingers, a firm and gentle pushing down of the LCD from all four corners will often free the debris. I believe Zaxcom has recently added a machining process to the aluminum surrounding the LCD to minimize this problem. Of course, if your machine lives on a cart, dirt accumulation is less of a problem. However I just finished a bag job, hog hunting in the Rio Grande. I’m sure I’ve brought home some of that good red clay inside my Fusion!
-by Pete Verrando